In Part 1 we integrated Bootstrap 4 into our Jekyll site. In this post, we’ll expand the site to include navigation, a banner and a footer section. We’ll mostly be dealing with standard Bootstrap and HTML, with a little bit of Jekyll thrown in.
I’d encourage you to follow along, but if you want to skip directly to the code, it’s available on GitHub at: https://github.com/riebeekn/jekyll-bootstrap-4-starter.
What we’ll build
At the end of this post, our site will look like:

Getting started
If you followed along with part 1 just continue on with the code you created in part 1. If not and you’d rather jump right into part 2, you can use a clone of part 1 as a starting point.
Clone the Repo
If grabbing the code from GitHub instead of continuing along from part 1, the first step is to clone the repo.
Terminal
git clone -b starting-code https://github.com/riebeekn/jekyll-bootstrap-4-starter.git
cd jekyll-bootstrap-4-starter
What we’re starting with
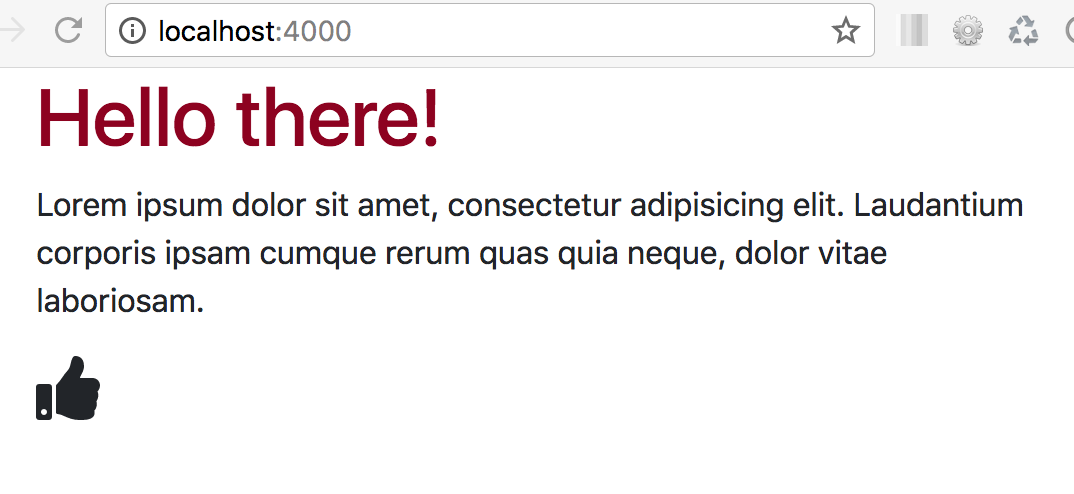
OK, you’ve either gotten the code from GitHub or are using the existing code you created in Part 1, let’s see where we’re starting from.
Terminal
jekyll serve --livereloadIf you navigate to http://localhost:4000/ you’ll see where we left off last time.

Let’s start things off by adding a navigation bar.
Adding a navigation bar
First order of business is to create a file to hold the navigation markup, which we’ll place in the include directory.
Terminal
touch _includes/header.htmlNow comes the HTML for our navigation. We expect to eventually have archive and about pages so we’ll create links for those as well as the standard home and brand links.
/_includes/header.html
<!-- NAV -->
<nav class="navbar navbar-expand-md navbar-light py-4">
  <div class="container">
    <a href="{{ site.baseurl }}/" class="navbar-brand">
      <h3 class="d-inline align-middle pl-3 text-primary">Jekyll and BS4</h3>
    </a>
    <button class="navbar-toggler" data-toggle="collapse" data-target="#navbarNav">
      <span class="navbar-toggler-icon"></span>
    </button>
    <div class="collapse navbar-collapse" id="navbarNav">
      <ul class="navbar-nav">
        <li class="nav-item">
          <a href="{{ site.baseurl }}/" class="nav-link">Home</a>
        </li>
        <li class="nav-item">
          <a href="{{ site.baseurl }}/archive/" class="nav-link">Archive</a>
        </li>
        <li class="nav-item">
          <a href="{{ site.baseurl }}/about/" class="nav-link">About</a>
        </li>
      </ul>
    </div>
  </div>
</nav>
Nothing out of the ordinary, just standard Bootstrap, the only thing of note from a Jekyll perspective is that we’re using {{ site.baseurl }} in our link tags. This ensures our links are valid based on where our site is running from. For instance, when running locally, our about page will go to http://localhost:4000/about. When deployed to an actual URL, the proper URL will replace localhost:4000.
Let’s tweak our layout file to include the new header section.
/_layouts/default.html
<!DOCTYPE html>
<html lang="en">
  {% include head.html %}
  <body>
    {% include header.html %}
    {{ content }}
    {% include footer.html %}
  </body>
</html>
All we’ve done is add the header before our {{ content }} section.
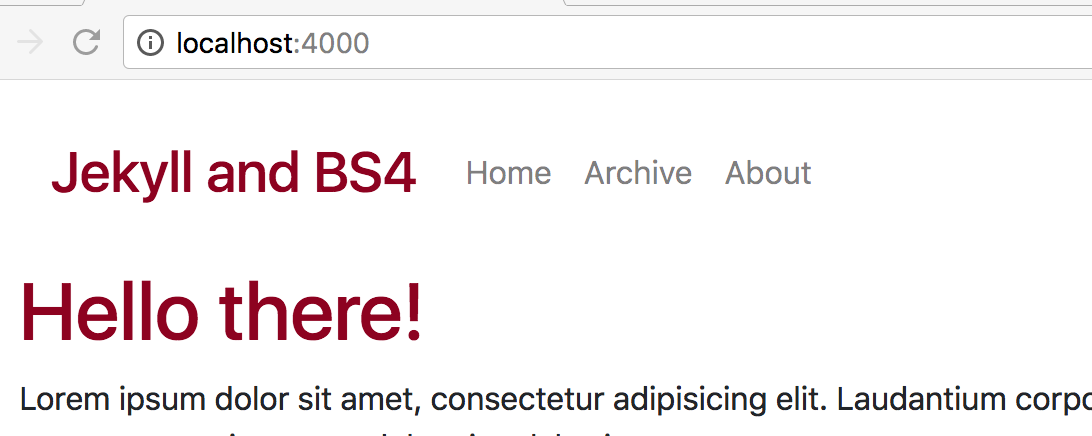
With that, we have navigation!

The text for the navigation items is a little small, and we’d also like to change the color of the links. A bit of styling will fix that up.
Terminal
mkdir css/custom/includes
touch css/custom/includes/_header.scss
/css/custom/includes/_header.scss
.navbar{
  box-shadow: 1px 1px 3px $primary;
  opacity: 0.8;
  background: $white;

  .nav-item{
    font-size: 1.4rem;
    padding-right: 20px;
  }
}

.nav-link {
  color: $info !important;

  &:hover {
    color: $primary !important;
  }
}
We’ve also added a minor box shadow to the header.
We’re going to over-ride the info Bootstrap variable to get the desired color on our links:
/css/custom/_variables.scss
$primary: #8d021f; // burgundy
$info: #7f7f7f; // grey
In order for the styles to be applied, we’ll need to import them in main.scss.
/css/main.scss
---
---

@import 'bootstrap/bootstrap';
@import 'custom/includes/header';
While we are at it, let’s remove the contents of index.html.
/index.html
---
layout: default
---

<!-- nothing to see here, move along -->
That looks better:

Adding a banner
Next up, let’s add a simple banner under our navigation header. We’ll start by creating a new file to hold the banner markup:
Terminal
touch _includes/banner.htmlThe banner markup itself is very simple. We’re using standard HTML / Bootstrap with the exception of a custom primary-overlay class, which we’re going to use to style the banner. We’re using 2 columns in order to nudge the text to the left side of the banner.
/include/banner.html
<section id="banner" class="py-5 d-none d-sm-block">
  <div class="primary-overlay text-white">
    <div class="container">
      <div class="row">
        <div class="col-md-6 text-center">
          <h1 class="display-3 pt-4">
            Jekyll with Bootstrap
          </h1>
        </div>
      </div>
      <div class="col-md-6"></div>
    </div>
  </div>
</section>
We need to add the banner to our layout:
/_layouts/default.html
<!DOCTYPE html>
<html lang="en">
  {% include head.html %}
  <body>
    {% include header.html %}
    {% include banner.html %}
    {{ content }}
    {% include footer.html %}
  </body>
</html>
We’ve specified text-white in our banner so until we add some styling, we won’t be able to see the banner. Let’s create a Sass file to contain the banner styles.
Terminal
touch css/custom/includes/_banner.scssAnd we’ll need to import the new Sass file in main.scss.
/css/main.scss
---
---

@import 'bootstrap/bootstrap';
@import 'custom/includes/header';
@import 'custom/includes/banner';
Before adding our style, let’s also create an img directory as we’ll use an image as part of the banner.
Terminal
mkdir imgDownload the following image from Pexels
https://www.pexels.com/photo/shadow-of-person-on-water-during-daytime-38069/ and add it to the img directory, renaming it to banner.jpeg. I used the medium size image… and didn’t spend much time searching for an image, I figured boots for Bootstrap!
Let’s get around to our styling.
/custom/includes/_banner.scss
#banner{
  position: relative;
  background: url('../img/banner.jpeg');
  min-height: 250px;

  .primary-overlay{
    background: rgba(141,2,31,0.8);
    position: absolute;
    top: 0;
    left: 0;
    width: 100%;
    height: 100%;
  }
}
We’re setting the image as the background and then applying an overlay via the .primary-overlay style.
And with that, we should have a decent looking banner:

Adding a footer
Our final task is to add a footer. We’ve already got a file for our footer but it currently just contains our javascript links. We want to add a general copyright notice and a few social links where people can find out more information about us.
/_includes/footer.html
<footer class="py-5">
<hr>
<div class="container text-center text-info">
<div class="row">
<div class="col">
{% if site.show_social_icons %}
{% include social_links.html %}
{% endif %}
</div>
</div>
<div class="row">
<div class="col">
All content copyright Your Name © {{ site.time | date: '%Y' }}.
</div>
</div>
<div class="row">
<div class="col">
All rights reserved.
</div>
</div>
</div>
</footer>
<!-- JS -->
<script defer src="https://use.fontawesome.com/releases/v5.0.8/js/all.js" integrity="sha384-SlE991lGASHoBfWbelyBPLsUlwY1GwNDJo3jSJO04KZ33K2bwfV9YBauFfnzvynJ" crossorigin="anonymous"></script>
<script src="https://code.jquery.com/jquery-3.2.1.slim.min.js" integrity="sha384-KJ3o2DKtIkvYIK3UENzmM7KCkRr/rE9/Qpg6aAZGJwFDMVNA/GpGFF93hXpG5KkN" crossorigin="anonymous"></script>
<script src="https://cdnjs.cloudflare.com/ajax/libs/popper.js/1.12.9/umd/popper.min.js" integrity="sha384-ApNbgh9B+Y1QKtv3Rn7W3mgPxhU9K/ScQsAP7hUibX39j7fakFPskvXusvfa0b4Q" crossorigin="anonymous"></script>
<script src="https://maxcdn.bootstrapcdn.com/bootstrap/4.0.0/js/bootstrap.min.js" integrity="sha384-JZR6Spejh4U02d8jOt6vLEHfe/JQGiRRSQQxSfFWpi1MquVdAyjUar5+76PVCmYl" crossorigin="anonymous"></script>A couple of things to make note of here:
- Instead of directly inserting our social links, we’re using Jekyll’s built in social icon configuration.
- We’re including a
social_links.htmlpage that we’ll need to create.
Let’s create a file for the social links.
Terminal
touch _includes/social_links.htmlNext add the following to the existing configuration file and restart the Jekyll server so the new settings are picked up.
/_config.yml
# Social icons
show_social_icons: true
github_username: someGithubUser
twitter_username: someTwitterUser
We’ve set our user-names and whether the social icons should appear in the configuration file. You could forgo this approach and instead place the links directly in footer.html or a seperate include file; but this approach does provide a little additional flexibility.
Let’s fill in the social_links.html page.
/_includes/social_links.html
<div class="social-links">
  <a target="_blank" href="https://github.com/{{ site.github_username }}">
    <i class="fab fa-github fa-2x"></i>
  </a>
  <a href="mailto:{{ site.email }}">
    <i class="fa fa-envelope fa-2x" ></i>
  </a>
  <a target="_blank" href="https://twitter.com/{{ site.twitter_username }}">
    <i class="fab fa-twitter fa-2x"></i>
  </a>
</div>
Pretty straight-forward, we’re simply linking to GitHub / Twitter, but grabbing the username to link to from _config.yml. Notice we’ve also added an email link that makes use of the email setting in _config.yml.
And our footer looks like:

I think a bit of styling would help out those links, so let’s create and import a new Sass file for the links.
Terminal
touch css/custom/includes/_social_links.scss/css/main.scss
---
---

@import 'bootstrap/bootstrap';
@import 'custom/includes/header';
@import 'custom/includes/banner';
@import 'custom/includes/social_links';
Now let’s fill in the styles.
/css/custom/includes/_social_links.scss
.social-links {
  a {
    text-decoration: none;
    padding-right: 10px;

    &:hover {
      color: $info;
      cursor: pointer;
    }
  }
}
Nothing crazy here, we’re just getting rid of the underline in the links, adding a bit of padding and adjusting how things look on mouse hover.
Summary
In this post, we’ve added navigation, a banner and a footer to the site. Things are starting to come together! Next time, we’ll add post pagination and a simple about and archive page.
Thanks for reading and I hope you enjoyed the post!