In Part 3 we added a few sample posts and pagination to our Blog. In part 4, we’ll concentrate on the styling of individual posts.
I’d encourage you to follow along, but if you want to skip directly to the code, it’s available on GitHub at: https://github.com/riebeekn/jekyll-bootstrap-4-starter.
What we’ll build
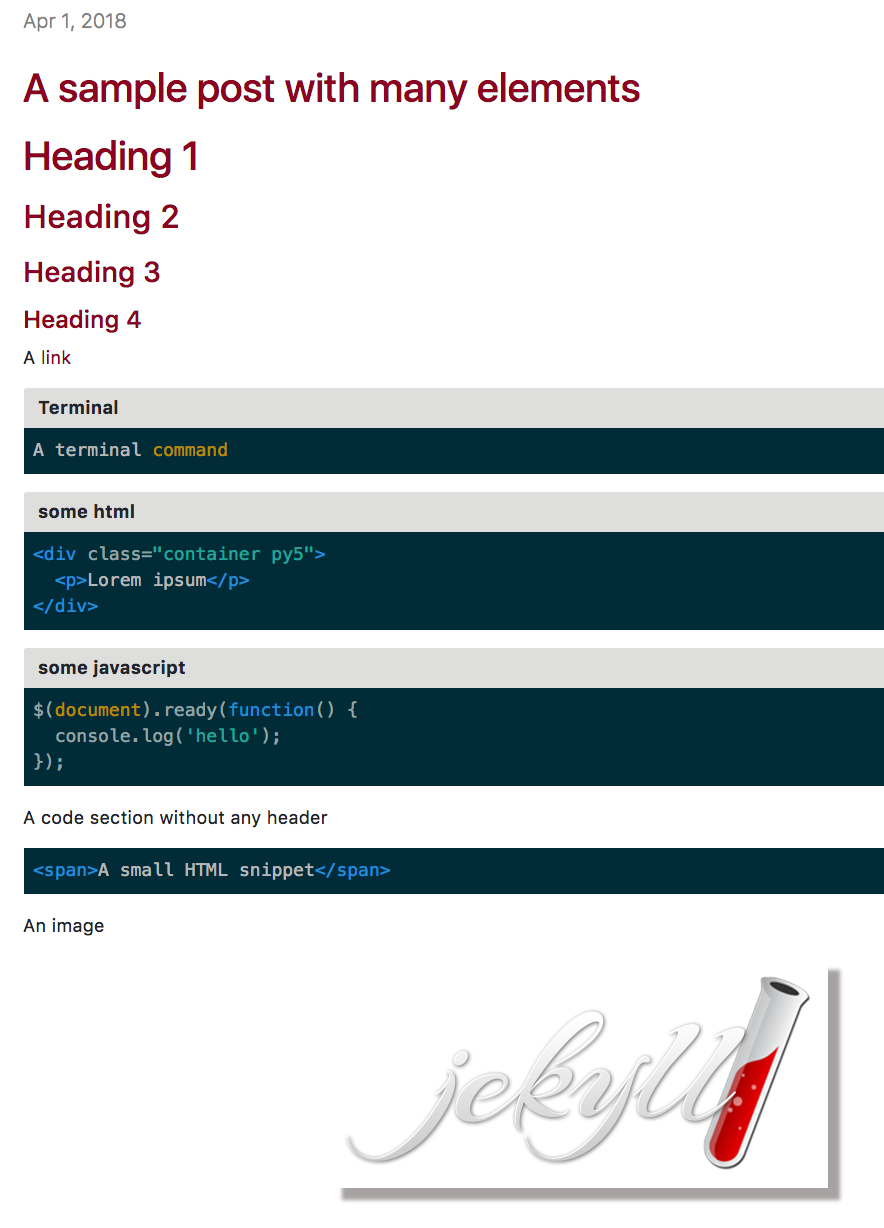
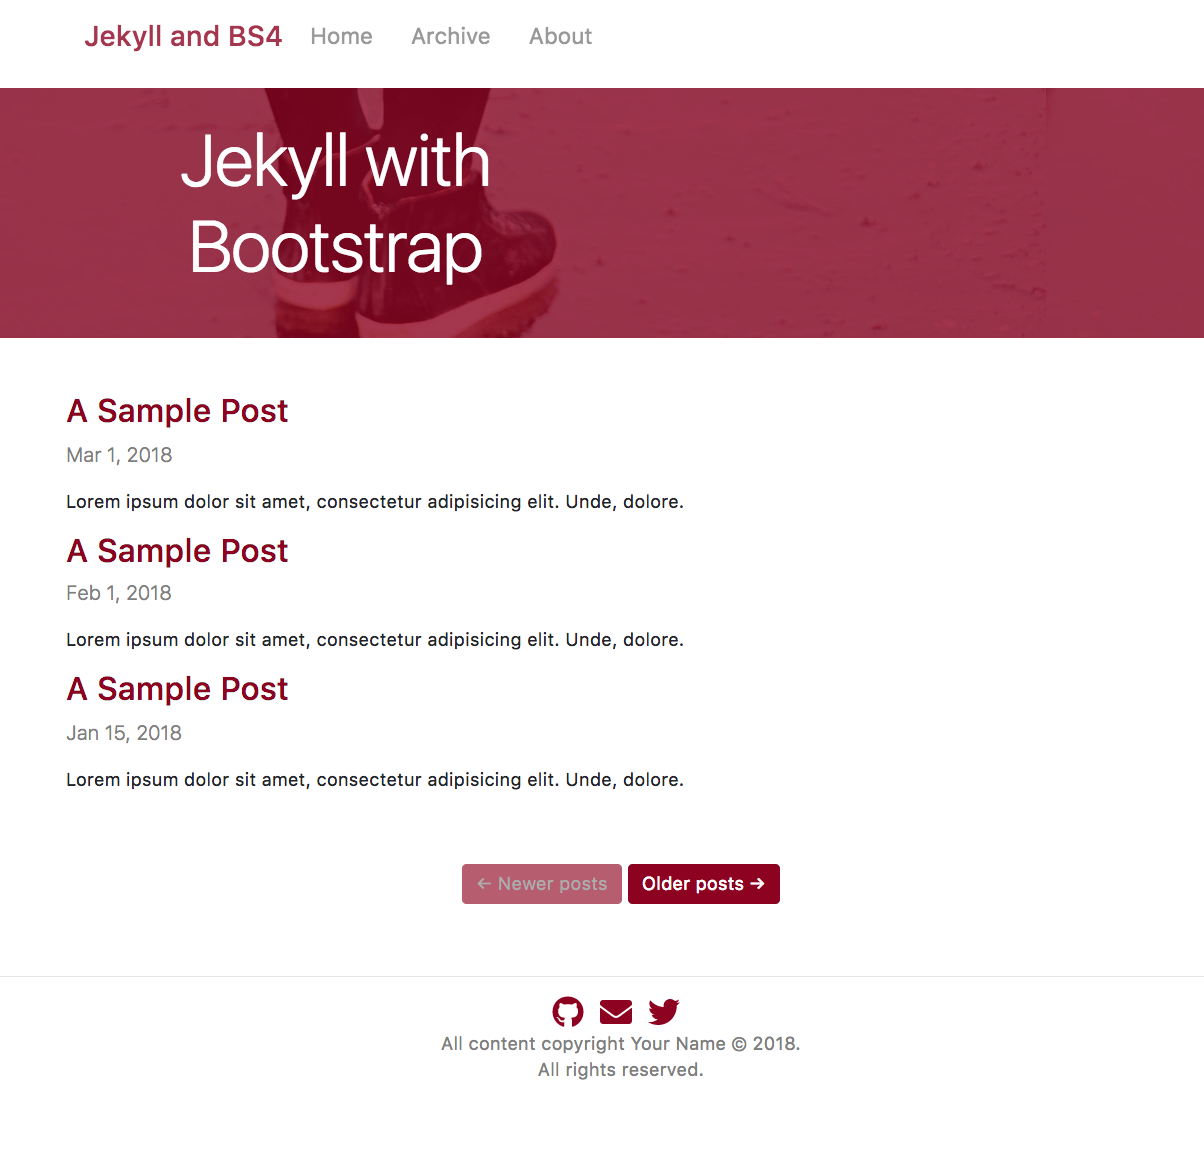
At the end of this post, our individual blog post pages will be styled as below:
Getting started
If you followed along with part 3 just continue on with the code you created in part 3. If not and you’d rather jump right into part 4, you can use a clone of part 3 as a starting point.
Clone the Repo
If grabbing the code from GitHub instead of continuing along from part 3, the first step is to clone the repo.
Terminal
git clone -b part-03 https://github.com/riebeekn/jekyll-bootstrap-4-starter.git
cd jekyll-bootstrap-4-starter
What we’re starting with
OK, you’ve either gotten the code from GitHub or are using the existing code you created in Part 3, let’s see where we’re starting from.
Terminal
jekyll serve --livereloadIf you navigate to http://localhost:4000/ you’ll see where we left off last time.
Our index.html page is looking pretty good, but if you’ve had a glance at an individual post, you’ll have noticed the styling is a bit lacking. Let’s start by creating a new sample post and then getting it styled up.
Creating a sample post
We already have a few sample posts, but let’s create one with a number of different elements so that we can figure out how we want individual components to look.
Terminal
touch _posts/2018-04-01-a-sample-post.md/_posts/2018-04-01-a-sample-post.md
---
layout: post
title: A sample post with many elements
summary: We'll use this post to work out what we need to do to style an individual posts... let's get going!
---
# Heading 1
## Heading 2
### Heading 3
#### Heading 4
A <a href="#" target="_blank">link</a>
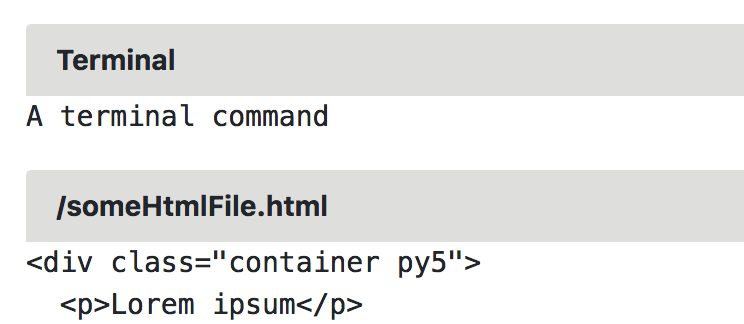
##### Terminal
{% highlight Bash %}
A terminal command
{% endhighlight %}
##### some html
{% highlight HTML %}
<div class="container py5">
<p>Lorem ipsum</p>
</div>
{% endhighlight %}
##### some javascript
{% highlight JavaScript %}
$(document).ready(function() {
console.log('hello');
});
{% endhighlight %}
A code section without any header
<div class="no-select-button">
{% highlight HTML %}
<span>A small HTML snippet</span>
{% endhighlight %}
</div>
An image
<img src="https://jekyllrb.com/img/logo-2x.png" class="img-fluid"/>Let’s navigate to our post, http://localhost:4000/a-sample-post/ and see what it currently looks like without any added styling:
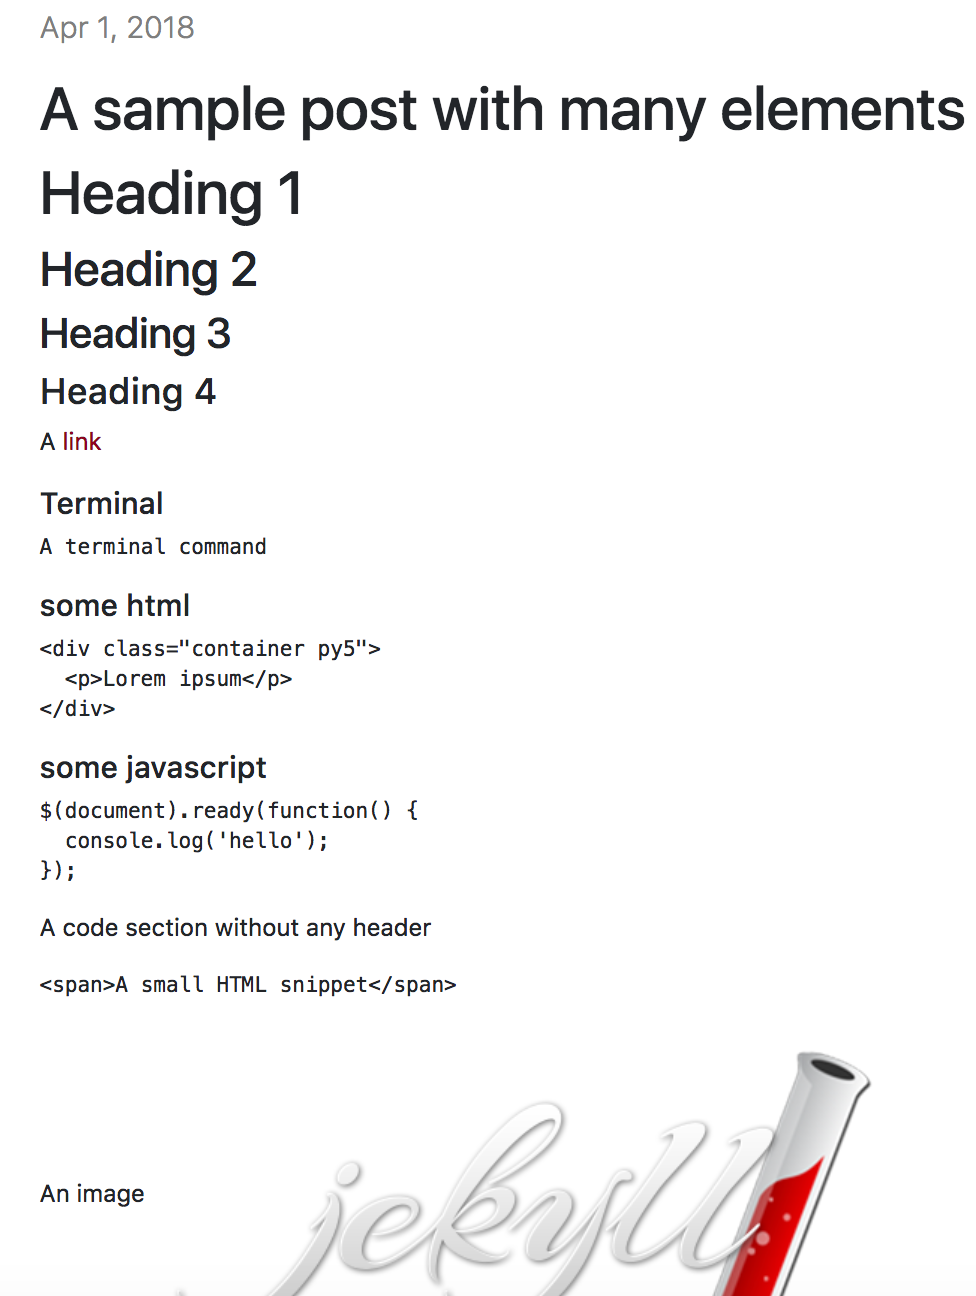
Not horrible, but not exactly great either, I think we can definitely make some improvements!
Styling a post
We’ll need a new Sass file which will have to be imported in main.scss.
Terminal
touch css/custom/includes/_post.scss/css/main.scss
---
---

@import 'bootstrap/bootstrap';
@import 'custom/includes/header';
@import 'custom/includes/banner';
@import 'custom/includes/social_links';
@import 'custom/includes/posts';
@import 'custom/includes/pagination';
@import 'custom/includes/post';
Now we’re set to begin updating the styles.
Post title and headers
First off let’s style the title and headers for a post. We want them to be displayed in our primary color and we’ll also add a bit of extra padding.
/css/custom/includes/_post.scss
#post {
h1, h2, h3, h4 {
color: $primary;
padding-top: 10px;
}
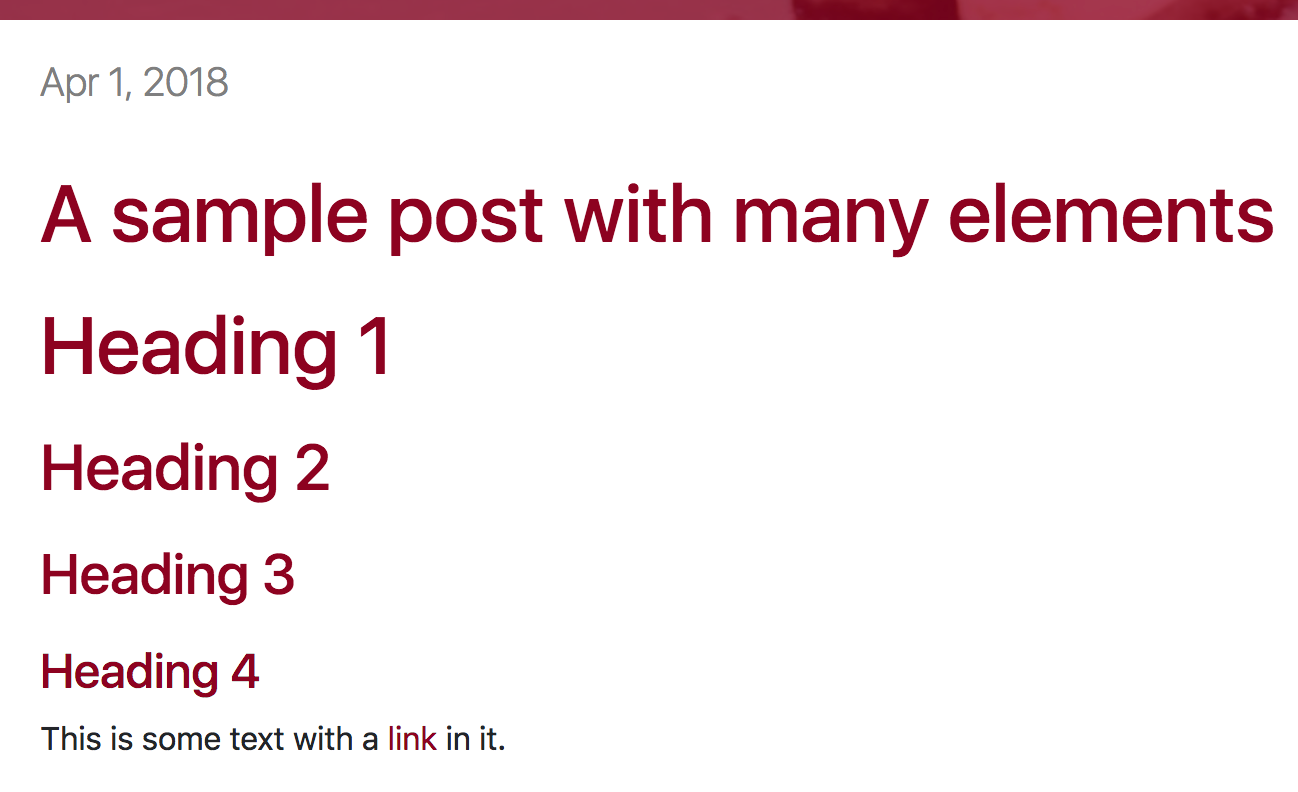
}That looks much better, the padding and color will help to visually define the headers and seperate them from the text content.
Links
The link looks ok as is, it’s displayed using our primary color and exhibits the standard features of a link such as an underline when the user hovers over it.
Images
Let’s skip over our code sections for now as they’ll be a little more involved and get the image styling out of the way.
All we’re going to do with our images is to add some margins and a box shadow.
/css/custom/includes/_post.scss
#post {
  h1, h2, h3, h4 {
    color: $primary;
    padding-top: 10px;
  }
  img {
    display: block;
    margin-left: auto;
    margin-right: auto;
    box-shadow: 12px 12px 3px rgba(34, 25, 25, 0.4);
    -moz-box-shadow: 12px 12px 3px rgba(34, 25, 25, 0.4);
    -webkit-box-shadow: 12px 12px 3px rgba(34, 25, 25, 0.4);
    margin-top: 20px;
    margin-bottom: 40px;
  }
}
We now have a bit of extra spacing and a shadow effect surronding our image.

Code
We have two things we want to handle for our code sections. We want to style the header, and then style the actual body of the code. So let’s get started!
A few new Sass variables
We’ll make use of a few Sass variables in order to style up our code sections, so let’s add those first.
/css/custom/_variables.scss
$primary: #8d021f; // burgundy
$info: #7f7f7f; // grey

$code-heading-background: #dededc; // light grey
$code-text-color: #b6b6b6; // off white
The header
Let’s add the header style.
/css/custom/includes/_post.scss
We’ve utilized one of our new variables to set the background color, added a bit of padding and made a few changes to the font. We’ve also added a subtle border radius along the top.
Looking good!
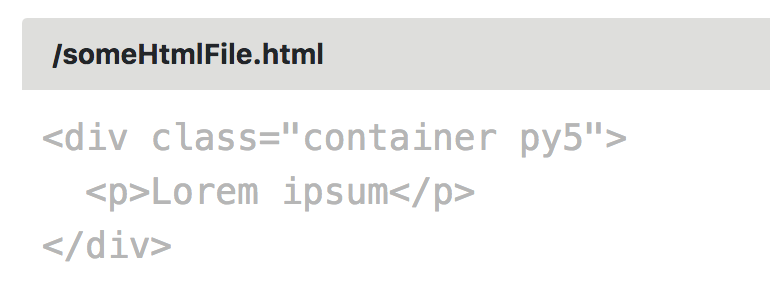
Now for the body.
/css/custom/includes/_post.scss
Not a lot going on, we’ve changed the font size and color, and added some padding.
Our full code sections now look like:
Not very impressive.
Luckily there are a number of CSS resources that we can find to prettify our code sections when working with Jekyll.
We’ll be using this file from Github: https://gist.githubusercontent.com/nicolashery/5765395/raw/80abaa1791271466393e8264f286c1eb9240d059/solarized-dark.css.
Create a new file in the css directory and then copy the contents of the above file into it.
Terminal
touch css/_solarized-dark.scss/css/_solarized-dark.scss
Don’t forget to add it to main.scss.
/css/main.scss
---
---

@import 'bootstrap/bootstrap';
@import 'custom/includes/header';
@import 'custom/includes/banner';
@import 'custom/includes/social_links';
@import 'custom/includes/posts';
@import 'custom/includes/pagination';
@import 'custom/includes/post';
@import 'solarized-dark';
And with that our styling of individual posts is complete.
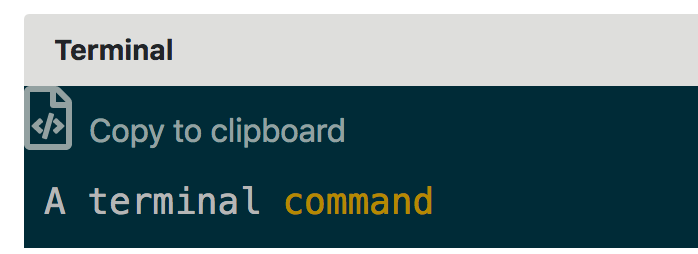
Adding clipboard copying of code
One final feature we would like to add is the ability to copy a code section to the clipboard.
We can do this with a bit of custom Javascript and a 3rd party javascript file.
Set up the javascript
Let’s get going on the javascript. First add a new directory to hold our javascript files, along with a file for our custom javascript.
Terminal
mkdir js
touch js/codeselect.js
We’ll be making use of clipboard.js, so download a zip of it from here: https://github.com/zenorocha/clipboard.js/archive/master.zip.
Unzip the downloaded file and copy clipboard.js-master/dist/clipboard.min.js to the js directory we just created, i.e.
Terminal
cp -r ~/Downloads/clipboard.js-master/dist/clipboard.min.js js/Now in order to make use of clipboard.js we’re going to need to add a little bit of custom javascript.
/js/codeselect.js
// adapted from https://stackoverflow.com/a/48078807/1217368
$(document).ready(function() {
$('.highlight').each(function(i) {
if (!$(this).parent().hasClass('no-select-button')) {
// create an id for the current code section
var currentId = "codeblock" + (i + 1);
// find the code section and add the id to it
var codeSection = $(this).find('code');
codeSection.attr('id', currentId);
// now create the button, setting the clipboard target to the id
var btn = document.createElement('a');
btn.setAttribute('type', 'btn');
btn.setAttribute('class', 'btn-copy-code');
btn.setAttribute('data-clipboard-target', '#' + currentId);
btn.innerHTML = '<i class="far fa-file-code fa-2x"></i> Copy to clipboard';
this.insertBefore(btn, this.firstChild);
}
});
new ClipboardJS('.btn-copy-code');
});This is a little bit tricky, I was able to find a good post on stackoverflow to help me out as noted in the code comments. Basically what we are doing is searching for every element on our HTML page that has a class of highlight. Assuming we haven’t marked this element as an element for which we don’t want a select button to show up (i.e. via the no-select-button class), we add a button and associate it with the current code block. We then call ClipboardJS on each button that we’ve created.
We’ll need to add our new javascript files to the bottom of our footer include file.
/_includes/footer.html
With all that out of the way we have a working copy to clipboard button!
Add a bit of styling
Obviously this could do with a bit of styling, so let’s get on that.
/css/custom/includes/_post.scss
We’ve re-positioned the button and added some custom colors for the default and hover state.
Looking much better!

Summary
Our blog is really coming along, the only thing left is to add a few supporting pages which we’ll tackle in the next post.
Thanks for reading and I hope you enjoyed the post!