Following from our previous discussion on utilizing custom fonts in Phoenix with Tailwind CSS, the process has been simplified due to the integration of Tailwind in Phoenix’s default configuration.
Let’s dive right in!
Setting Up a New Project
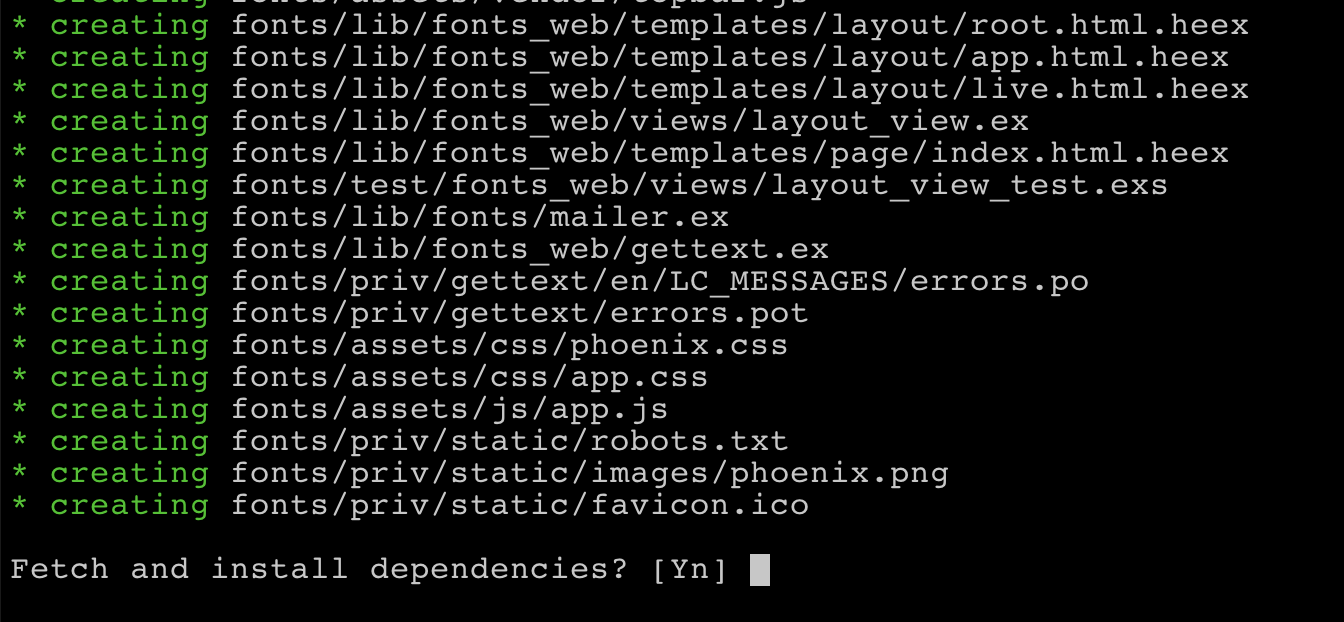
We’ll require a Phoenix project as a foundation for our fonts. As of this guide, Phoenix version 1.7.7 is being used. There’s no need for a database for this project. Here’s how to generate the application:
Terminal
mix phx.new fonts --no-ectoUpon being asked to install dependencies, select ‘yes’.
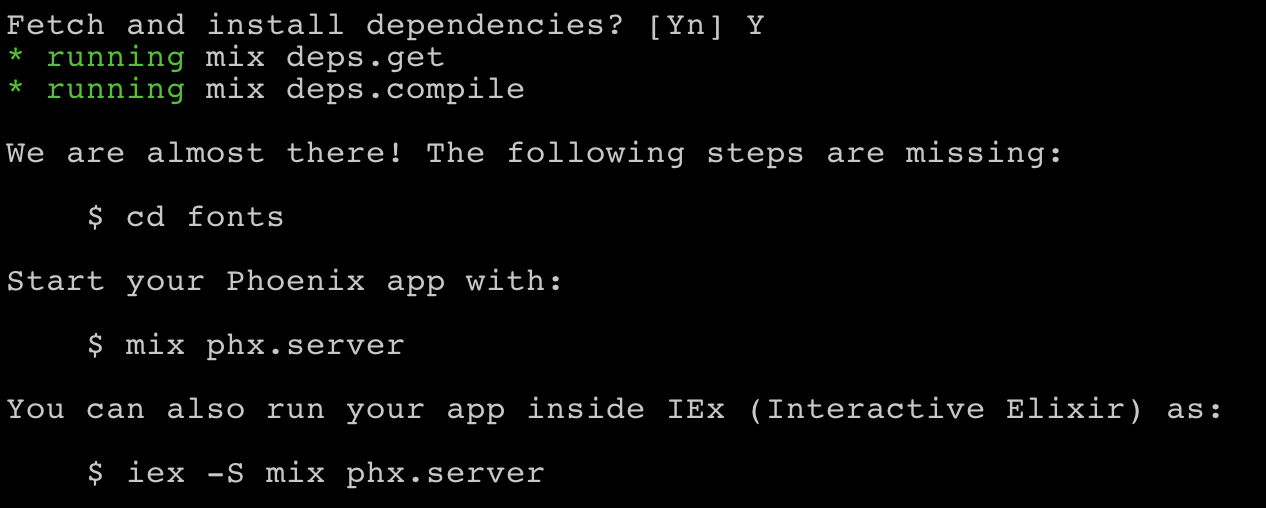
Next, navigate into the newly created application directory:
Terminal
cd fontsTo confirm everything is in order, let’s run the server:
Terminal
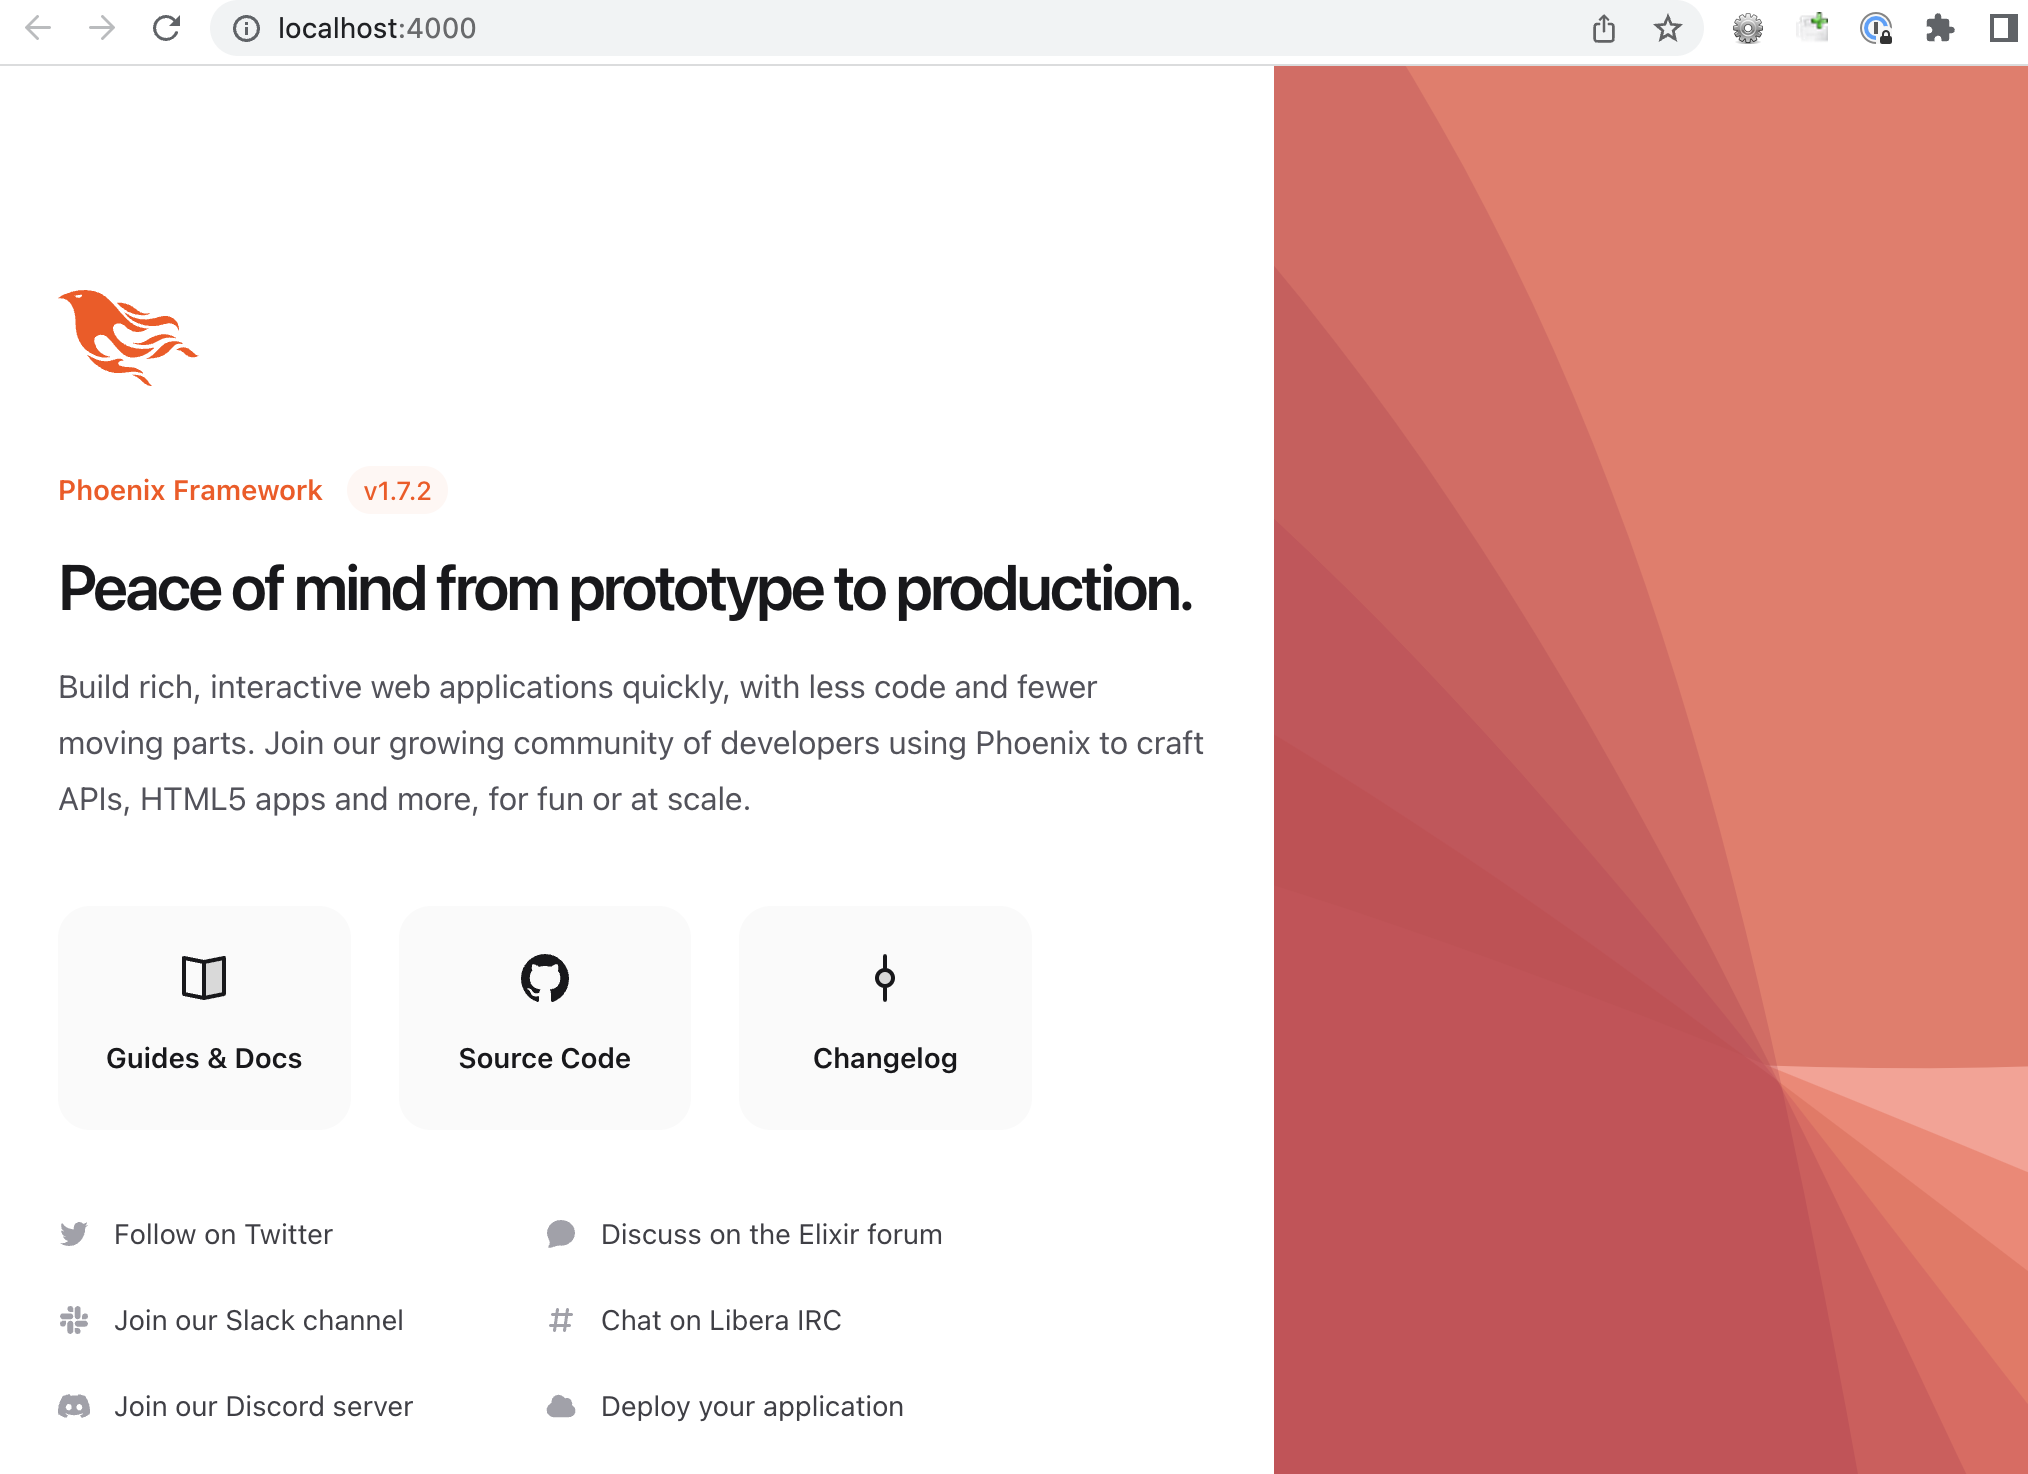
mix phx.serverNavigating to http://localhost:4000/ should yield our default Phoenix application:
Add some fonts
The first order of business is to download the desired font resources. If you’re familiar with Tailwind UI you’ll know they recommend using the Inter font family as a default font. So we’ll be doing that and also adding a decorative font (Lobster) which could be used as a potential logo substitute or similar graphic element.
Setting up our font directories
Our fonts will reside in /priv/static/fonts, therefore, let’s create directories for both font types:
Terminal
mkdir -p priv/static/fonts/InterWeb
mkdir priv/static/fonts/Lobster
Following this, we need to download the font resources.
Download the fonts
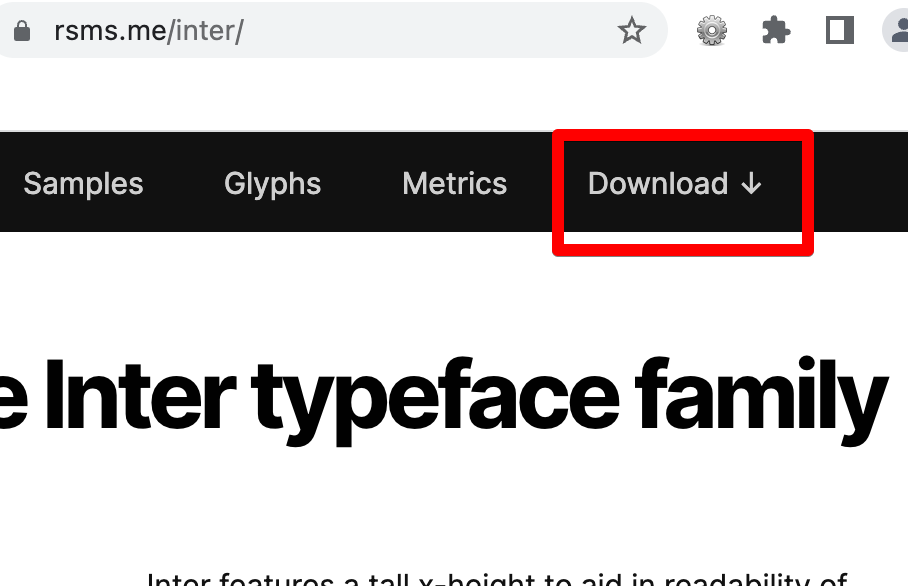
The Inter font can be downloaded here. Just select the download button.
The Lobster font can be downloaded here. Select the “modern browsers” option and click the download button.
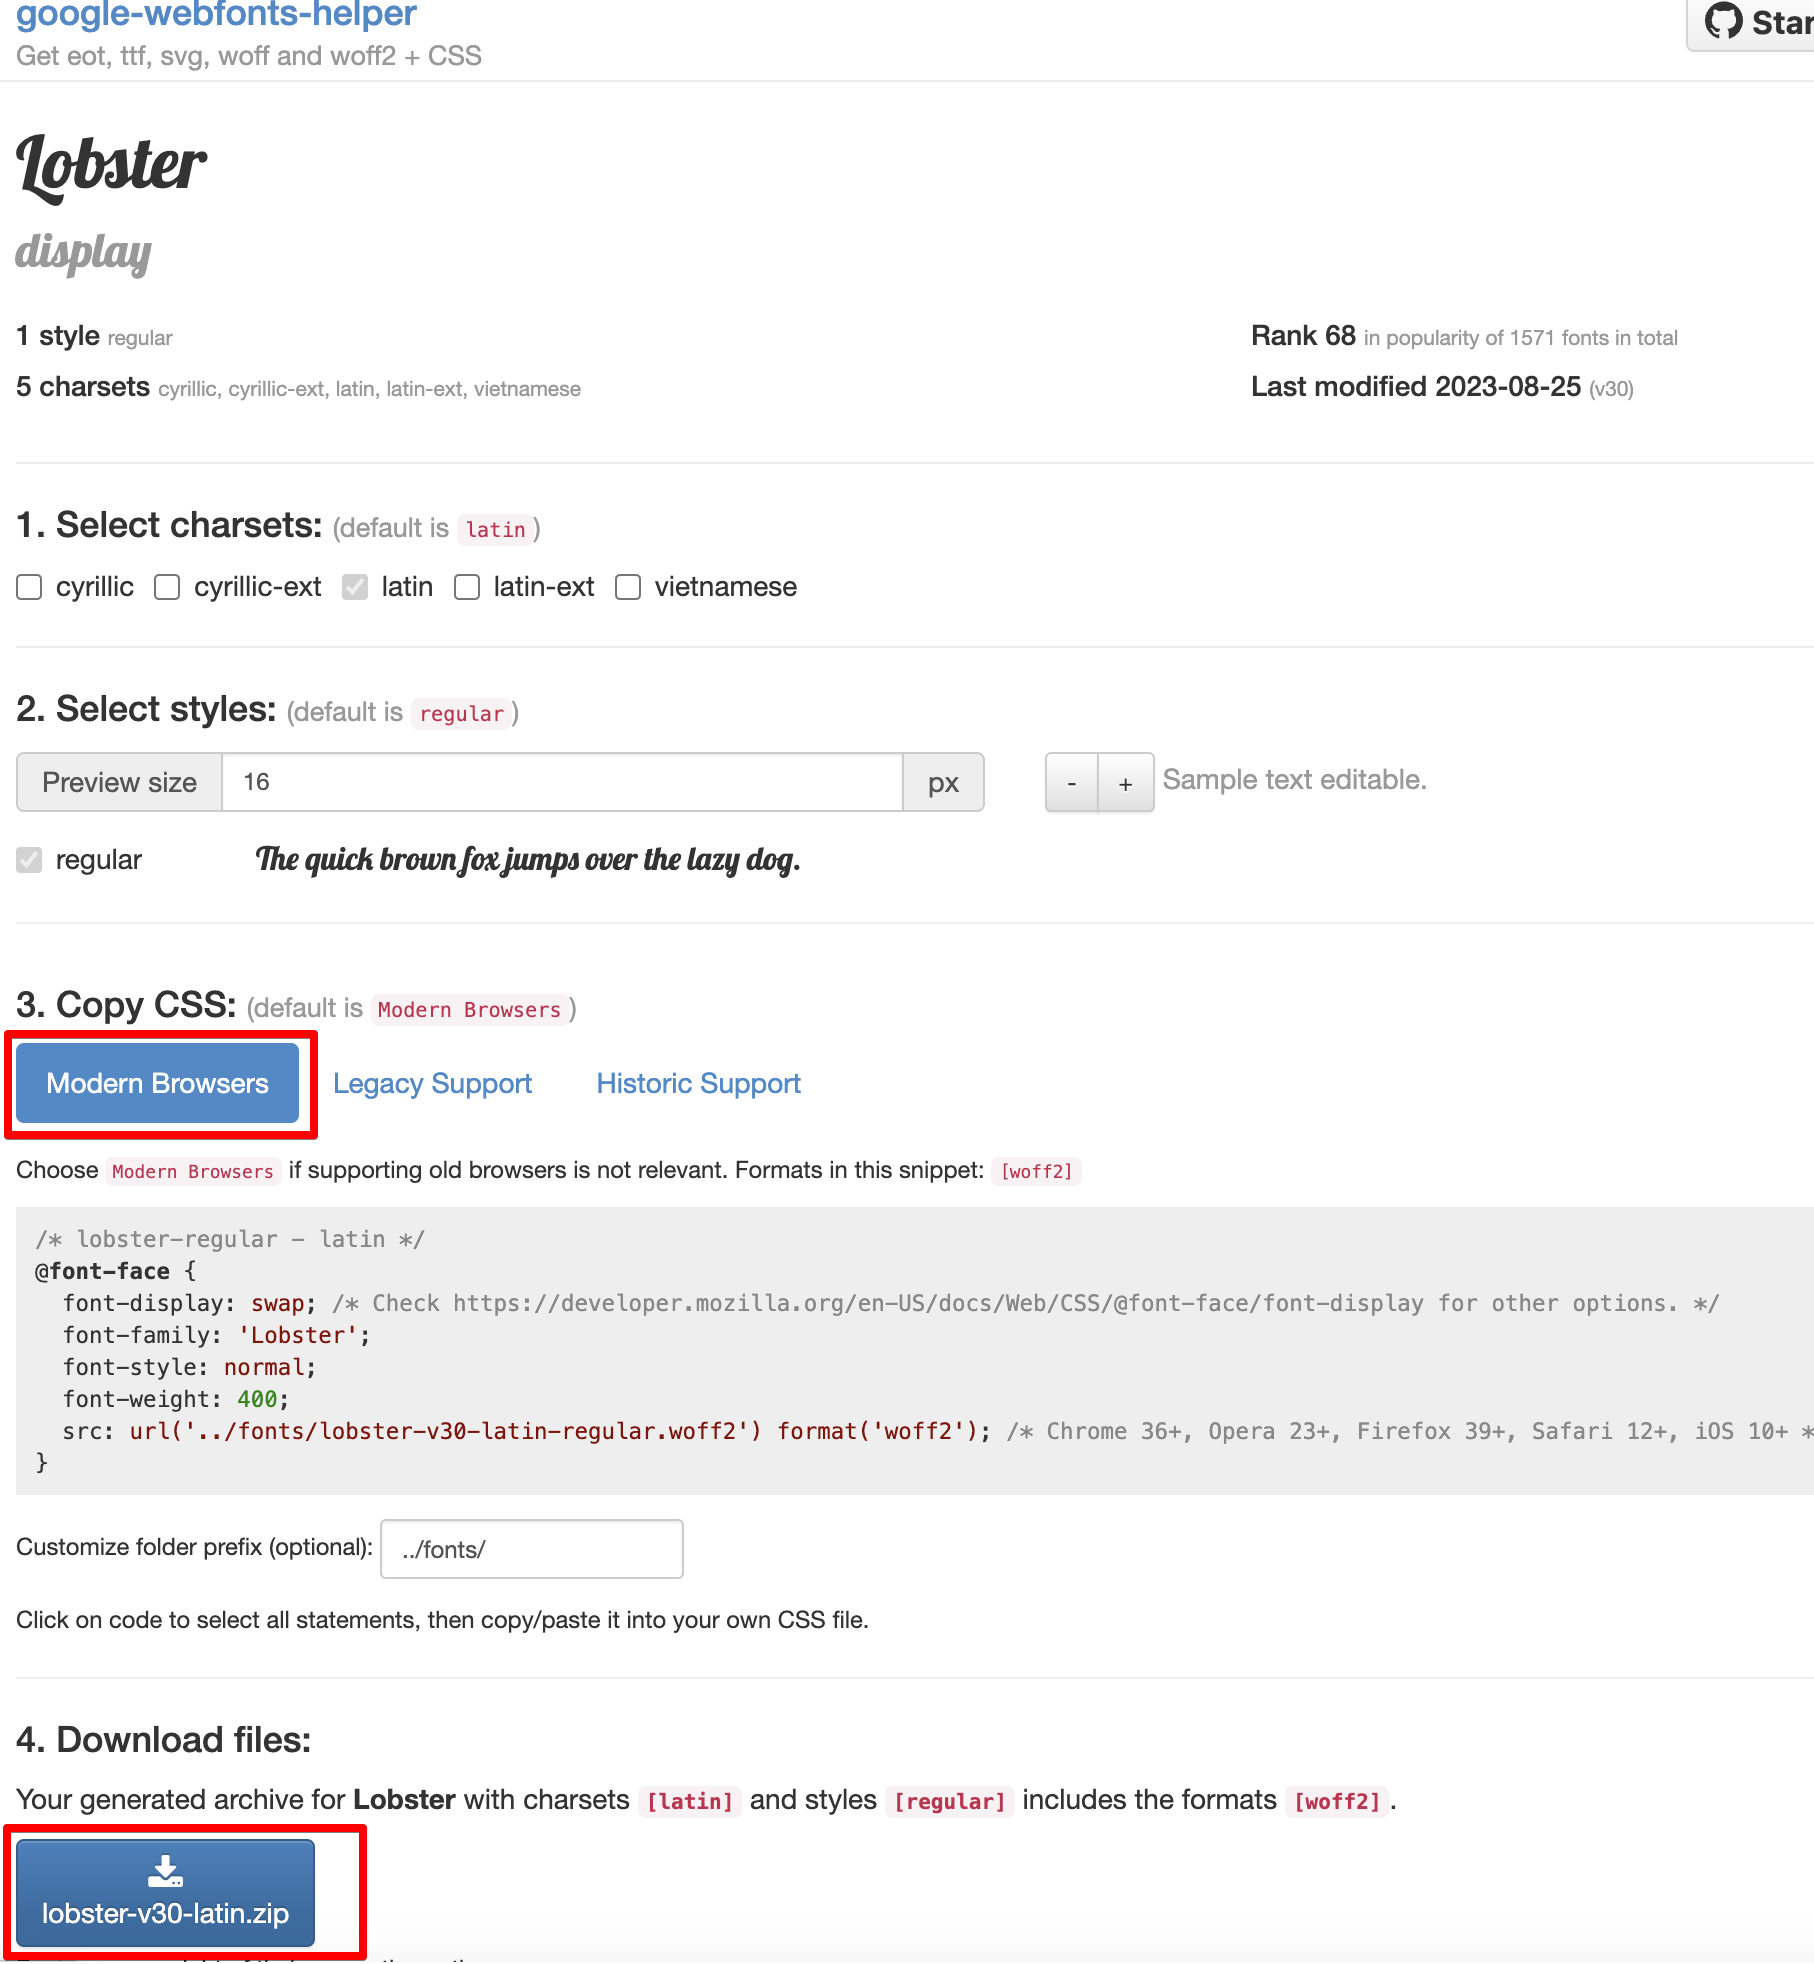
Now we can unzip the files and copy the relevant files to the asset directories we set up. In the case of the Inter font copy all the files in Inter Web to /priv/static/fonts/InterWeb.

With the Lobster font, just copy over the 1 file from the zip archive to /priv/static/fonts/Lobster.

Unlike the Inter font, the Lobster font doesn’t include a CSS file, so let’s create that now.
Terminal
touch priv/static/fonts/Lobster/lobster.css/assets/vendor/fonts/Lobster/lobster.css
/* lobster-regular - latin */
/* lobster-regular - latin */
@font-face {
  font-display: swap; /* Check https://developer.mozilla.org/en-US/docs/Web/CSS/@font-face/font-display for other options. */
  font-family: 'Lobster';
  font-style: normal;
  font-weight: 400;
  src: url('lobster-v30-latin-regular.woff2') format('woff2'); /* Chrome 36+, Opera 23+, Firefox 39+, Safari 12+, iOS 10+ */
}
That takes care of the font resources, now we need to link them up in our application.
Including the fonts in the application
Link the font files in the root layout
First thing we’ll do is link to our font files. We’ll do this in the root layout.
/lib/fonts_web/templates/layout/root.html.heex
<!DOCTYPE html>
<html lang="en" style="scrollbar-gutter: stable;">
  <head>
    <meta charset="utf-8" />
    <meta name="viewport" content="width=device-width, initial-scale=1" />
    <meta name="csrf-token" content={get_csrf_token()} />
    <.live_title suffix=" · Phoenix Framework">
      <%= assigns[:page_title] || "Fonts" %>
    </.live_title>
    <!-- add these 2 lines -->
    <link phx-track-static rel="stylesheet" href={~p"/fonts/InterWeb/inter.css"} />
    <link phx-track-static rel="stylesheet" href={~p"/fonts/Lobster/lobster.css"} />
    <link phx-track-static rel="stylesheet" href={~p"/assets/app.css"} />
    ...
    ...
Update the Tailwind configuration
The final step is to update the Tailwind configuration.
/assets/tailwind.config.js
// See the Tailwind configuration guide for advanced usage
// https://tailwindcss.com/docs/configuration
// ADD: the default theme
const defaultTheme = require("tailwindcss/defaultTheme");
const plugin = require("tailwindcss/plugin")
const fs = require("fs")
const path = require("path")

module.exports = {
  content: [
    "./js/**/*.js",
    "../lib/*_web.ex",
    "../lib/*_web/**/*.*ex"
  ],
  theme: {
    extend: {
      colors: {
        brand: "#FD4F00",
      },
      // ADD: the font families to the extend section
      fontFamily: {
        sans: ["Inter var", ...defaultTheme.fontFamily.sans],
        lobster: ["Lobster"],
      },
    },
  },
  plugins: [
    require("@tailwindcss/forms"),
    ...
    ...
Here we’re setting the Inter font as the default font via the first line we’ve added to the file. We then add a fontFamily configuration to the extend section of the configuration.
We’re all set!
Trying it out
Let’s give it a go, we’ll update home.html.heex to include a new div with some text using the Lobster font.
/lib/fonts_web/controllers/page_html/home.html.heex
<.flash_group flash={@flash} />
<div class="text-5xl font-lobster text-center">Lobster</div>
<div class="left-[40rem] fixed inset-y-0 right-0 z-0 hidden lg:block xl:left-[50rem]">
...
...
Let’s fire up the server.
Terminal
mix phx.serverAnd voila, we got fonts batman!
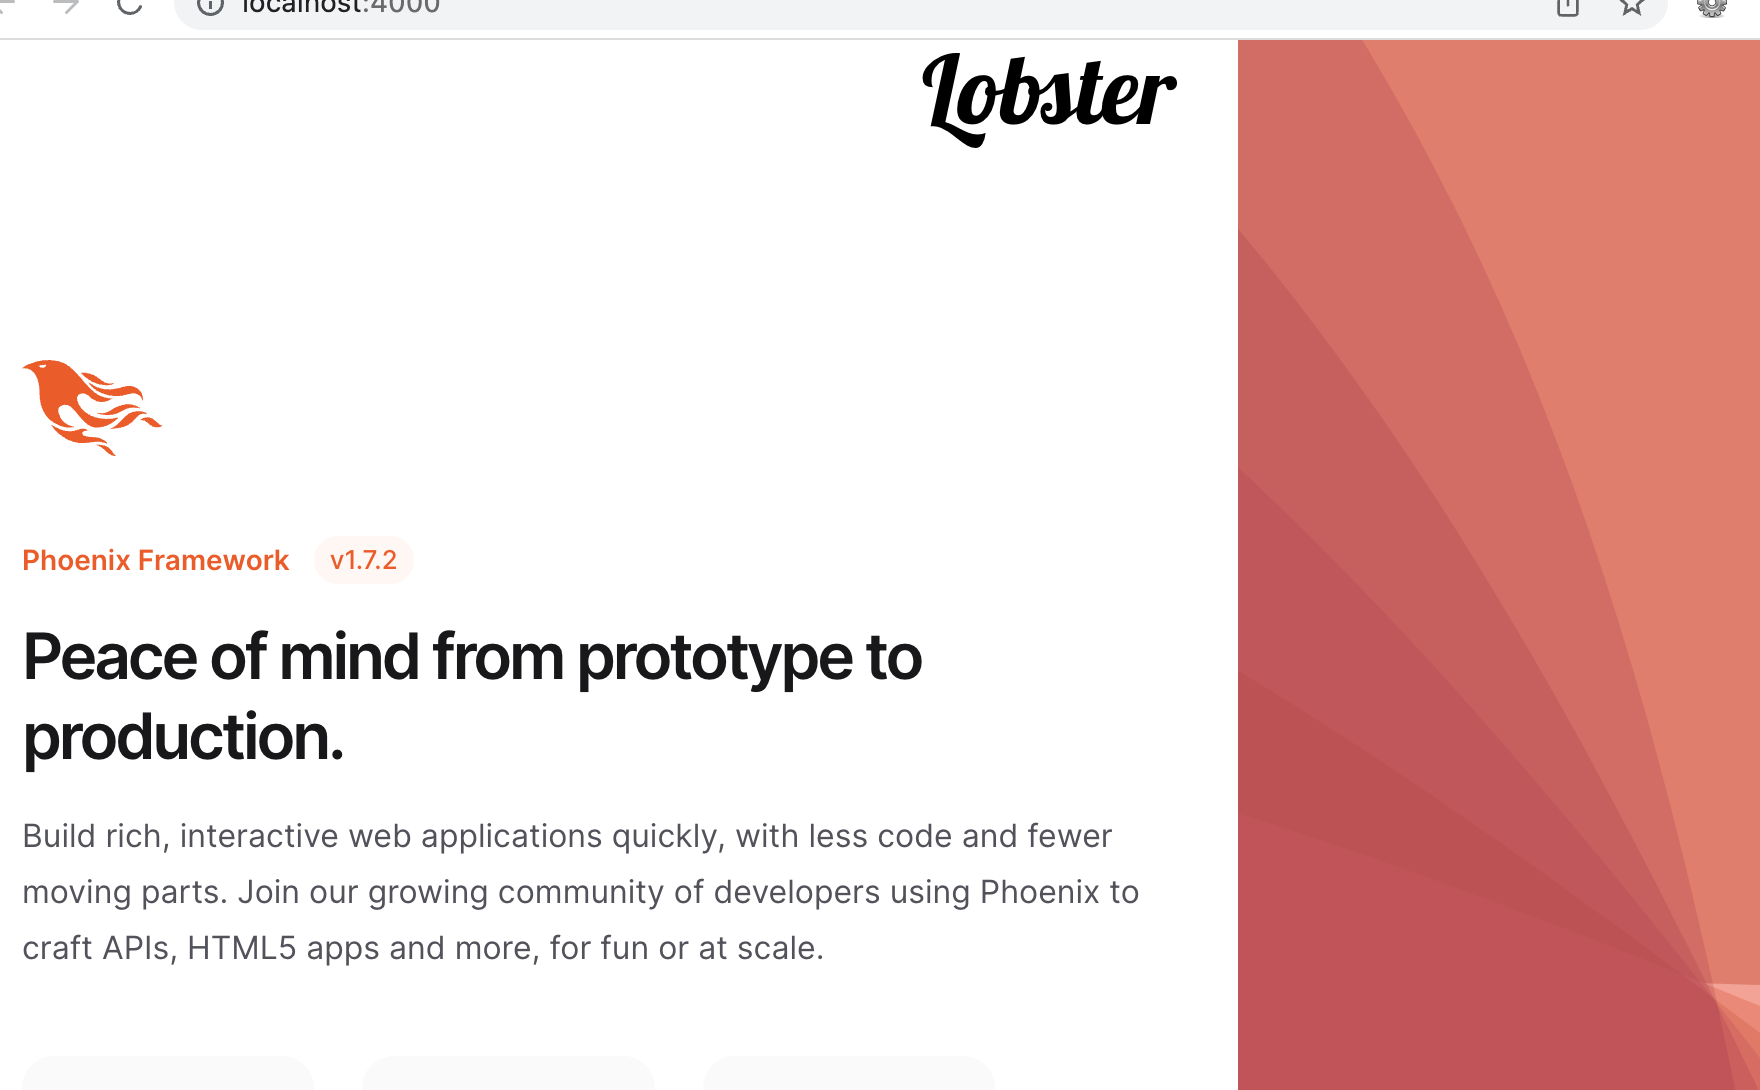
The font-lobster class is working as expected and the default font is now the Inter font (you can verify this if you comment out the <link phx-track-static rel="stylesheet" href={~p"/fonts/InterWeb/inter.css"} /> line in root.html.heex and observe the subtle font change).
Summary
So serving custom fonts turns out to be pretty easy. To summarize, essentially all we need to do is:
- Download the font resources.
- Link to the resources in the root layout.
- Update the tailwind config.
Thanks for reading and I hope you enjoyed the post!