Setting up custom fonts for use with Phoenix and Tailwind is pretty straight forward. It’s also pretty easy to miss a step and spend way too long trying to figure out why your fonts aren’t showing up… is it possible this is something I’ve learned from personal experience… sigh… yes, yes it is! In anycase, today we’ll setup a new Phoenix project and throw some custom fonts at it.
Update 2023-05-12: for Phoenix projects using Phoenix 1.7+ see this post instead.
Updated 2022-04-24:
This post has been updated to reflect the latest version of Tailwind (version 3)… and instead of using https://github.com/kevinlang/phx_gen_tailwind to set up Tailwind we’ve switched over to the official Phoenix generator, https://github.com/phoenixframework/tailwind.
Let’s get at it!
Create a new project
We’ll need a Phoenix project for our fonts so let’s get that set up. I’m using version 1.6 of Phoenix, if you’re on an older version of Phoenix you might not have much luck with this guide, as it assumes we’re using esbuild for asset bundling, which replaced npm as of version 1.6 of Phoenix.
We also don’t need a database for our simple project… so it’s a --no-ecto kinda’ day.
Terminal
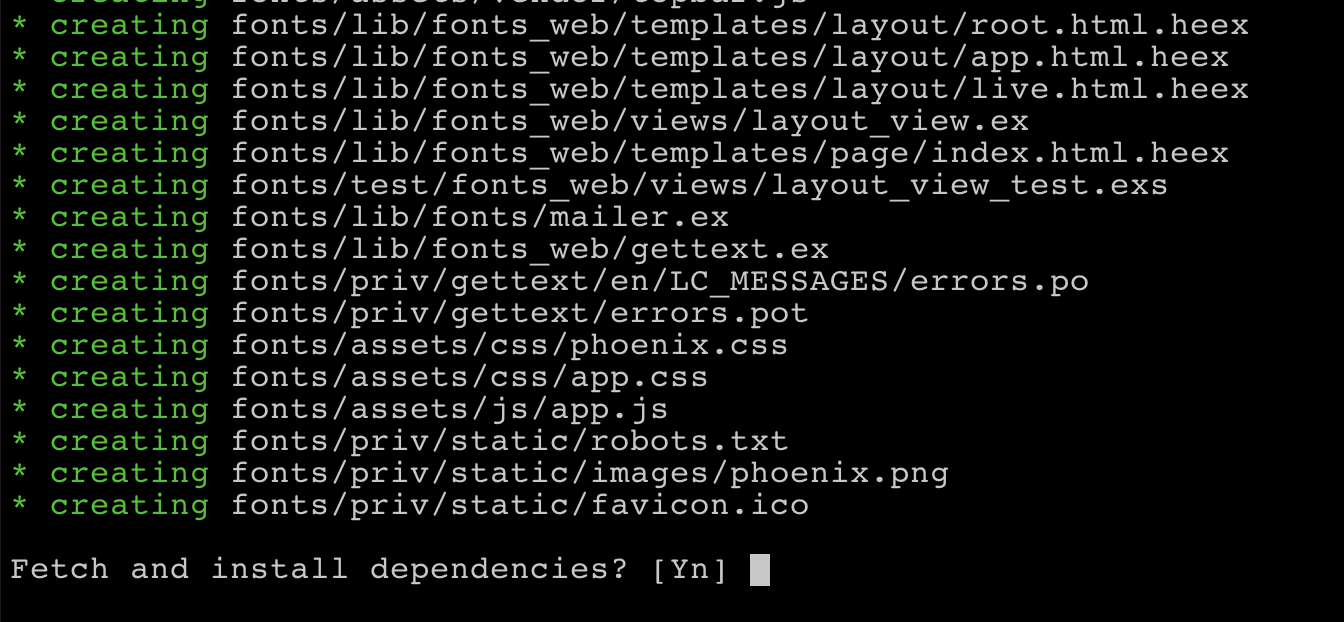
mix phx.new fonts --no-ectoSelect yes when asked to install dependencies.

Now we can change into the directory where the application was created.
Terminal
cd fontsAnd let’s run the server just to make sure everything is working.
Terminal
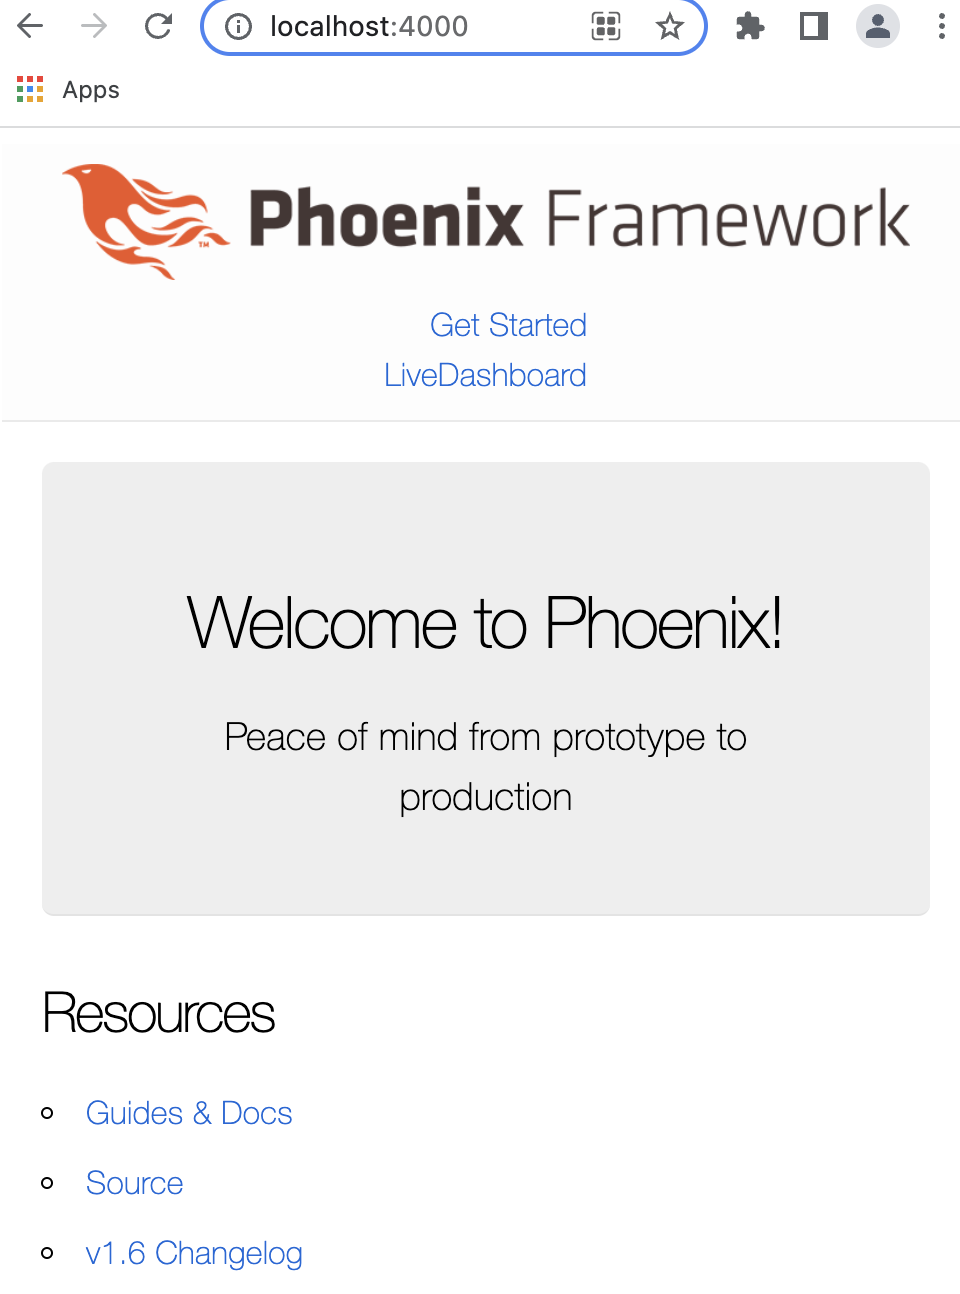
mix phx.serverNavigating to http://localhost:4000/ should yield our default Phoenix application:
Great, now let’s add Tailwind CSS.
Add Tailwind
Phoenix makes it easy to add Tailwind to your project via a generator https://github.com/phoenixframework/tailwind.
This is what we’ll be using and we’re following the docs from the GitHub repository verbatim… so the first step is to add the dependency to our mix.exs file.
/mix.exs
defp deps do
  [
    {:phoenix, "~> 1.6.6"},
    {:phoenix_html, "~> 3.0"},
    {:phoenix_live_reload, "~> 1.2", only: :dev},
    {:phoenix_live_view, "~> 0.17.5"},
    {:floki, ">= 0.30.0", only: :test},
    {:phoenix_live_dashboard, "~> 0.6"},
    {:esbuild, "~> 0.3", runtime: Mix.env() == :dev},
    {:swoosh, "~> 1.3"},
    {:telemetry_metrics, "~> 0.6"},
    {:telemetry_poller, "~> 1.0"},
    {:gettext, "~> 0.18"},
    {:jason, "~> 1.2"},
    {:plug_cowboy, "~> 2.5"},
    {:tailwind, "~> 0.1", runtime: Mix.env() == :dev}
  ]
end
Next we need to add a Tailwind configuration section to config.exs. I’ve added it right before the import_config statement.
/config/config.exs
...
...

# Tailwind config
config :tailwind,
  version: "3.0.10",
  default: [
    args: ~w(
      --config=tailwind.config.js
      --input=css/app.css
      --output=../priv/static/assets/app.css
    ),
    cd: Path.expand("../assets", __DIR__)
  ]

# Import environment specific config. This must remain at the bottom
# of this file so it overrides the configuration defined above.
import_config "#{config_env()}.exs"
In order to get styles showing up during development we need to add a new watcher to dev.exs for Tailwind.
/config/dev.exs
watchers: [
  # Start the esbuild watcher by calling Esbuild.install_and_run(:default, args)
  esbuild: {Esbuild, :install_and_run, [:default, ~w(--sourcemap=inline --watch)]},
  tailwind: {Tailwind, :install_and_run, [:default, ~w(--watch)]}
]
We can get rid of the app.css import in app.js.
/assets/js/app.js
// We import the CSS which is extracted to its own file by esbuild.
// Remove this line if you add a your own CSS build pipeline (e.g postcss).
// import "../css/app.css"
...
...
And the final change is to update the assets.deploy alias in mix.exs, to include a Tailwind directive.
/mix.exs
defp aliases do
  [
    setup: ["deps.get"],
    "assets.deploy": ["tailwind default --minify", "esbuild default --minify", "phx.digest"]
  ]
end
With all of that out of the way we can grab the new dependency:
Terminal
mix deps.get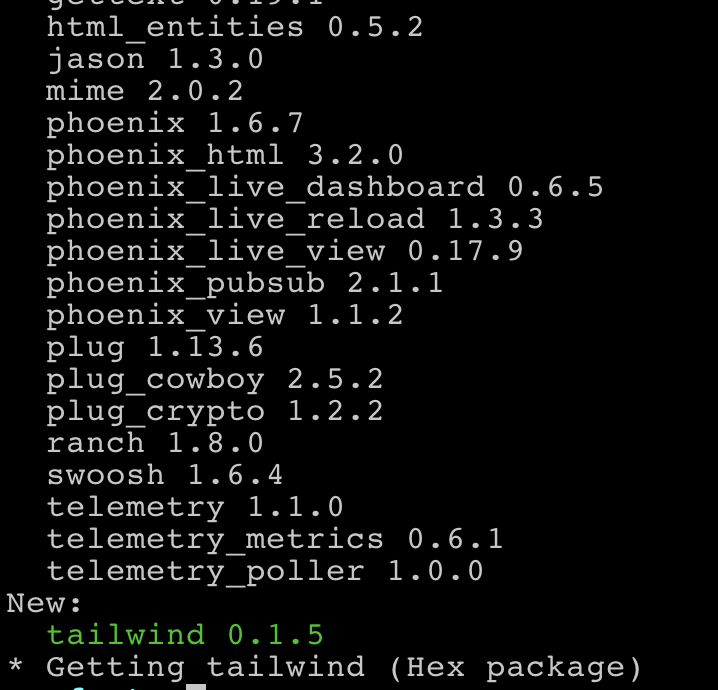
If we fire up the phoenix server a Tailwind configuration file will be generated for us.
Terminal
mix phx.server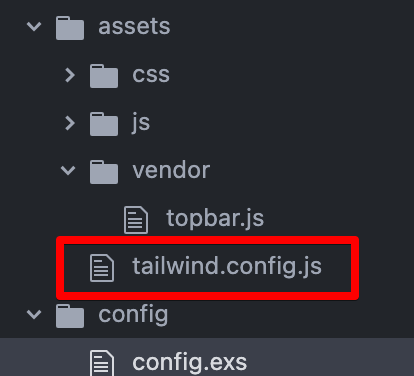
So let’s update the index page to make sure Tailwind is working.
/lib/fonts_web/templates/page/index.html.heex
<div class="text-red-500 text-5xl text-center">Hi there</div>
<section class="phx-hero">
  <h1><%= gettext "Welcome to %{name}!", name: "Phoenix" %></h1>
  ...
We just added a div with some Tailwind classes.
We’ll now see our styled Hi there text.

Perfect, onto the fonts!
Add some fonts
First step here is to download the actual font resources. If you’re familiar with Tailwind UI you’ll know they recommend using the Inter font family as a default font. So we’ll be doing that and also adding a decorative font (Lobster) that could possibly be used in place of a logo or something.
Setting up our font directories
We’ll be placing our fonts inside /assets/vendor/fonts, so let’s create directories for both fonts.
Terminal
mkdir -p assets/vendor/fonts/InterWeb
mkdir assets/vendor/fonts/Lobster
Next we need to download the font resources.
Download the fonts
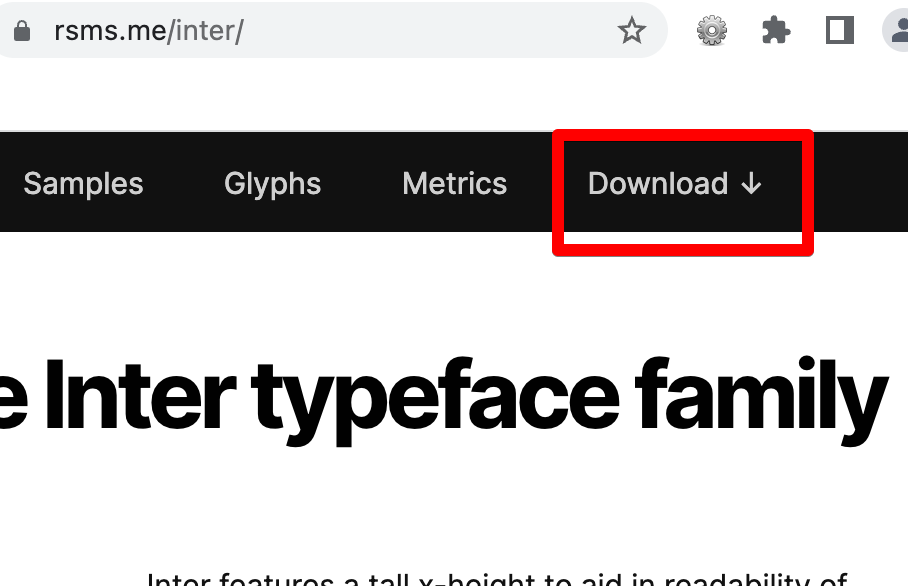
The Inter font can be downloaded here. Just select the download button.
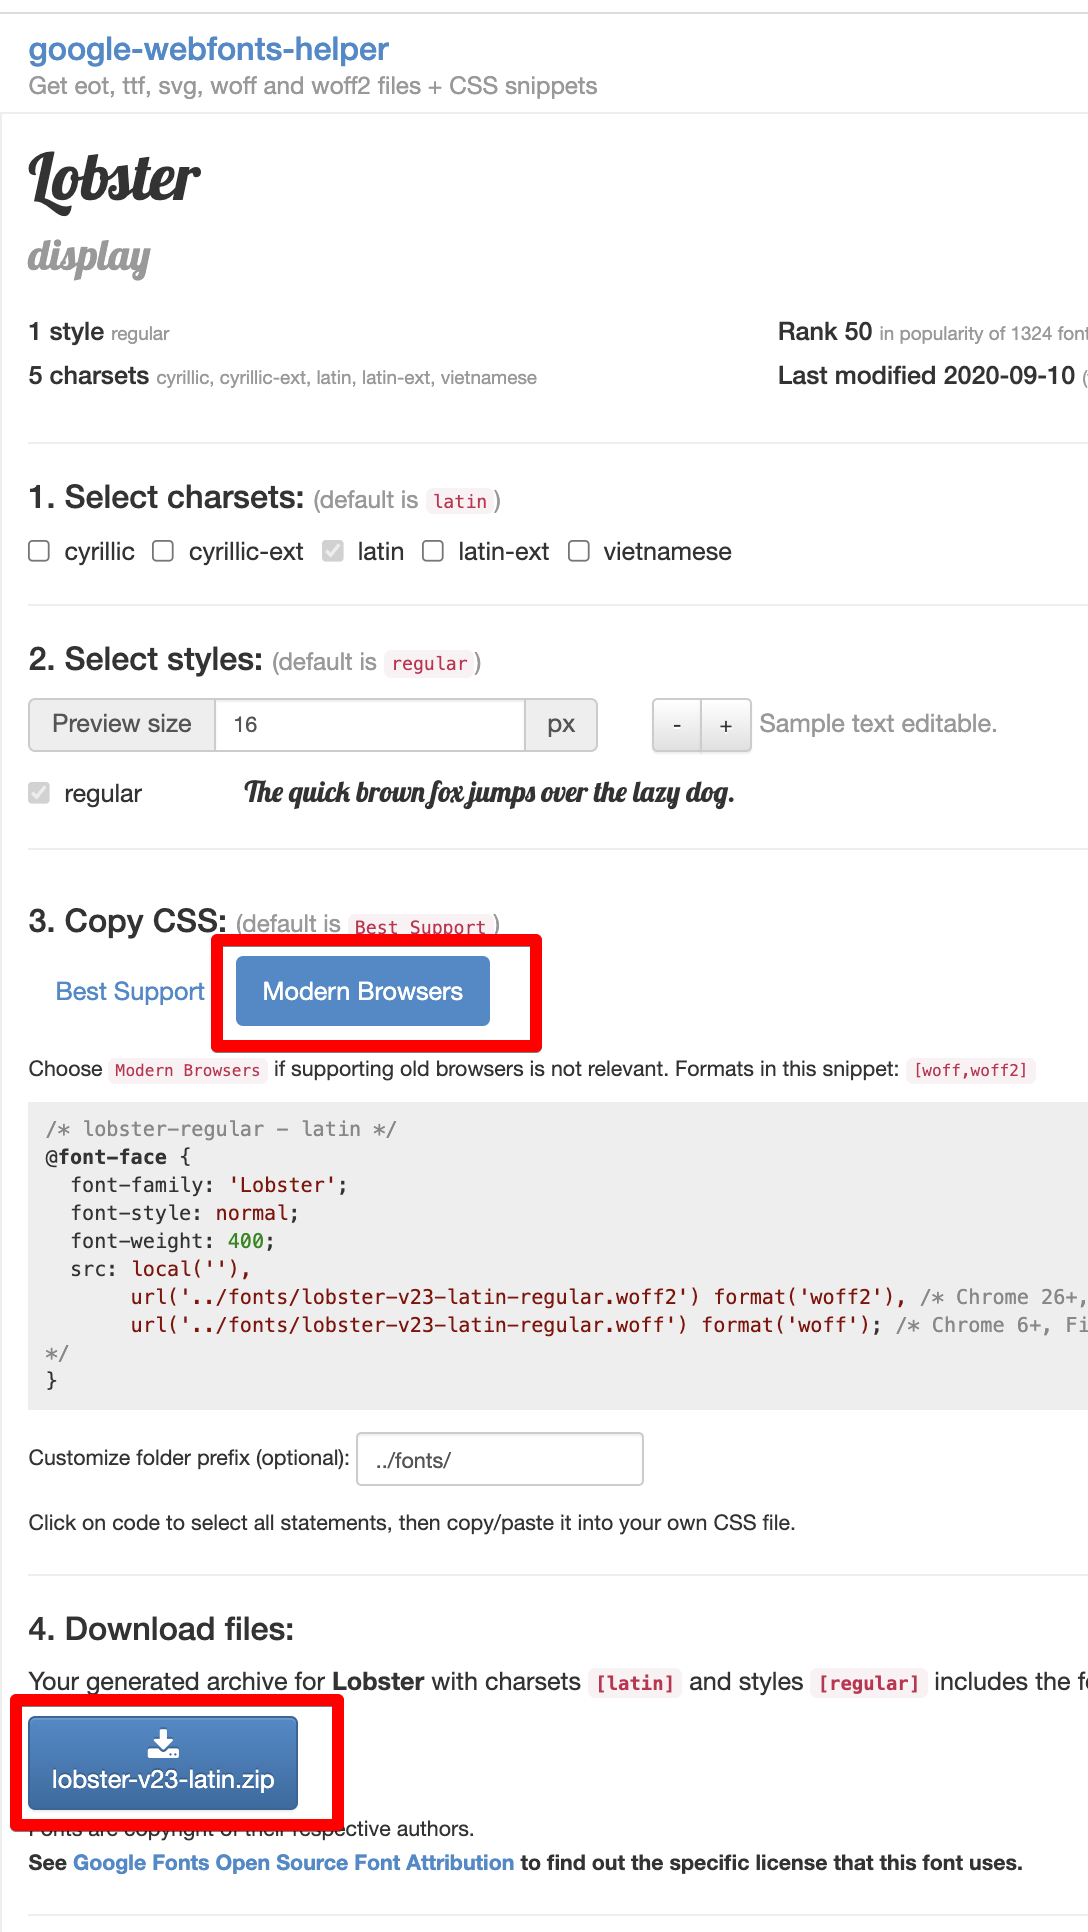
The Lobster font can be downloaded here. Select the “modern browsers” option and click the download button.
Now we can unzip the files and copy the relevant files to the asset directories we set up. In the case of the Inter font copy all the files in Inter Web to /assets/vendor/fonts/InterWeb.

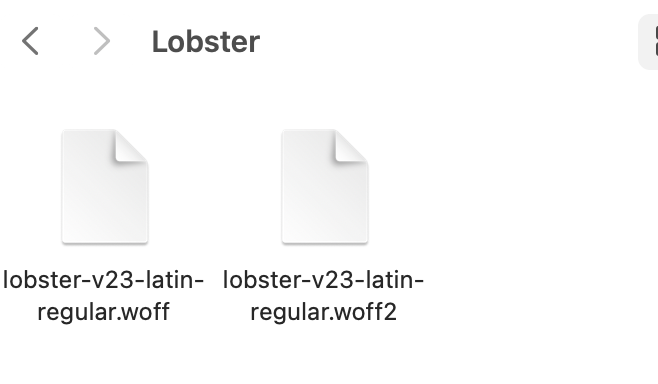
With the Lobster font, just copy over the 2 files from the zip archive to /assets/vendor/fonts/Lobster.
Unlike the Inter font, the Lobster font doesn’t include a CSS file, so let’s create that now.
Terminal
touch assets/vendor/fonts/Lobster/lobster.css/assets/vendor/fonts/Lobster/lobster.css
/* lobster-regular - latin */
@font-face {
  font-family: 'Lobster';
  font-style: normal;
  font-weight: 400;
  src: local(''),
       url('lobster-v27-latin-regular.woff2') format('woff2'), /* Chrome 26+, Opera 23+, Firefox 39+ */
       url('lobster-v27-latin-regular.woff') format('woff'); /* Chrome 6+, Firefox 3.6+, IE 9+, Safari 5.1+ */
}
That takes care of the font resources, now we need to link them up in our application.
Including the fonts in the application
Link the font files in the root layout
First thing we’ll do is link to our font files. We’ll do this in the root layout.
/lib/fonts_web/templates/layout/root.html.heex
<!DOCTYPE html>
<html lang="en">
  <head>
    <meta charset="utf-8"/>
    <meta http-equiv="X-UA-Compatible" content="IE=edge"/>
    <meta name="viewport" content="width=device-width, initial-scale=1.0"/>
    <%= csrf_meta_tag() %>
    <%= live_title_tag assigns[:page_title] || "Fonts", suffix: " · Phoenix Framework" %>
    <!-- add these 2 links -->
    <link phx-track-static rel="stylesheet" href={Routes.static_path(@conn, "/assets/vendor/fonts/InterWeb/inter.css")}/>
    <link phx-track-static rel="stylesheet" href={Routes.static_path(@conn, "/assets/vendor/fonts/Lobster/lobster.css")}/>
    <link phx-track-static rel="stylesheet" href={Routes.static_path(@conn, "/assets/app.css")}/>
    <!-- update this link -->
    <script defer phx-track-static type="text/javascript" src={Routes.static_path(@conn, "/assets/js/app.js")}></script>
  </head>
  <body>
    <header>
    ...
    ...
We’ve added a link for each font and updated the app.js path to be assets/js/app.js instead of assets/app.js.
Update the esbuild configuration
Now we need to update the args list in the esbuild section of the configuration file.
/config/config.exs
...
...

# Configure esbuild (the version is required)
config :esbuild,
  version: "0.12.18",
  default: [
    args: ~w(js/app.js vendor/fonts/InterWeb/inter.css vendor/fonts/Lobster/lobster.css --bundle --loader:.woff2=file --loader:.woff=file --target=es2016 --outdir=../priv/static/assets),
    cd: Path.expand("../assets", __DIR__),
    env: %{"NODE_PATH" => Path.expand("../deps", __DIR__)}
  ]

...
...
We’ve added references to the css files for our fonts (i.e. vendor/fonts/InterWeb/inter.css vendor/fonts/Lobster/lobster.css) and then also added a loader argument for the woff and woff2 font file types (i.e. --loader:.woff2=file --loader:.woff=file).
Update the Tailwind configuration
The final step is to update Tailwind.
/assets/tailwind.config.js
// See the Tailwind configuration guide for advanced usage
// https://tailwindcss.com/docs/configuration
const defaultTheme = require('tailwindcss/defaultTheme')

module.exports = {
  content: [
    './js/**/*.js',
    '../lib/*_web.ex',
    '../lib/*_web/**/*.*ex'
  ],
  theme: {
    extend: {
      fontFamily: {
        sans: ['Inter var', ...defaultTheme.fontFamily.sans],
        lobster: ['Lobster']
      },
    },
  },
  plugins: [
    require('@tailwindcss/forms')
  ]
}
Here we’re setting the Inter font as the default font and making the Lobster font available to our application, Tailwind will create a font-lobster class we can reference.
We’re all set!
Trying it out
Let’s give it a go, we’ll update index.html.heex to include a new div with some text using the Lobster font.
/lib/fonts_web/templates/page/index.html.heex
<div class="text-red-500 text-5xl text-center">Hi there</div>
<div class="text-5xl font-lobster text-center">Lobster</div>
<section class="phx-hero">
  <h1><%= gettext "Welcome to %{name}!", name: "Phoenix" %></h1>
  ...
Let’s fire up the server.
Terminal
mix phx.serverAnd voila, we got fonts batman!

The font-lobster class is working as expected and the default font is now the Inter font (you can verify this if you comment out the <link phx-track-static rel="stylesheet" href={Routes.static_path(@conn, "/assets/vendor/fonts/InterWeb/inter.css")}/> line in root.html.heex and observe the subtle font change).
Summary
So serving custom fonts turns out to be pretty easy. To summarize, essentially all we need to do is:
- Download the font resources.
- Link to the resources in the root layout.
- Update the esbuild config to load
woffandwoff2files. - Update the tailwind config.
Today’s code is available on GitHub.
Thanks for reading and I hope you enjoyed the post!