Today we’re starting on a series of posts that delves into everyone’s favorite topic… DevOps 😱! Our goal will be to deploy a simple Phoenix application to AWS. We’ll be using the new Elixir 1.9 release task, along with Docker, and Terraform. This will be a two or three part series; today we’ll concentrate on creating a release and building a docker image. In subsequent posts we’ll deploy the docker image to AWS.
I find one of the challenges with DevOps is all the moving parts. Building the code; containerization; provisioning infrasture; continuous integration… it’s a lot! In this series we’re going to ignore the CI component altogether, but hopefully provide a decent jumping off point for everything else.
Let’s get at it! The first step is to create a simple application.
What we’ll build
Our application will be a trivial “warehouse” application that just contains a list of products.
Create the app
We’ll start from scratch with a new Phoenix application and add some scaffolding for the CRUD functionality.
Terminal
mix phx.new aws_warehouse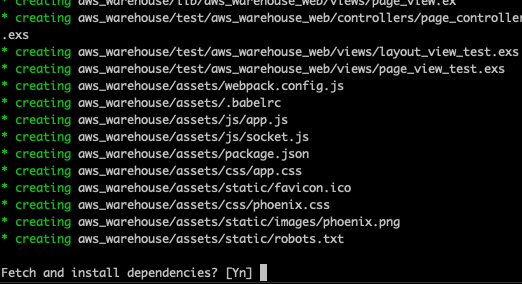
Choose Y when asked to fetch and install dependencies, then change into the application directory and create the database.
Terminal
cd aws_warehouse
mix ecto.create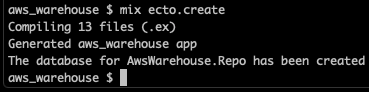
Our basic application is good to go, now let’s add the scaffolding.
Adding some scaffolding
Terminal
mix phx.gen.html Inventory Product products name:string quantity:integer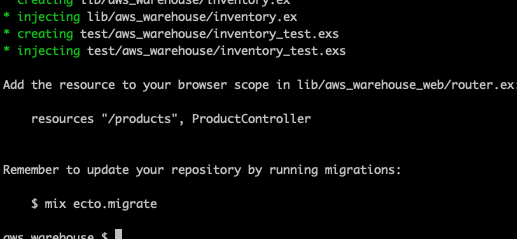
As per the mix output, let’s update the routes…
/lib/aws_warehouse_web/router.ex …line 16
scope "/", AwsWarehouseWeb do
  pipe_through :browser

  get "/", PageController, :index
  resources "/products", ProductController
end
… and run the migrations.
Terminal
mix ecto.migrate
Our application is complete, let’s have a quick look:
Terminal
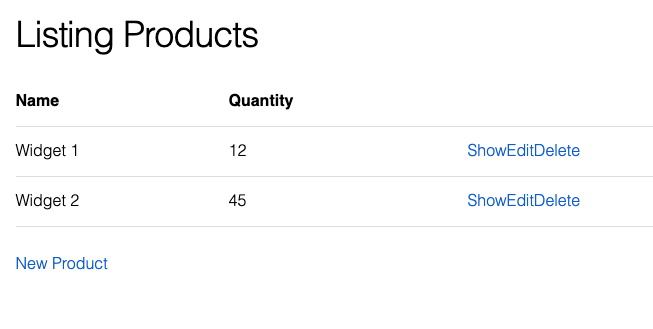
mix phx.serverNavigating to http://localhost:4000/products we can see the products page and we are able to create a few products…
Nothing impressive, but it will be sufficient for our purposes. The next step is to create the release.
Create the release
We will be leaning heavily on this excellent article (https://akoutmos.com/post/multipart-docker-and-elixir-1.9-releases/) by Alex Koutmos to guide us through the creation of a release and a docker image. I’d highly recommend you give it a read. It explains the process much better than I could, and since there is already a great resource explaining releases / docker images, I won’t go into an in depth discussion here. I will point out where we deviate from Alex’s article, the main difference being we are creating an application with a database.
Our first step is to create the release files and configuration.
Terminal
mix release.init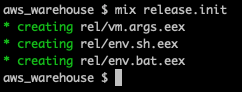
Terminal
touch config/releases.exs/config/release.exs
import Config

secret_key_base = System.fetch_env!("SECRET_KEY_BASE")
db_host = System.fetch_env!("DB_HOST")
db_instance = System.fetch_env!("DB_INSTANCE")
db_user = System.fetch_env!("DB_USER")
db_password = System.fetch_env!("DB_PASSWORD")

config :aws_warehouse, AwsWarehouseWeb.Endpoint,
  http: [:inet6, port: String.to_integer(System.get_env("PORT") || "4000")],
  secret_key_base: secret_key_base

# Database config
config :aws_warehouse, AwsWarehouse.Repo,
  hostname: db_host,
  username: db_user,
  password: db_password,
  database: db_instance,
  pool_size: 15
The main point of the release configuration is to specify items we want set at run time. Typically these are environment specific items. For instance, likely a different database user and password would be used on a QA versus a Production environment. Likewise, our SECRET_KEY_BASE, DB_HOST and DB_INSTANCE values are all things that will be environment specific.
There are a few more configuration items to take care of.
We can get rid of config/prod.secret.exs as the secrets.exs items have all been included in the releases.exs configuration we created.
Terminal
rm config/prod.secret.exsWe need to uncomment the server: true line in config/prod.exs.
/config/prod.exs …line 58
config :aws_warehouse, AwsWarehouseWeb.Endpoint, server: trueAnd we also need to get rid of the prod.secret import on line 65 as we no longer have a prod.secret.exs file.
/config/prod.exs …line 65
# import_config "prod.secret.exs"With that, we are ready to build the release.
Terminal
mix phx.digestTerminal
MIX_ENV=prod mix release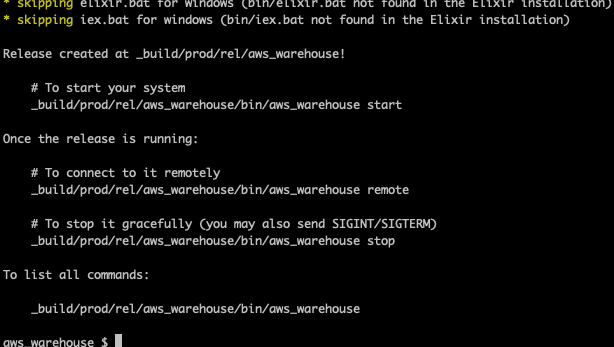
Now let’s test the release by running it on our local machine. We’ll need to pass in the required environment settings (note: adjust the values to your local settings, i.e. your local Postgres user etc).
Terminal
SECRET_KEY_BASE=$(mix phx.gen.secret) \
DB_HOST=localhost \
DB_INSTANCE=aws_warehouse_dev \
DB_USER=postgres \
DB_PASSWORD=postgres \
_build/prod/rel/aws_warehouse/bin/aws_warehouse start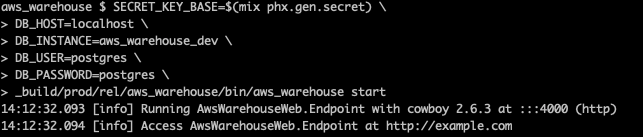
Fantastic, looks like the release is working. If we navigate to http://localhost:4000/products, everything looks good:
Onto the docker image!
Create the Docker image
The first step is to install Docker desktop if not already installed.
Once that is all good, we need a Dockerfile.
Terminal
touch Dockerfile/Dockerfile
# ---- Build Stage ----
FROM elixir:1.9 as app_builder

# Set environment variables for building the application
ENV MIX_ENV=prod \
    TEST=1 \
    LANG=C.UTF-8

# Install hex and rebar
RUN mix local.hex --force && \
    mix local.rebar --force

# Create the application build directory
RUN mkdir /app
WORKDIR /app

# Copy over all the necessary application files and directories
COPY config ./config
COPY lib ./lib
COPY priv ./priv
COPY mix.exs .
COPY mix.lock .

# Fetch the application dependencies and build the application
RUN mix deps.get
RUN mix deps.compile
RUN mix phx.digest
RUN mix release

# ---- Application Stage ----
FROM debian:stretch AS app

ENV LANG=C.UTF-8

# Install openssl
RUN apt-get update && apt-get install -y openssl

# Copy over the build artifact from the previous step and create a non root user
RUN useradd --create-home app
WORKDIR /home/app
COPY --from=app_builder /app/_build .
RUN chown -R app: ./prod

ADD start_commands.sh /scripts/start_commands.sh
RUN chmod +x /scripts/start_commands.sh

USER app

# run the start-up script which run migrations and then the app
ENTRYPOINT ["/scripts/start_commands.sh"]
This is almost an exact replica of the Dockerfile from https://akoutmos.com/post/multipart-docker-and-elixir-1.9-releases/.
A few differences:
- Since there is now an Elixir 1.9 docker image available, we use it instead of building Elixir from source.
- Instead of starting our application directly via
CMD ["./prod/rel/...."]we use a startup script (start_commands.sh) via a DockerENTRYPOINT. This is so we can run migrations prior to application startup.
We need to create the start_commands.sh script.
Terminal
touch start_commands.sh/start_commands.sh
#!/bin/bash
./prod/rel/aws_warehouse/bin/aws_warehouse eval "AwsWarehouse.ReleaseTasks.migrate"
./prod/rel/aws_warehouse/bin/aws_warehouse start
We are calling out to a release tasks module prior to starting the application. We don’t have access to mix tasks in our release, so we need to create a module to run the migrations.
Let’s create the module now.
Terminal
touch lib/release_tasks.ex/lib/release_tasks.ex
defmodule AwsWarehouse.ReleaseTasks do
  def migrate() do
    IO.puts "***** RUNNING MIGRATIONS *****"
    {:ok, _} = Application.ensure_all_started(:aws_warehouse)

    path = Application.app_dir(:aws_warehouse, "priv/repo/migrations")

    Ecto.Migrator.run(AwsWarehouse.Repo, path, :up, all: true)
    IO.puts "***** FINISHED MIGRATIONS *****"
  end
end
Pretty simple, all we are doing is running thru the migrations via Ecto.Migrator.
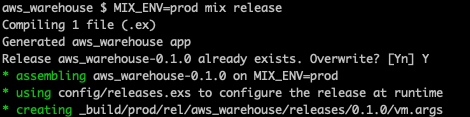
We’ve added new code to our application, so we need to rebuild the release in order to include it.
Terminal
MIX_ENV=prod mix releaseChoose to over-write the existing release:
Good to go… let’s build our Docker image!
Terminal
docker build -t aws-warehouse .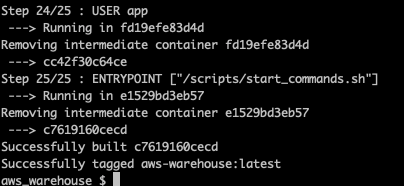
Sweet!
Let’s test that the Docker image works locally. In order to also test that the migration in our start up script works, let’s drop and re-create the database.
Terminal
mix ecto.dropTerminal
mix ecto.create
Now we’ll run the image.
Terminal
docker run \
  --publish 4000:4000 \
  --env SECRET_KEY_BASE=$(mix phx.gen.secret) \
  --env DB_HOST="host.docker.internal" \
  --env DB_INSTANCE="aws_warehouse_dev" \
  --env DB_USER="postgres" \
  --env DB_PASSWORD="postgres" \
  aws-warehouse:latest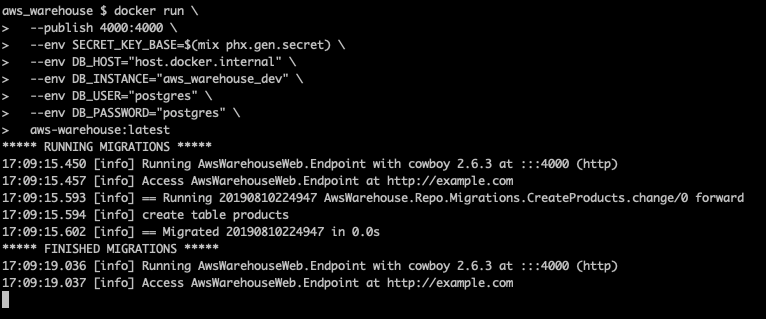
We see the migrations get run and then the application is started. We can view our products page via http://localhost:4000/products
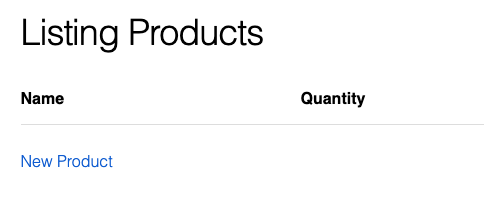
We have no products, since we dropped and re-created the database, but if you create a few products, you’ll see that everything is working, our Docker image is a success!
Summary
That wraps things up for today. Thanks to the new Elixir 1.9 release task, creating a release is straight forward. Likewise creating a Docker image from a release is pretty painless.
Next time out we’ll look at how to get our image deployed to AWS.
Thanks for reading and I hope you enjoyed the post!