In this post we’re going to take a look at how to page data in Phoenix with scrivener_ecto.
These days infinite scrolling is a popular way to achieve paging but isn’t always appropriate for every situation. Infinite scrolling works great for a news feed or user posts, but not so much for something like a product list. So we’ll be looking at how we can go about implementing traditional style paging.
What we’ll build
To demonstrate paging we’re going to build a simple list of products.

So let’s get started!
Create the app
We’ll start from scratch with a new Phoenix application and add some simple scaffolding for the purposes of demonstrating paging.
Terminal
mix phx.new paging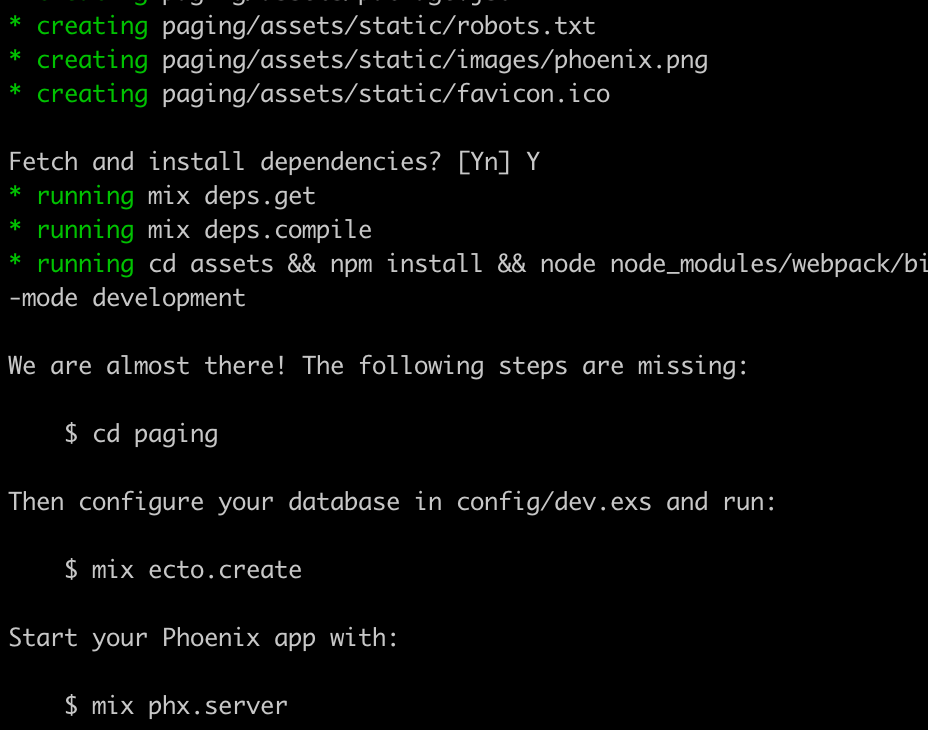
Choose Y when asked to fetch and install dependencies. Now we’ll change into the application directory and create the database.
Terminal
cd paging
mix ecto.create
Ok, our basic application is good to go, now let’s add some simple scaffolding.
Adding some scaffolding
Terminal
mix phx.gen.html Inventory Product products name:string quantity:integer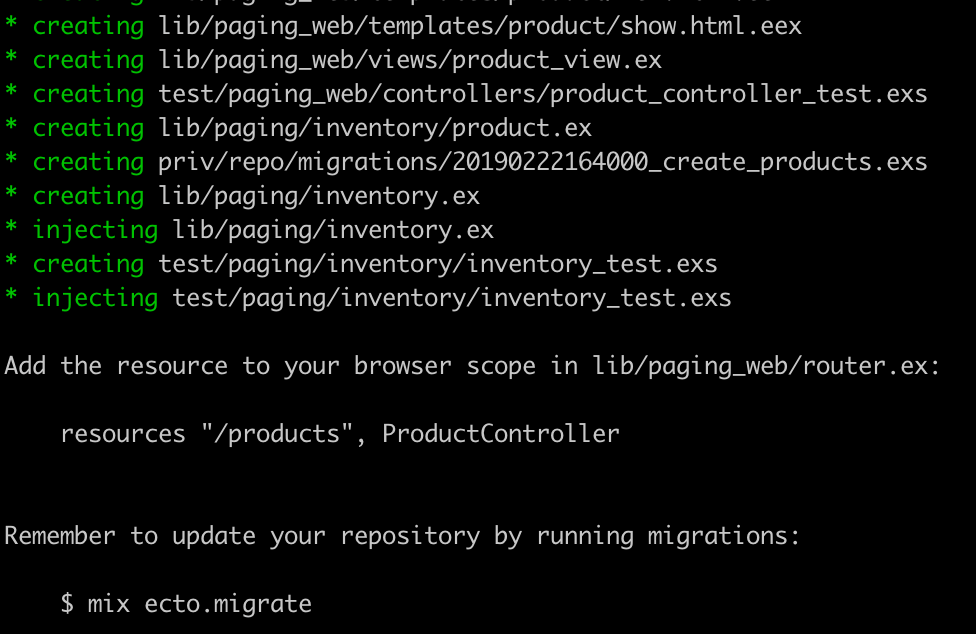
As per the mix output, let’s update the routes…
/lib/paging_web/router.ex …line 16
scope "/", PagingWeb do
  pipe_through :browser

  get "/", PageController, :index
  resources "/products", ProductController
end
… and run the migrations.
Terminal
mix ecto.migrate
And with that our initial application is complete, but we don’t have any data to page. We could enter some data manually; instead let’s use a seed file.
Seeding some data
Phoenix already creates a seeds.exs file for us when we create a new project, so all we need to do is add the appropriate code.
/priv/repo/seeds.exs
alias Paging.Inventory

if (Mix.env == :dev) do
  Enum.map(1..100, fn(x) ->
    Inventory.create_product(%{name: "Widget #{x}", quantity: Enum.random(10..200)})
  end)
end
Pretty simple! We only want to create our seed data when running in development so we’ve wrapped our code in Mix.env == :dev. We then use Enum.map to create 100 products. We use Widget <index value> for the name of the product, and a random number between 10 and 200 for the quantity.
Now we can seed our data.
Terminal
mix run priv/repo/seeds.exs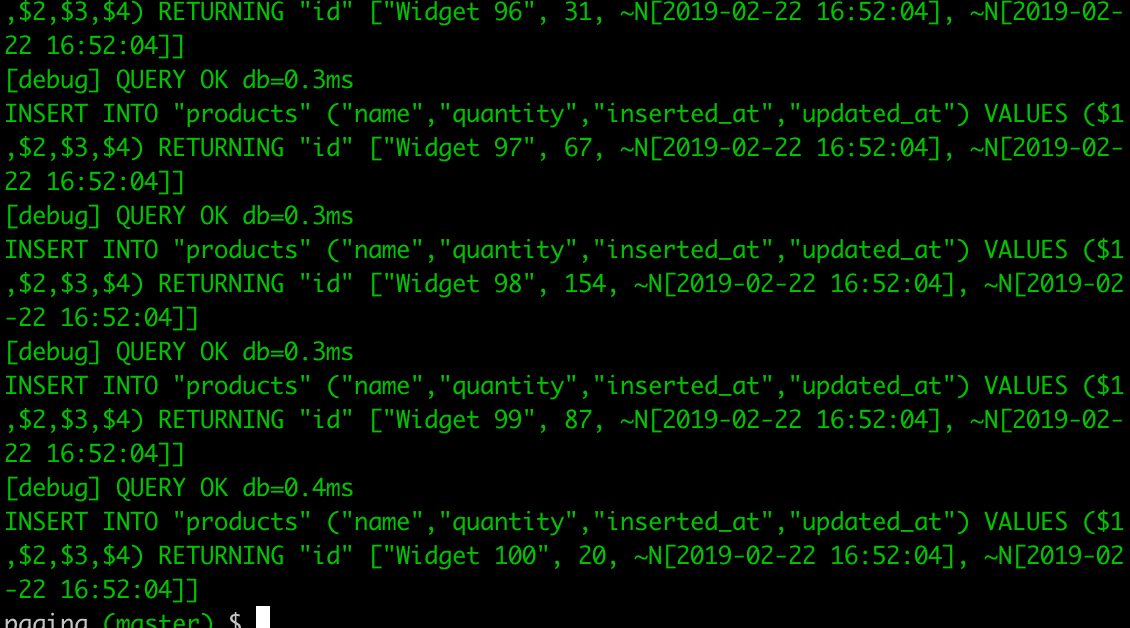
Let’s have a quick look at our application prior to adding paging.
Terminal
mix phx.serverIf you navigate to http://localhost:4000/products you’ll see the products we created.
We’re now ready to move onto adding paging.
Paging
We’ll split the paging implementation into a couple of parts. First we’ll deal with the back-end code and then address the front-end.
Adding paging on the back-end
As mentionned earlier we’ll be using the scrivener_ecto package to accomplish our paging, so let’s start by adding the package.
/mix.exs …line 34
defp deps do
  [
    {:phoenix, "~> 1.4.0"},
    {:phoenix_pubsub, "~> 1.1"},
    {:phoenix_ecto, "~> 4.0"},
    {:ecto_sql, "~> 3.0"},
    {:postgrex, ">= 0.0.0"},
    {:phoenix_html, "~> 2.11"},
    {:phoenix_live_reload, "~> 1.2", only: :dev},
    {:gettext, "~> 0.11"},
    {:jason, "~> 1.0"},
    {:plug_cowboy, "~> 2.0"},
    {:scrivener_ecto, "~> 2.0"}
  ]
end
We’ve added scrivener_ecto to our mix.exs file and now need to get our new dependency.
Terminal
mix deps.get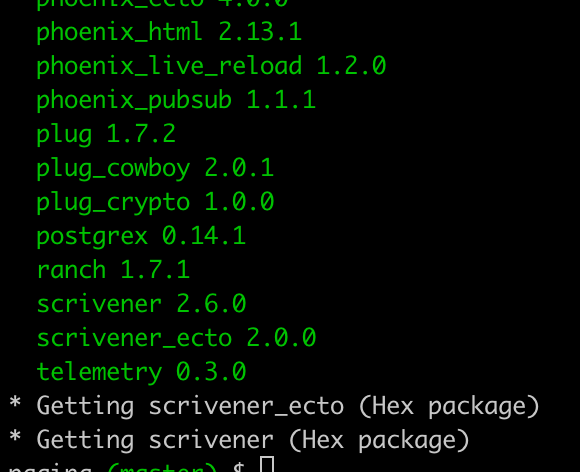
We’ll see that both the scrivener and scrivener_ecto packages are added.
Next we need to update our Repo module so that we can make use of the paging functionality. We do this by adding a use Scrivener statement in repo.ex. This makes the scrivener_ecto functions available thru the Repo module.
/lib/paging/repo.ex
defmodule Paging.Repo do
  use Ecto.Repo,
    otp_app: :paging,
    adapter: Ecto.Adapters.Postgres
  use Scrivener, page_size: 10
end
We’ve also set a default page size of 10 via the page_size option.
To make use of the paging functionality in our products page we will update the list_products context method. It needs to take in a parameter which we’ll simply call params; and it also needs to call into the paginate function instead of the all function, i.e. Repo.all becomes Repo.paginate.
/lib/paging/inventory.ex
def list_products(params) do
  Product
  |> Repo.paginate(params)
end
Now we need to add a parameter to the controller method as well which we pass thru to the list_products context method.
/lib/paging_web/controllers/product_controller.ex
def index(conn, params) do
  products = Inventory.list_products(params)
  render(conn, "index.html", products: products)
end
And that’s it! Let’s restart the server.
Terminal
mix phx.serverAnd we can test out our paging in the browser; we see by default the page size is 10 items.
By changing the URL we can control both the currently displayed page and the page size via the page and page_size parameters. For instance http://localhost:4000/products?page=5&page_size=3 yields:
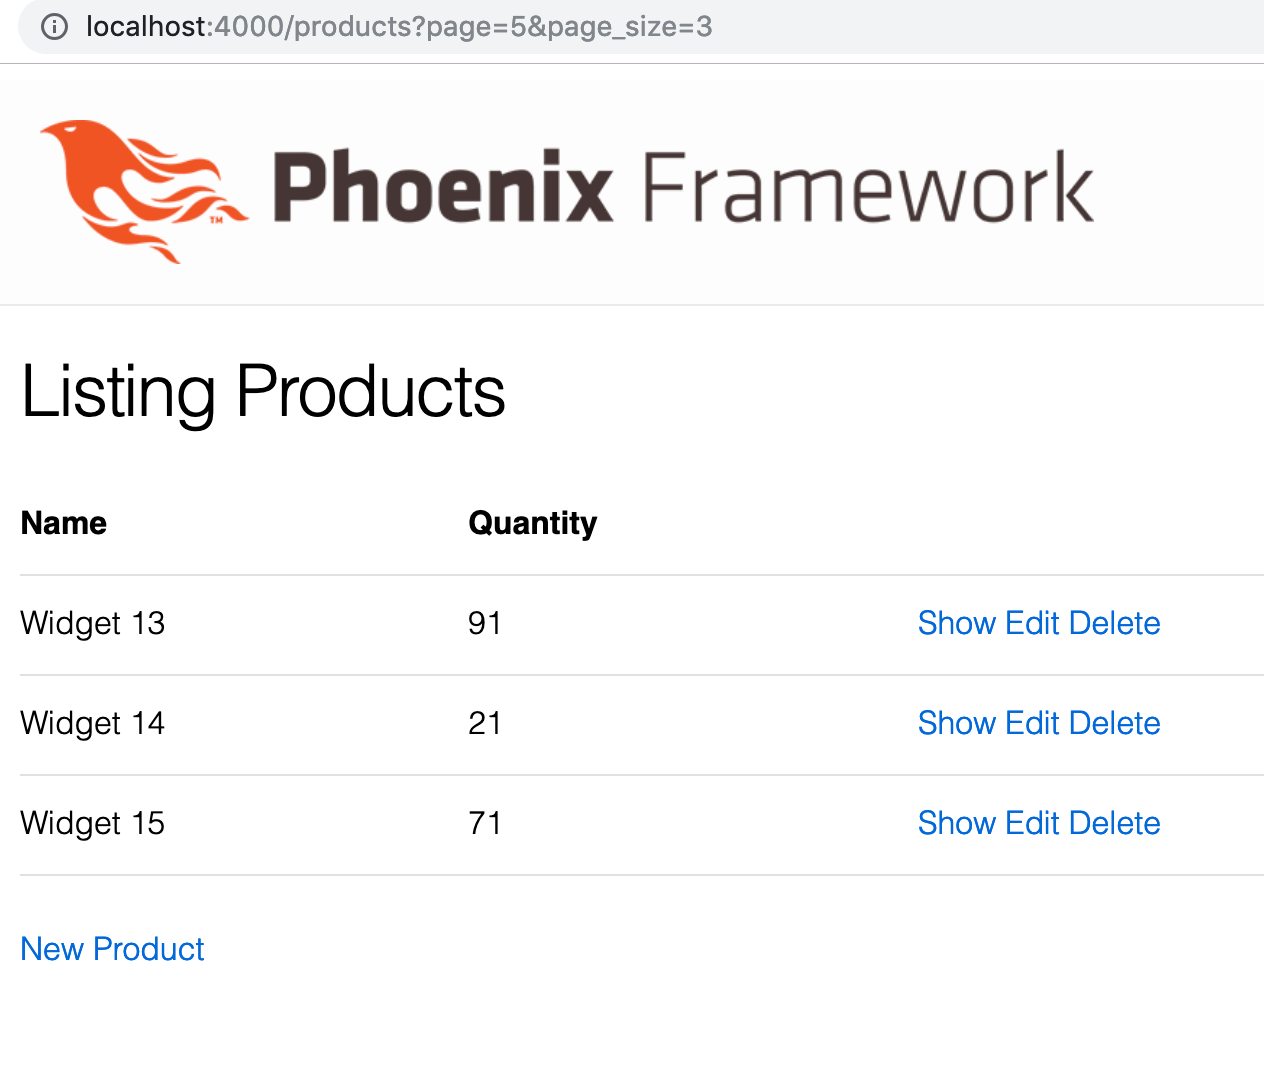
We probably don’t want to make our users update the URL manually when they want to switch pages thou! So let’s add some controls in the UI.
Adding paging on the front-end
We’ll take two approaches to adding some UI controls on the front-end. First we’ll take a custom approach and directly add Previous and Next buttons. Then we’ll look at a package that provides us with an easy way to create a standard pagination navigation bar.
Adding paging buttons
The first step with either approach is to update our controller method to push the current page parameter to our template.
/lib/paging_web/controllers/product_controller.ex
def index(conn, params) do
  page = Inventory.list_products(params)
  render(conn, "index.html", products: page.entries, page: page)
end
Above we’ve renamed the variable returned from list_products to page as this is what is being returned, a single page of products. We then assign page.entries to the products template variable and pass the page parameter to the template.
We then need to make some minor changes to the template.
/lib/paging_web/templates/product/index.html.eex
<h1>Listing Products</h1>

<span>
  <%= link "Prev Page",
      class: "button",
      disabled: @page.page_number < 2,
      to: Routes.product_path(@conn, :index, page: @page.page_number - 1) %>
</span>
<span>
  <%= link "Next Page",
      class: "button",
      disabled: @page.page_number >= @page.total_pages,
      to: Routes.product_path(@conn, :index, page: @page.page_number + 1) %>
</span>

<table>
  ...
  ...
We’ve added two buttons for our paging controls, along with some simple logic to disable the Previous button when we are on the first page; and the Next button when we are on the last.
We now have the ability to change our page without having to manually update the URL!
This works pretty good, but let’s have a look at an alternative approach via the scrivener_html package.
Adding paging buttons via the scrivener_html package
Another option for adding UI paging elements is to use the scrivener_html package.
The first step is to install the package
/mix.exs …line 34
defp deps do
  [
    {:phoenix, "~> 1.4.0"},
    {:phoenix_pubsub, "~> 1.1"},
    {:phoenix_ecto, "~> 4.0"},
    {:ecto_sql, "~> 3.0"},
    {:postgrex, ">= 0.0.0"},
    {:phoenix_html, "~> 2.11"},
    {:phoenix_live_reload, "~> 1.2", only: :dev},
    {:gettext, "~> 0.11"},
    {:jason, "~> 1.0"},
    {:plug_cowboy, "~> 2.0"},
    {:scrivener_ecto, "~> 2.0"},
    {:scrivener_html, "~> 1.8"}
  ]
end
Terminal
mix deps.get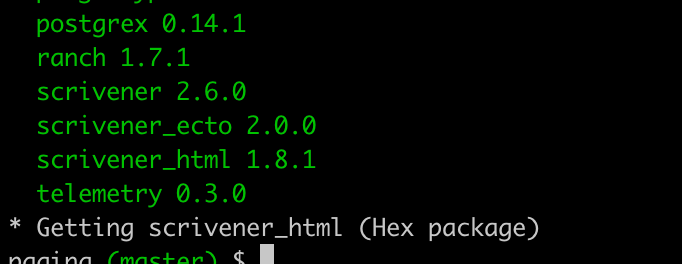
With scrivener_html added to our application, we now need to add a configuration entry for the package.
/config/config.exs …line 25
# Use Jason for JSON parsing in Phoenix
config :phoenix, :json_library, Jason

# Configuration for scrivener_html
config :scrivener_html,
  routes_helper: Paging.Router.Helpers,
  view_style: :bootstrap
We’ll add the configuration right after the JSON configuration. There are a number of view style options availble that correspond to different CSS frameworks. There isn’t one for Milligram (the default CSS framework for Phoenix) so we’ll just stick with the Bootstrap view style.
Next we need to import Scrivener.HTML in any views in which we want to make use of the package. So we’ll update product_view.ex.
/lib/paging_web/views/product_view.ex
defmodule PagingWeb.ProductView do
  use PagingWeb, :view
  import Scrivener.HTML
end
Now we just need to update our template. We’ll keep our existing paging buttons in the template as a comparison, but you’d obviously want to use a single paging control if building out a real application!
/lib/paging_web/templates/product/index.html.eex
<h1>Listing Products</h1>

<%= pagination_links @page %>

<span>
  <%= link "Prev Page",
      class: "button",
      disabled: @page.page_number < 2,
      to: Routes.product_path(@conn, :index, page: @page.page_number - 1) %>
</span>
<span>
  <%= link "Next Page",
  ...
  ...
All we need for the pagination links is a single line: <%= pagination_links @page %>… sweet!
Now with a server restart we’ll see some new paging links show up.
Terminal
mix phx.server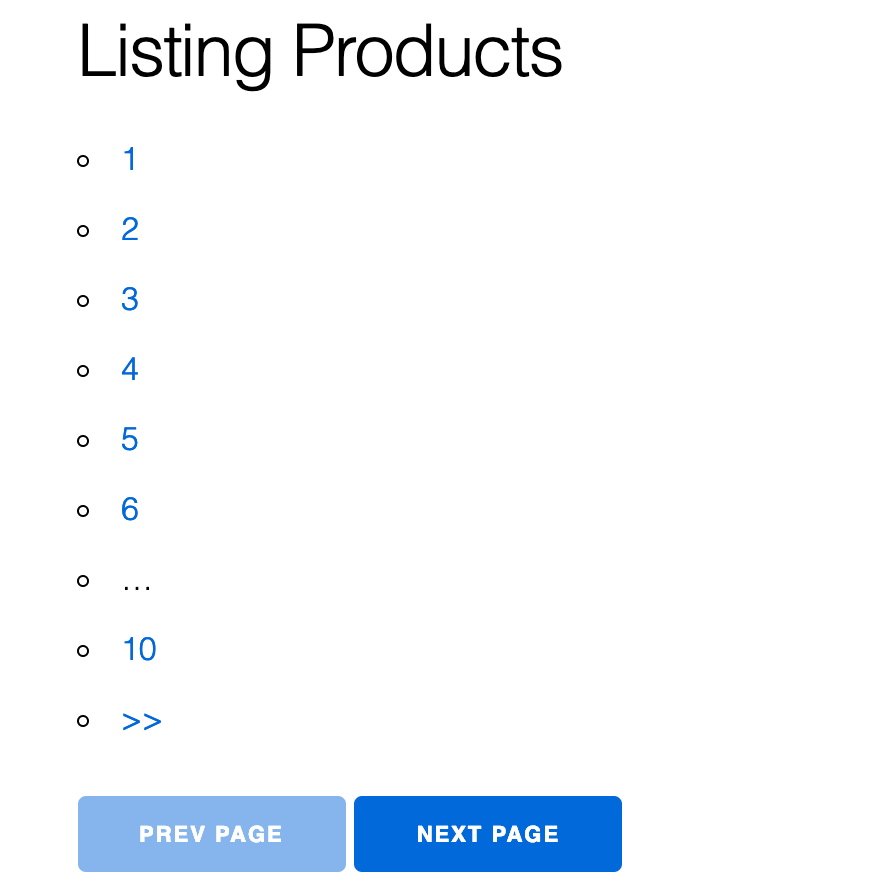
The links work, but they are not looking so great! We can add some basic styles to make them look a little better.
/assets/css/app.css
/* This file is for your main application css. */
@import "./phoenix.css";
ul.pagination {
display: inline-block;
padding-bottom: 10px;
margin: 0;
}
ul.pagination li {display: inline;}
ul.pagination li a {
color: black;
padding: 8px 16px;
text-decoration: none;
}
ul.pagination li.active > a {
background-color: red;
color: white;
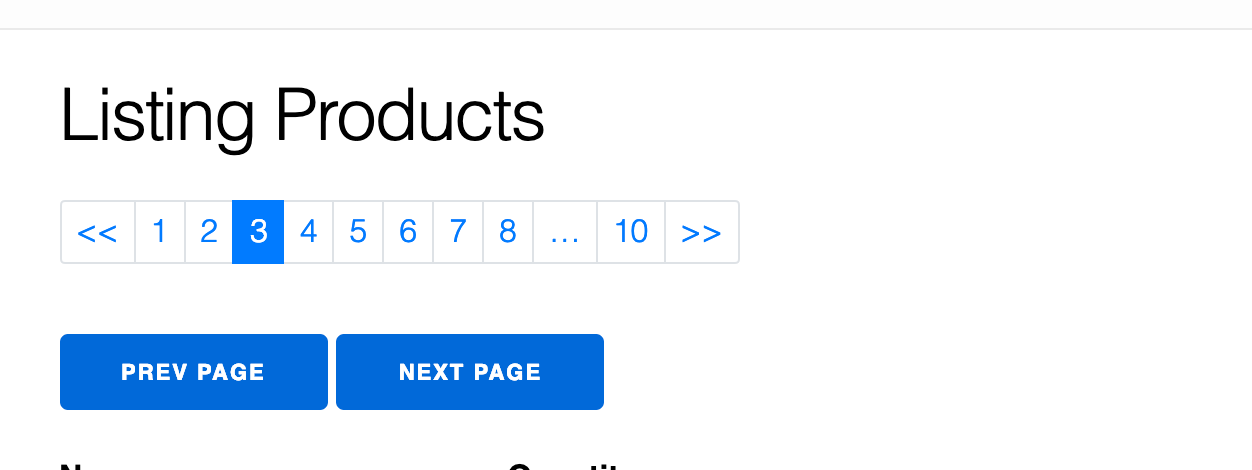
}We’ve added some pretty simple styling, you might want to add hover effects and other elements in a real implementation, but at least things are horizontal now and the active page is highlighted.

If using one of the many CSS frameworks scrivener_html supports you’d get attractive paging links styled as per your chosen framework, i.e. with Bootstrap installed you’d see.
Fantastic!
Summary
So with the help of the scrivener_ecto package we can see that paging in Phoenix is a snap! And the scrivener_html package makes it easy to add paging navigation to our UI, heck, what more could you ask for?
Thanks for reading and I hope you enjoyed the post!