Serving static content with AWS S3 and CloudFront is an economical and convenient method of delivering static content such as images or other files. Typically using a CDN such as CloudFront provides a better user experience for the consumers of your content and is also cheaper than serving and storing the content yourself or delivering it directly from S3. Today we’ll look at the steps to setup a S3 bucket and serve the contents of the bucket thru CloudFront.
Getting started
The steps in setting up S3 and CloudFront are:
- Signing up for AWS (if you aren’t already signed up).
- Creating the S3 bucket and the CloudFront distribution.
- Granting programmatic upload permissions to the S3 bucket (optional).
Sign-up
First off, if you don’t already have an AWS account, you’ll need to sign-up for one. Go to http://aws.amazon.com/ and click the Create a Free Account button. Follow the on screen instructions to complete the sign-up process.
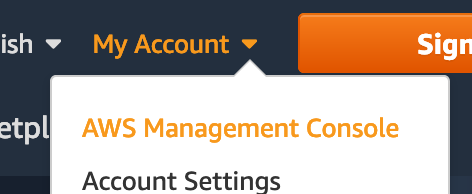
Once you have an account set-up, sign-in to the AWS console.
Creating the S3 bucket and CloudFront distribution
We’ll use CloudFormation to create our S3 bucket and CloudFront distribution all in one go.
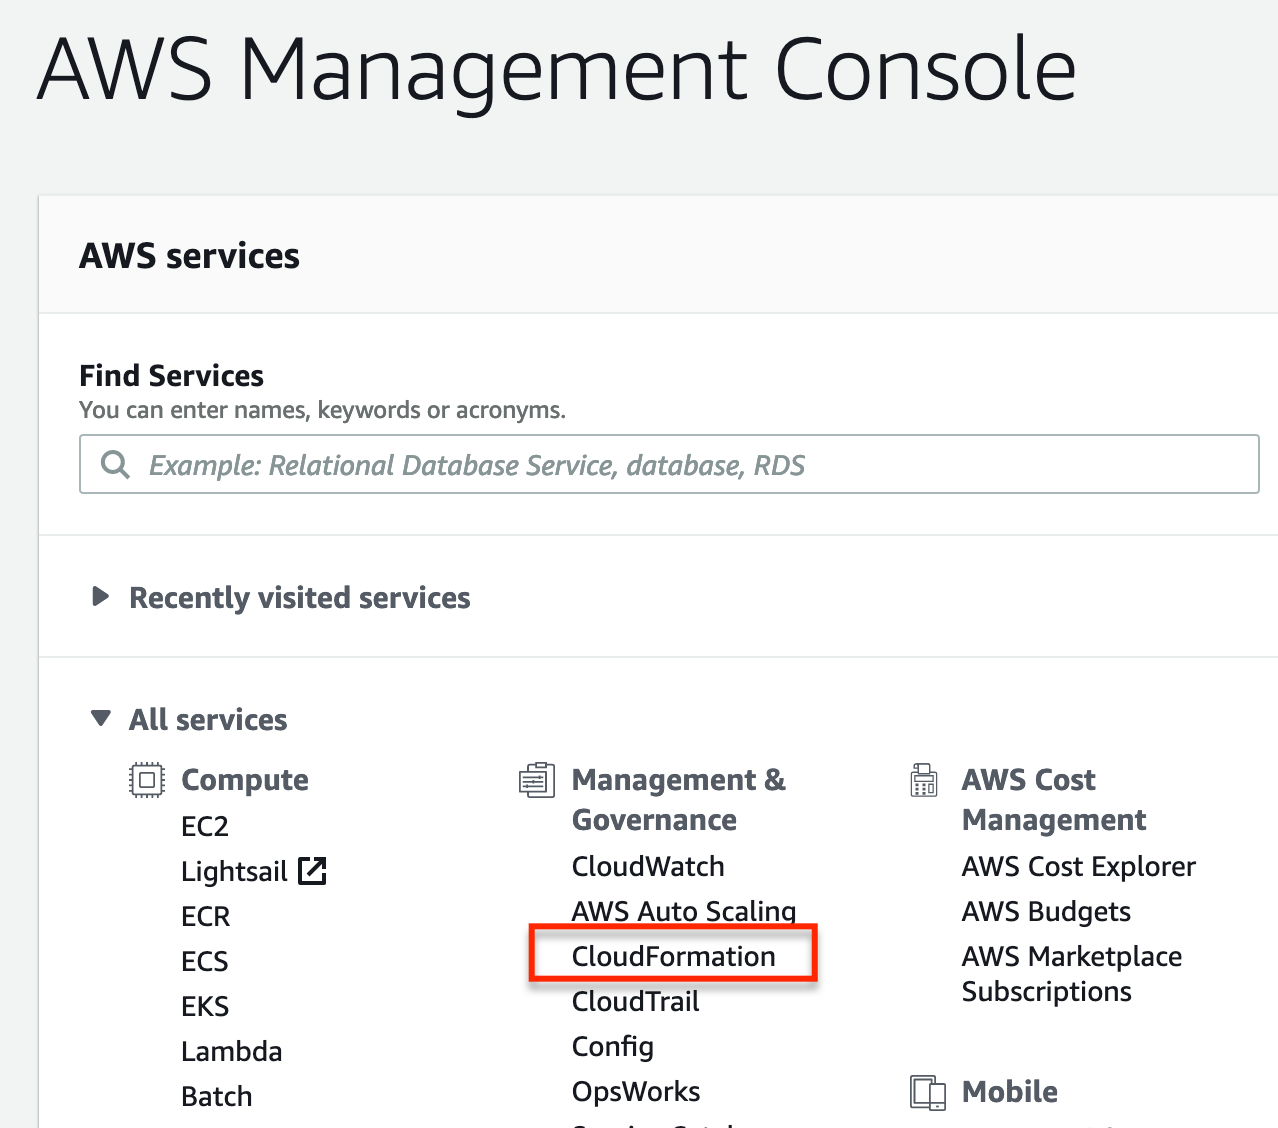
From the AWS management console select CloudFormation.
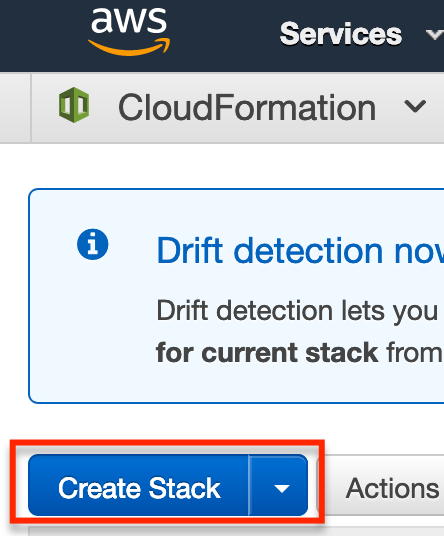
Next select Create Stack.
Next we want to specify a template URL in the Choose a template section.
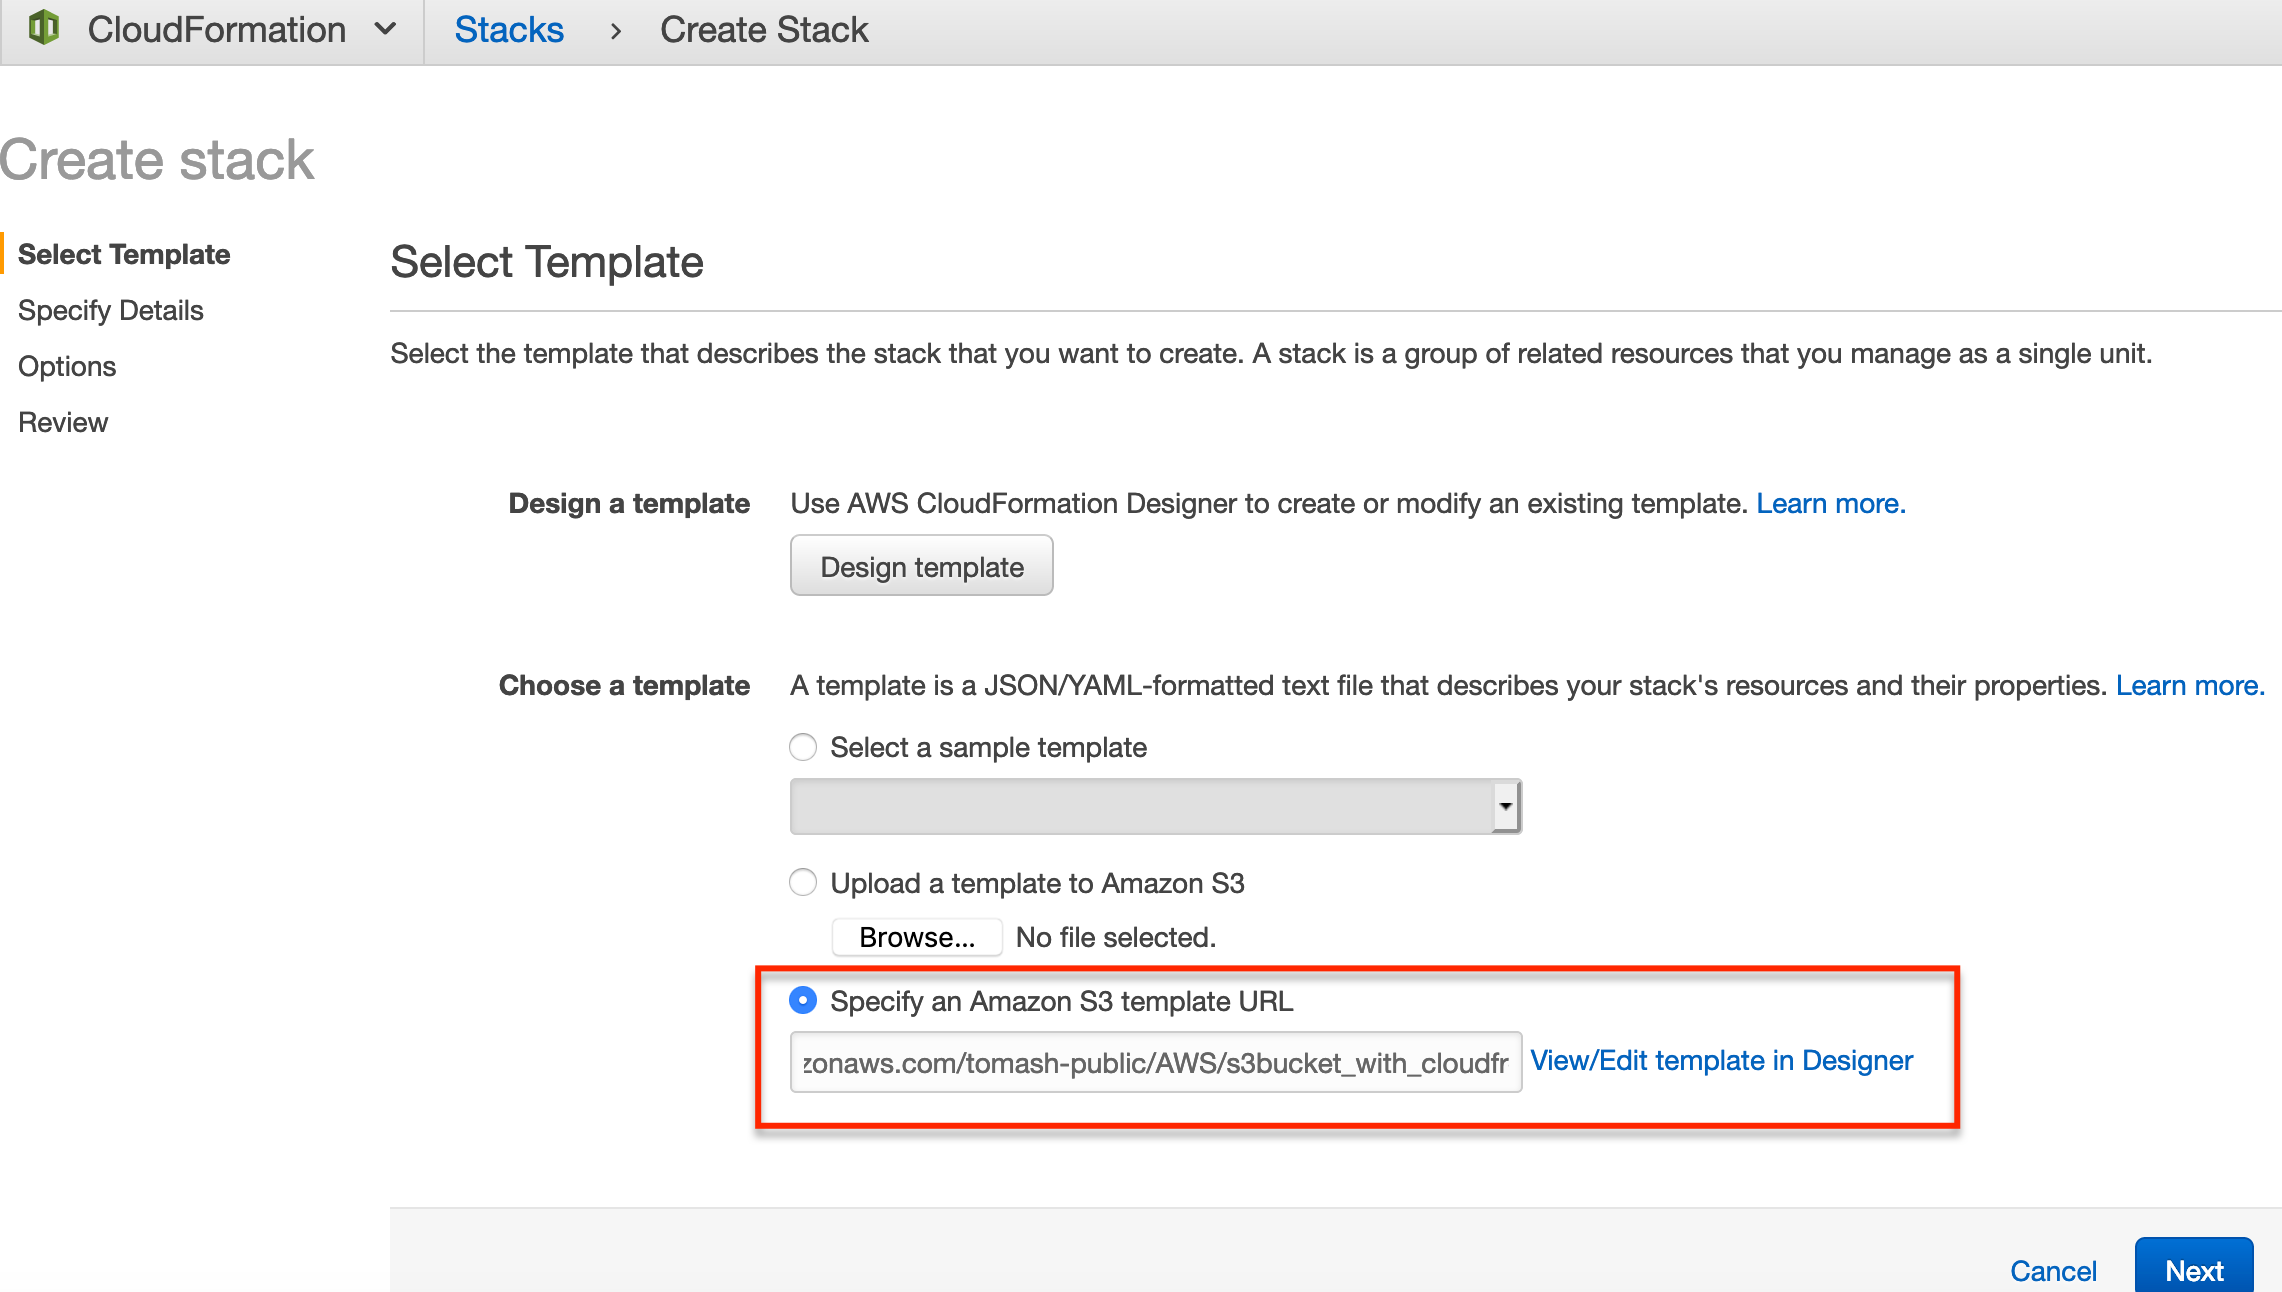
The template URL we’ll use is https://s3-eu-west-1.amazonaws.com/tomash-public/AWS/s3bucket_with_cloudfront.yml.
Use this URL as the template URL
https://s3-eu-west-1.amazonaws.com/tomash-public/AWS/s3bucket_with_cloudfront.ymlThis template is from an Amazon article detailing the usage of S3 and CloudFront for static asset delivery. It’s worth reading if you’re interested in a more detailed description of the benefits of CloudFront and CDNs in general.
After entering the template URL, click Next.
We then need to enter a name for our stack. It’s a good idea to choose a descriptive name so that when the bucket and distribution are created, you’ll recognize the purpose of them based on their names.
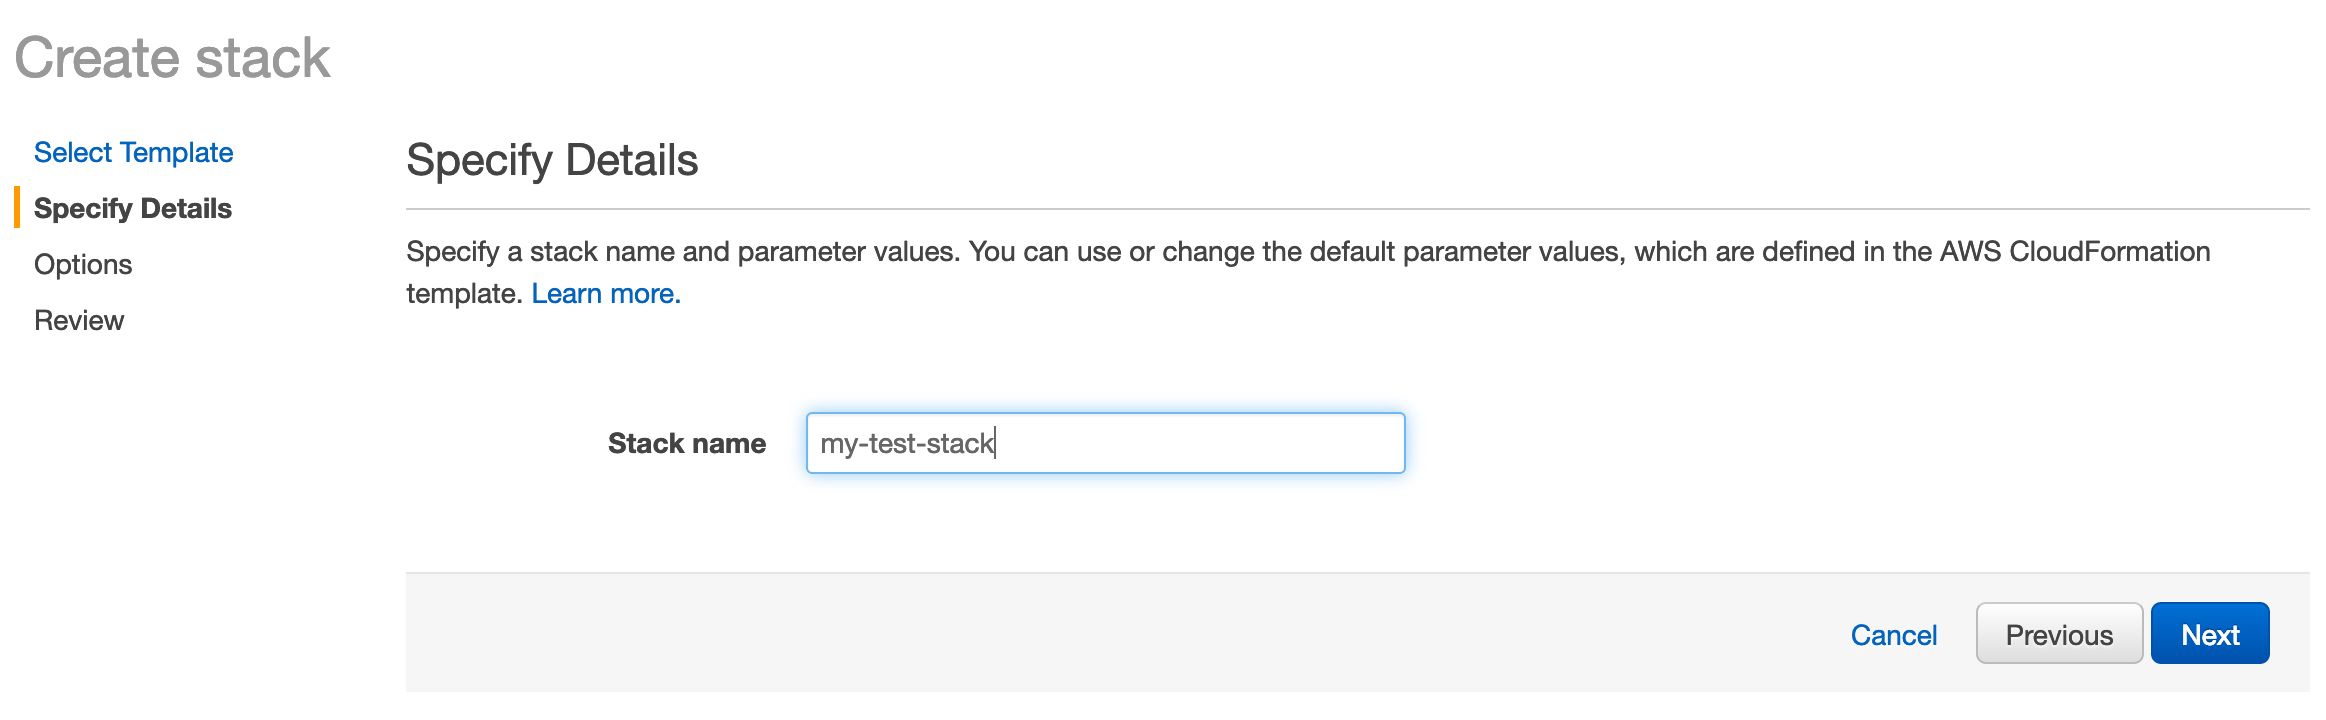
After entering a name, click Next.
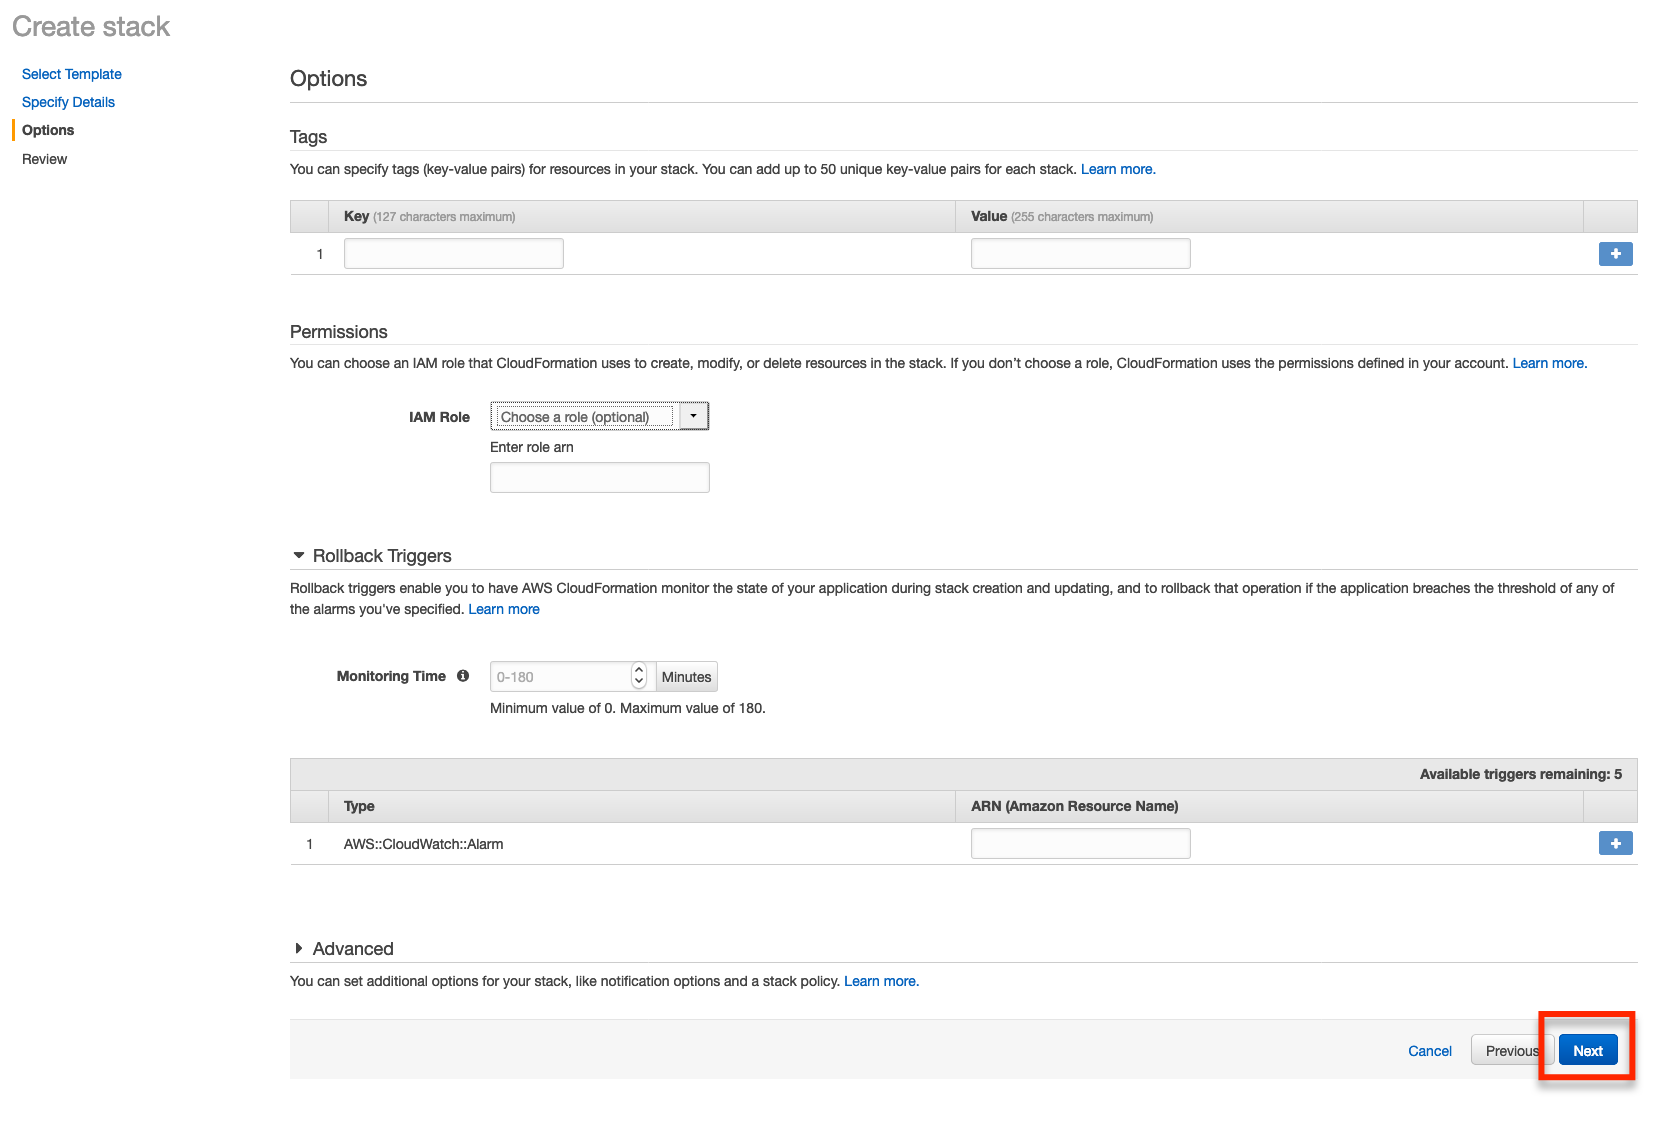
We’ll then be presented with an Options page, we can just click the Next button on this page.
And now we’ll see a summary of our stack.
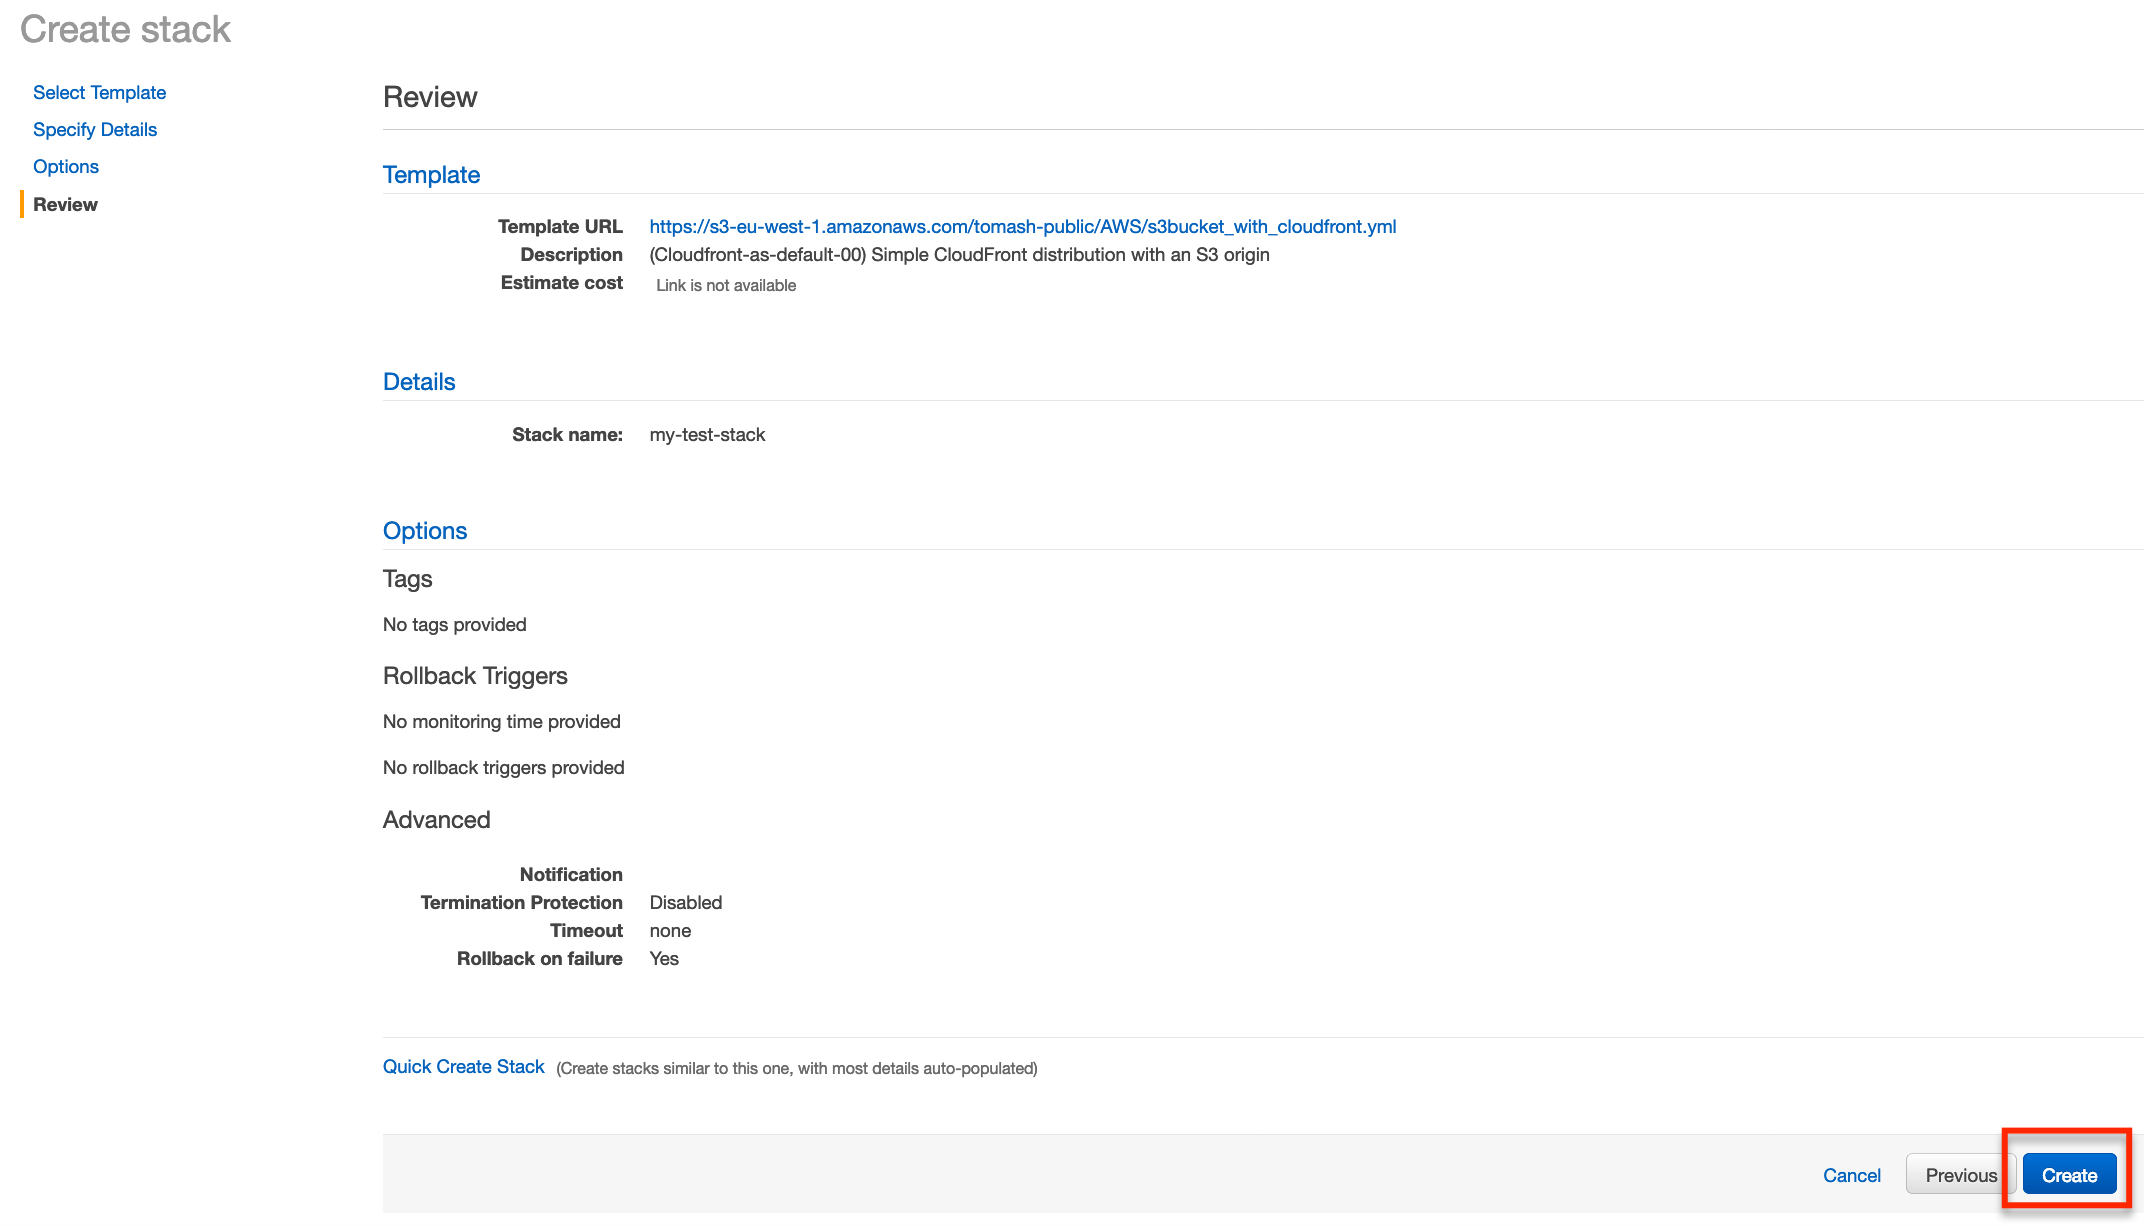
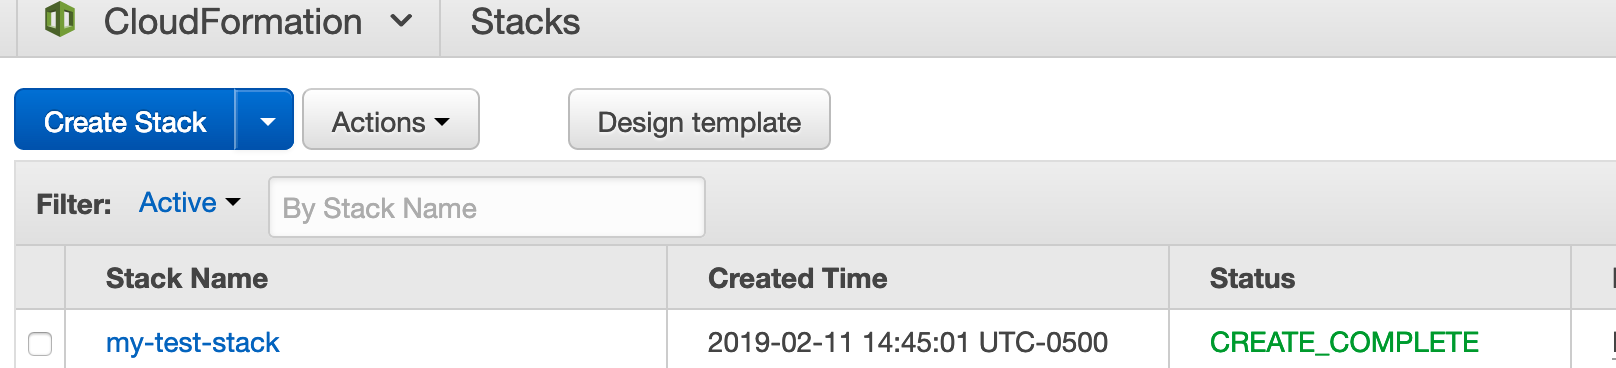
Click Create and we’ll be navigated back to the main CloudFormation page. We’ll see our stack is in the process of being created.
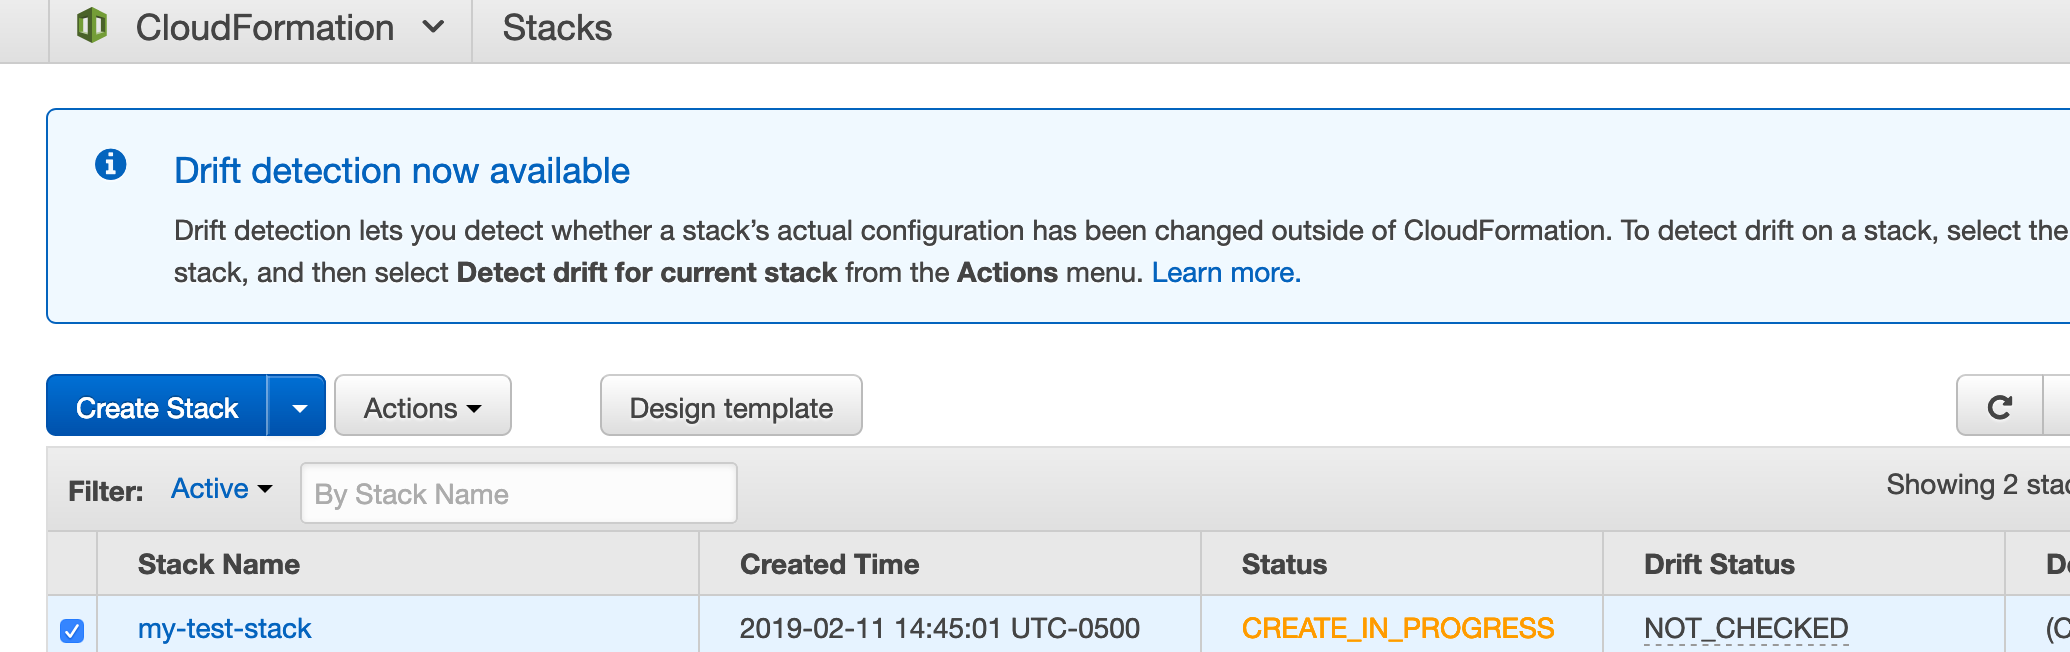
This often takes a good 15 minutes or so, once the creation process has completed we’ll see the status has changed to CREATE_COMPLETE.
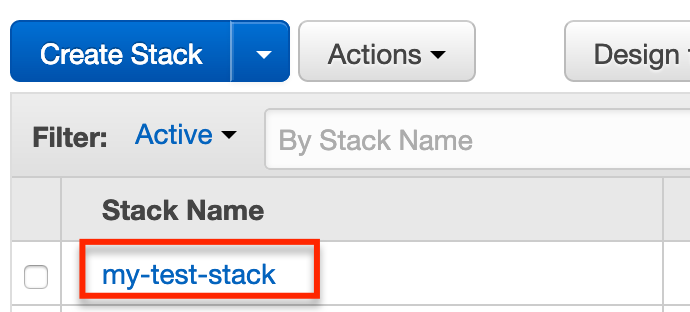
Once everything has been completed click the stack name to open the details of the stack.
On the details page expand the Outputs section and make note of the S3BucketName and the CfDistributionDomainName.
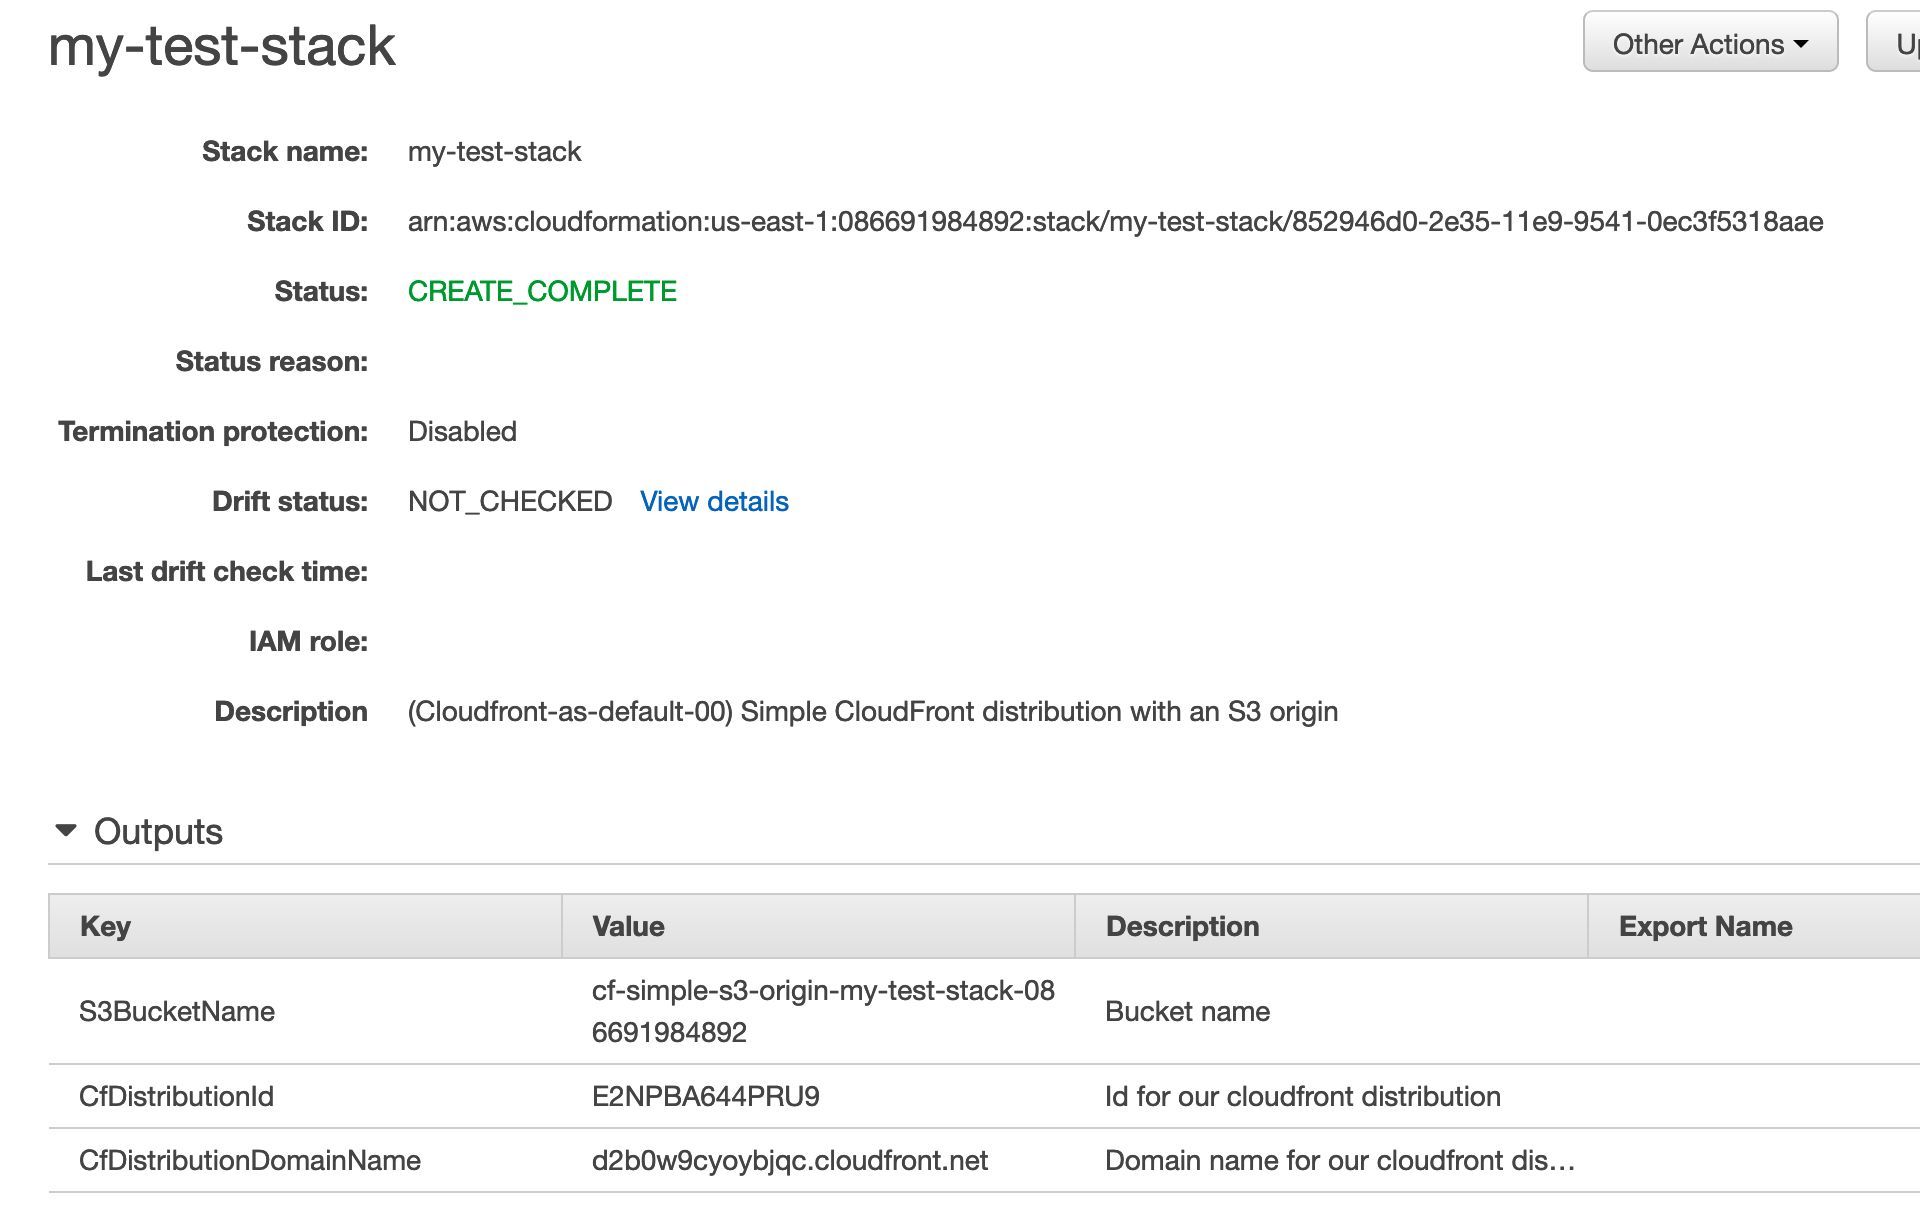
In the case of the stack I’ve just created the values are:
- Bucket name:
cf-simple-s3-origin-my-test-stack-086691984892 - Distribution domain:
d2b0w9cyoybjqc.cloudfront.net
Testing out our bucket and distribution
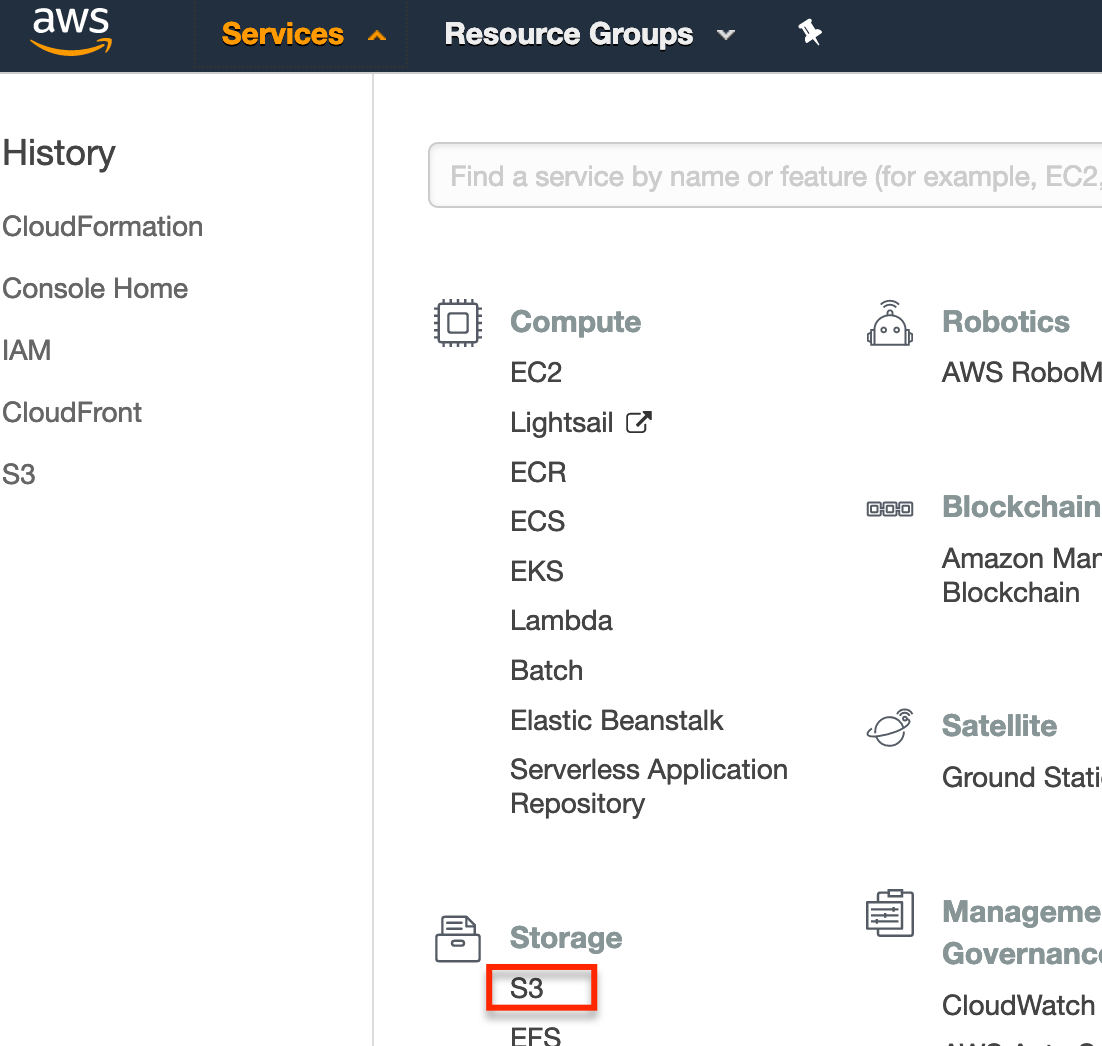
We can perform a quick test of our bucket by navigating to the S3 console and uploading a file to the bucket.
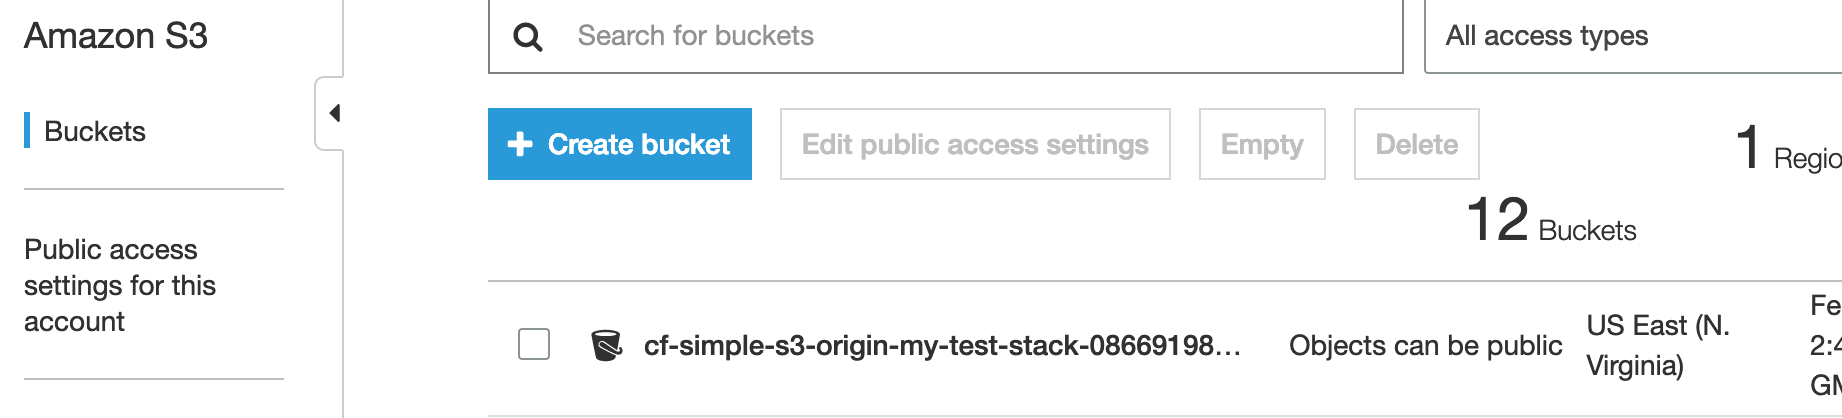
First expand the Service menu and select S3.
Next click the bucket we created.
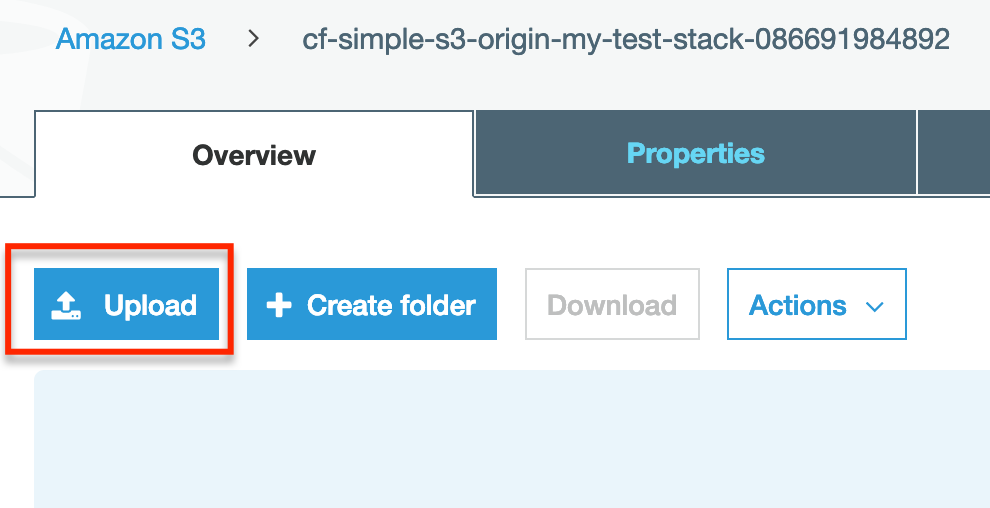
Now upload an image to the bucket.
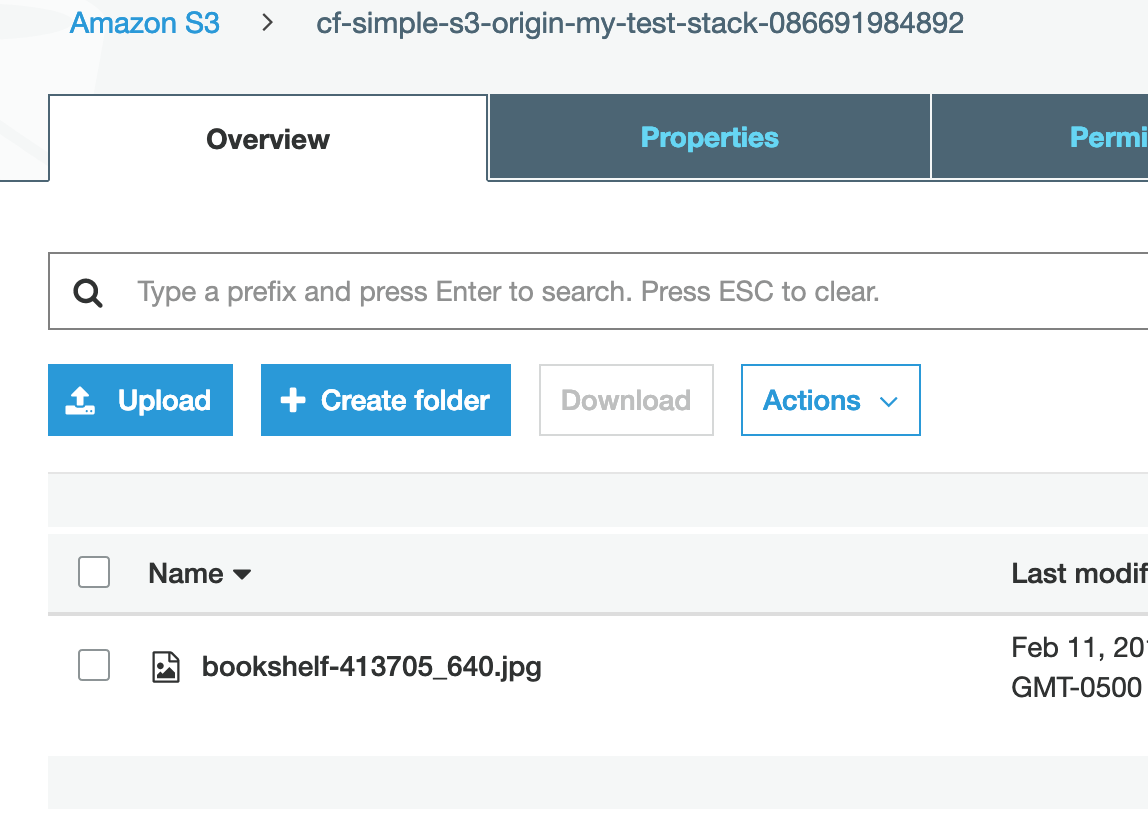
We’ll see the image file show up in our bucket.
Select the checkbox next to the uploaded file to view the details of the file. Copy the Object URL.
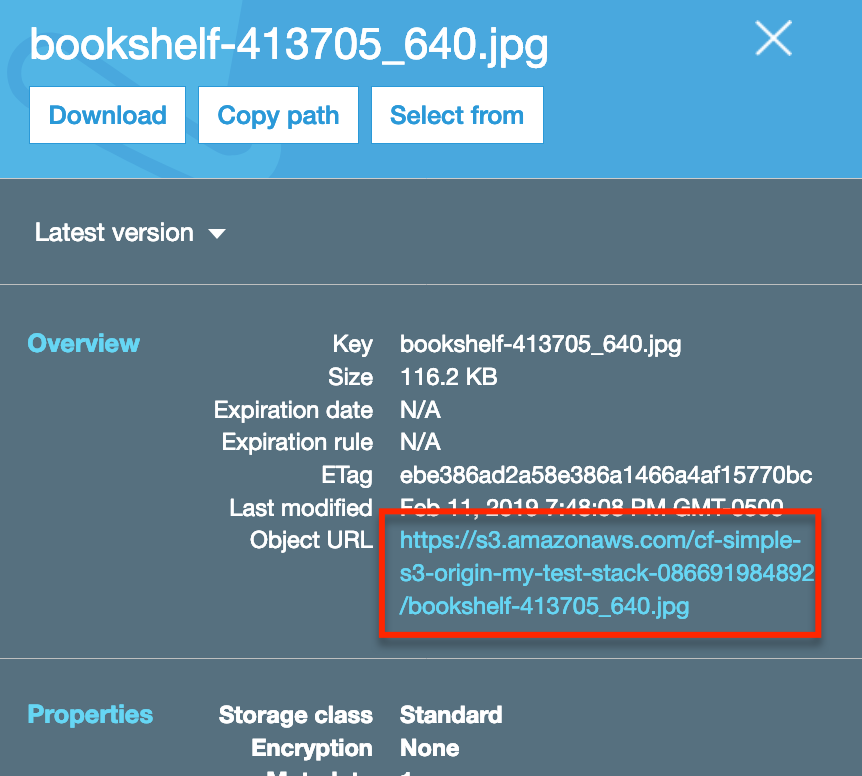
Paste the copied URL into a new browser tab, you should see an Access Denied message.
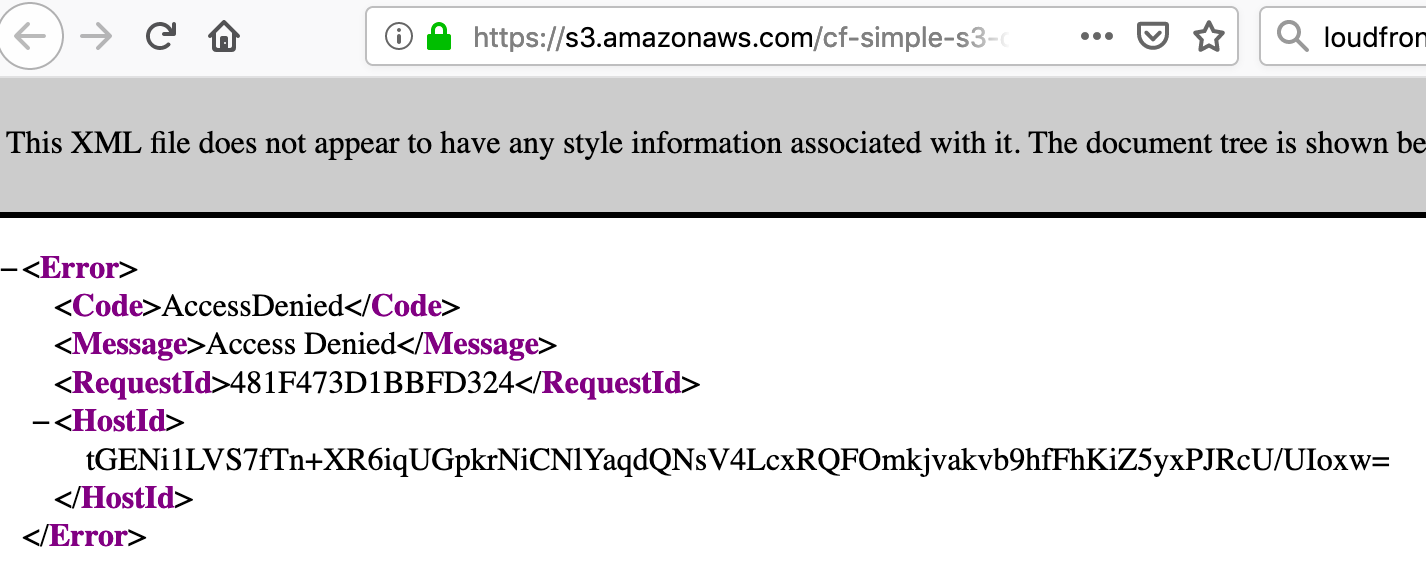
This is because the CloudFormation template we selected does not allow direct read access of objects in the S3 bucket. We need to access the objects via the CloudFront distribution.
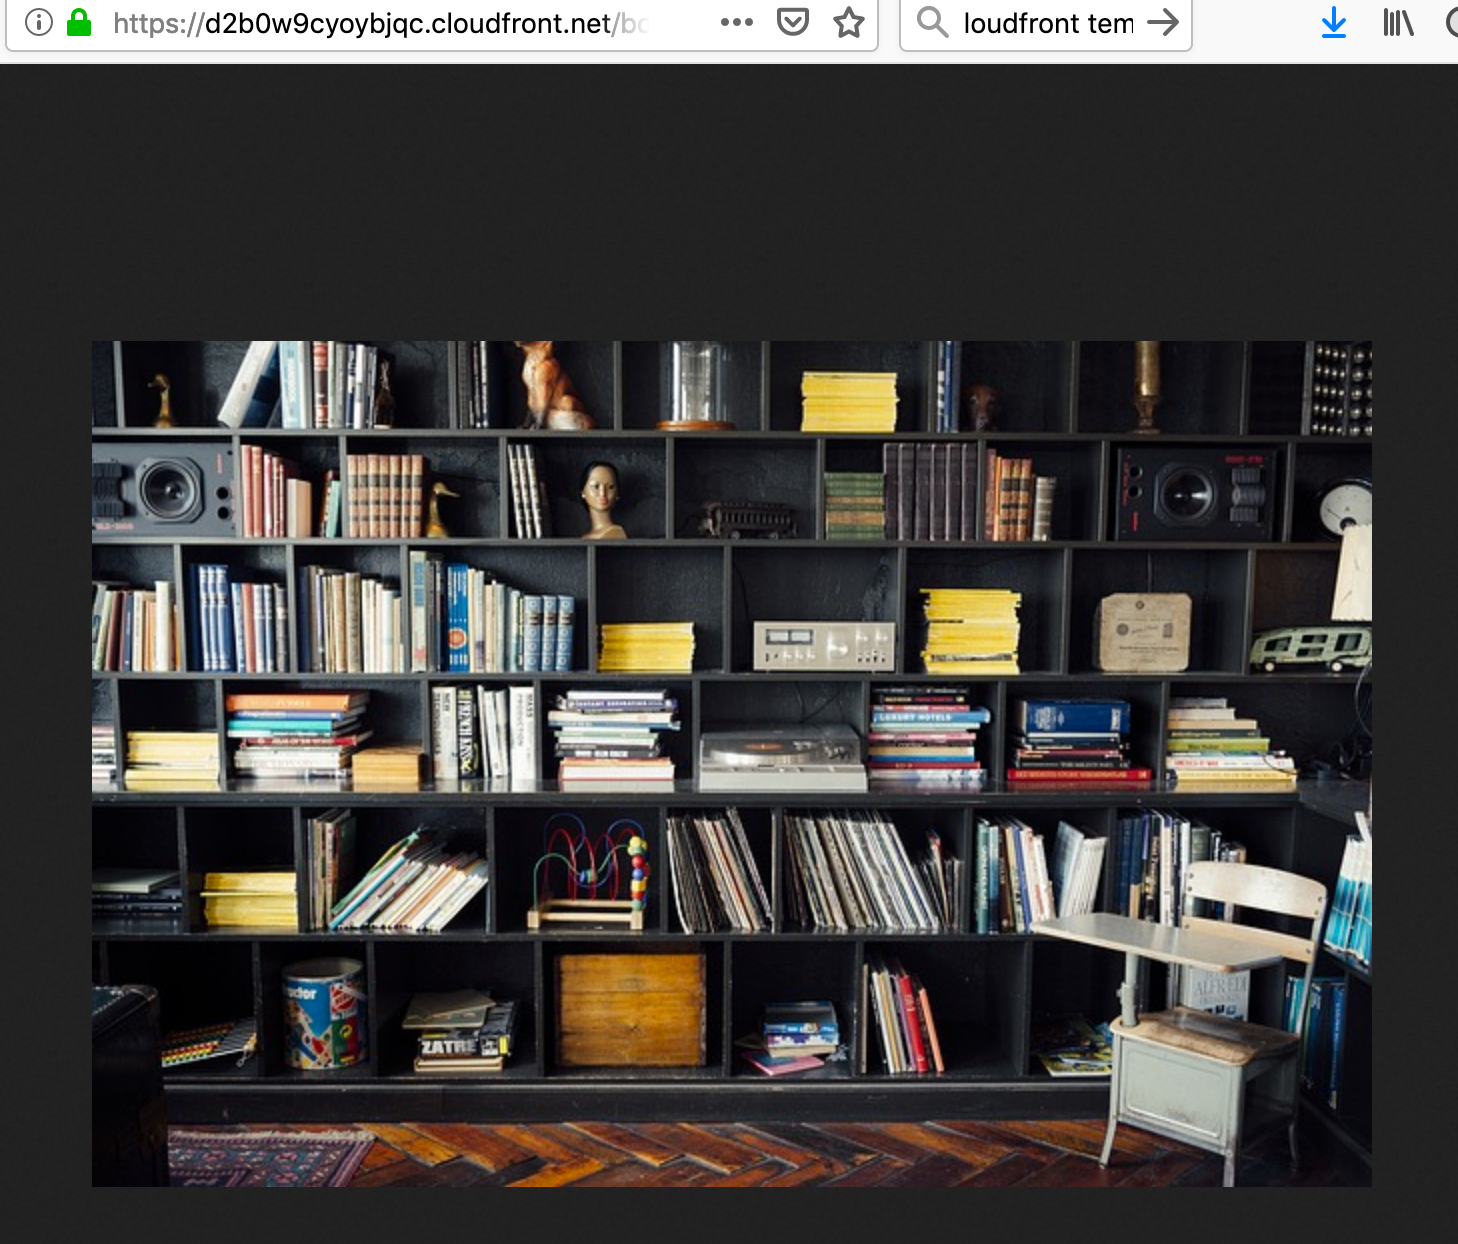
As a result we need to make use of the CfDistributionDomainName we noted above. We use the domain name and append the image name to it. In our case this would be: https://d2b0w9cyoybjqc.cloudfront.net/bookshelf-413705_640.jpg.
Navigating to this URL yields our image!
If you plan to manually upload content to your S3 bucket, everything is good to go at this point. Often you will want to upload content programmatically however and to do so requires some additional steps.
Granting programmatic uploads to the S3 bucket
In cases where you want to grant programmatic uploads to your bucket, a few more steps are required:
- Create a policy for our bucket. The policy will allow write access to the bucket.
- Create a group. We’ll create a group and assign the policy from the previous step to the group.
- Create a user. We’ll create a user and assign the group from the previous step to the user.
The user we create in the last step is what we are ultimately after. We’ll be able to use the user’s credentials programmatically to access the S3 bucket we created. Since we assign the user to the group we created, which in turn is assigned to the policy that grants access to our bucket, our user has access to our bucket. Phew, if you’re feeling a little confused, don’t worry, me too, but everything should become clear as mud as we run thru each step.
Creating a policy
So the first step is to create a bucket policy, we can do so via the IAM settings.
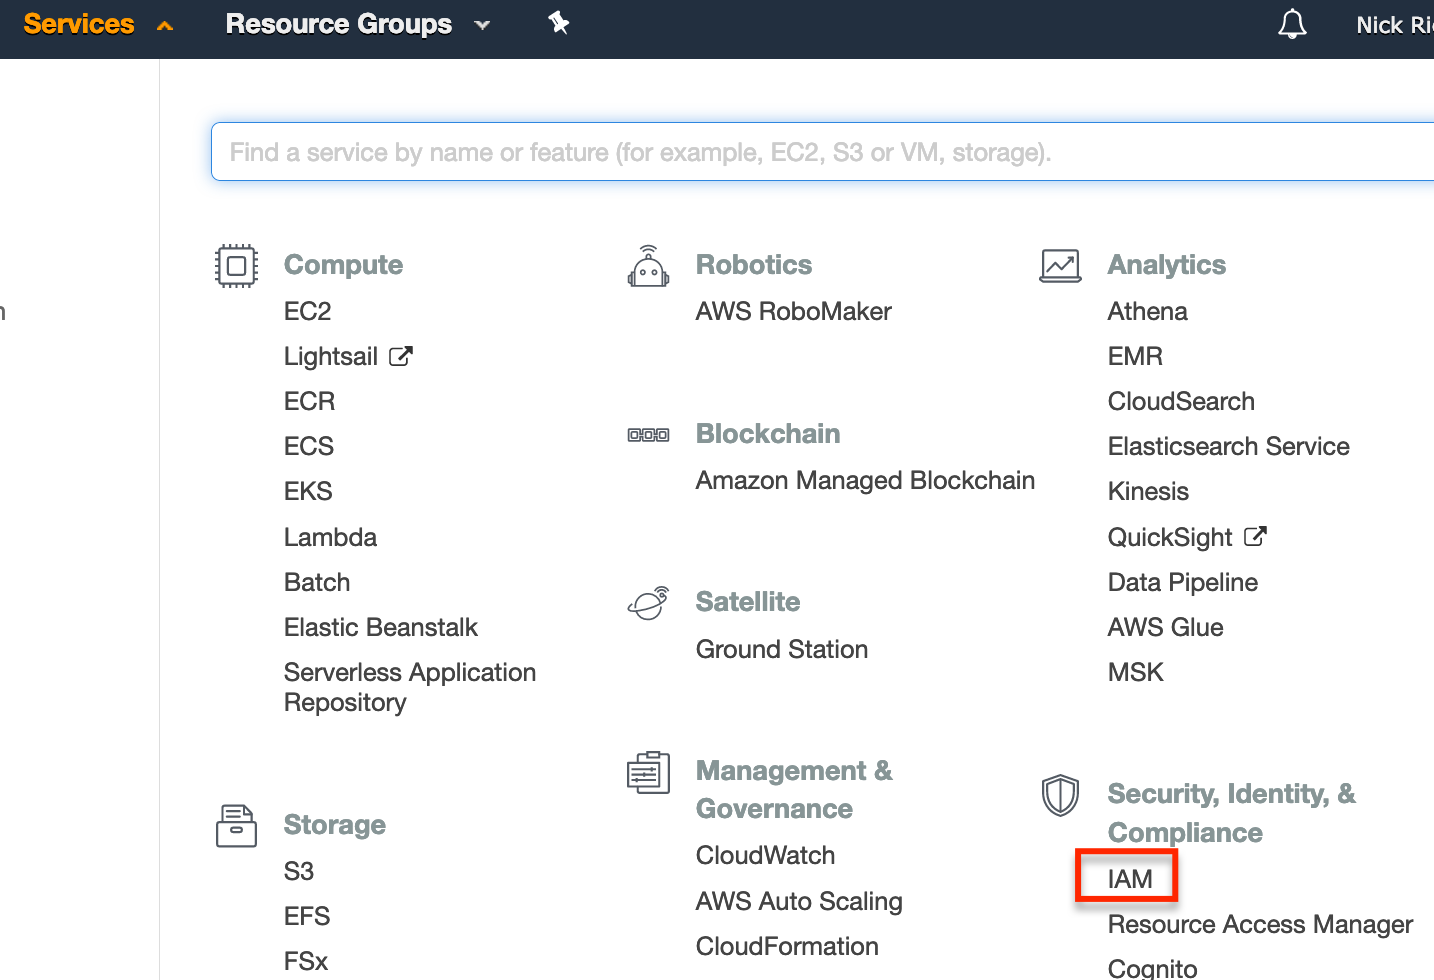
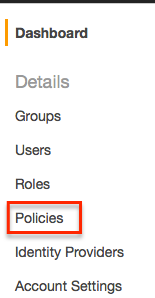
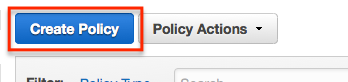
From IAM, select ‘Policies’ and then ‘Create Policy’.
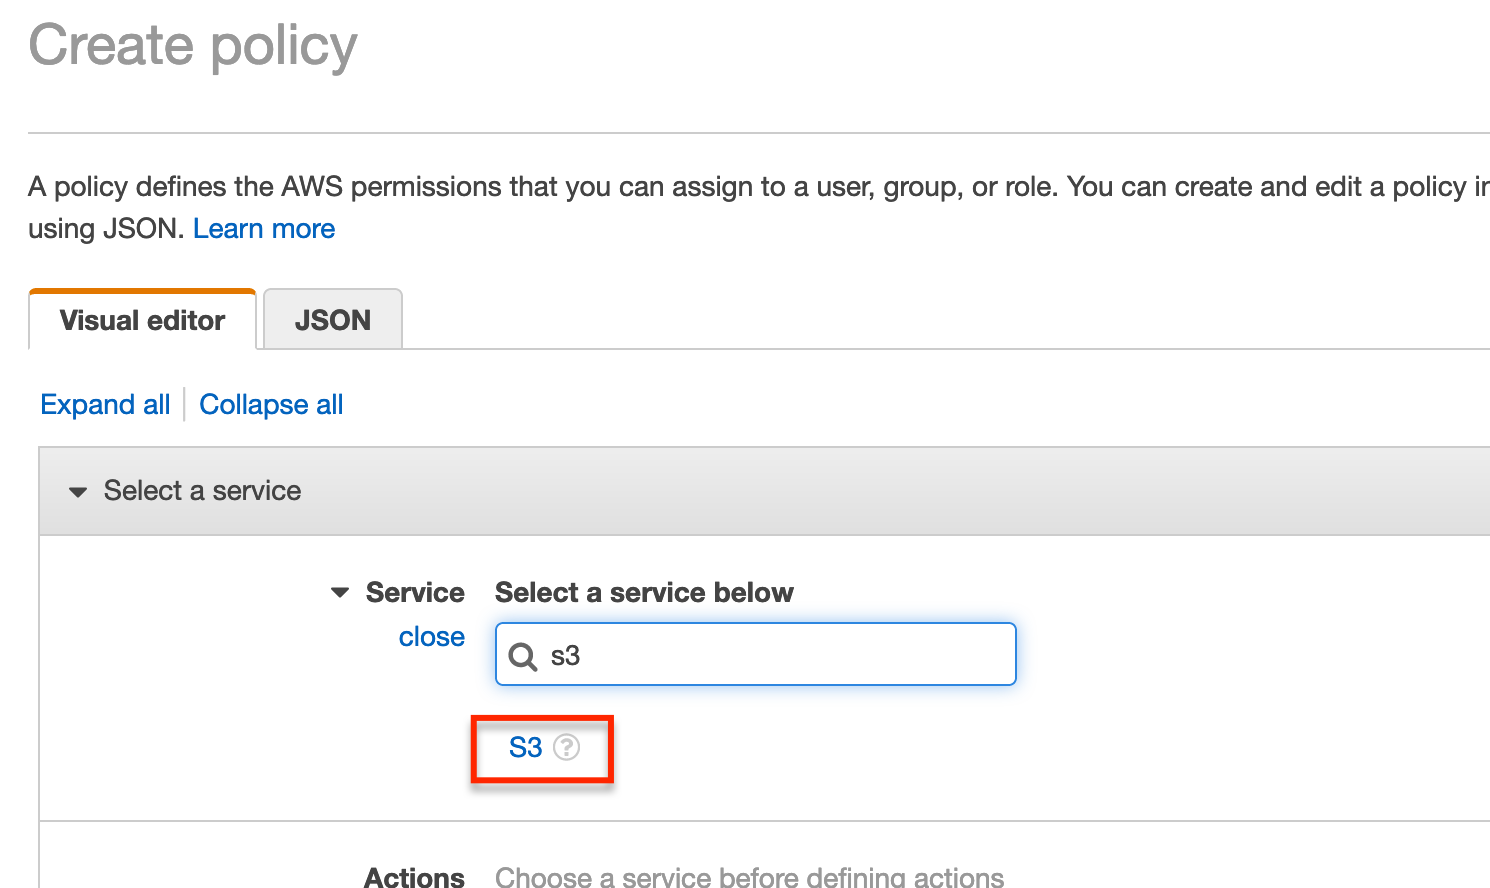
From the create policy page, enter S3 in the search field and then select S3.
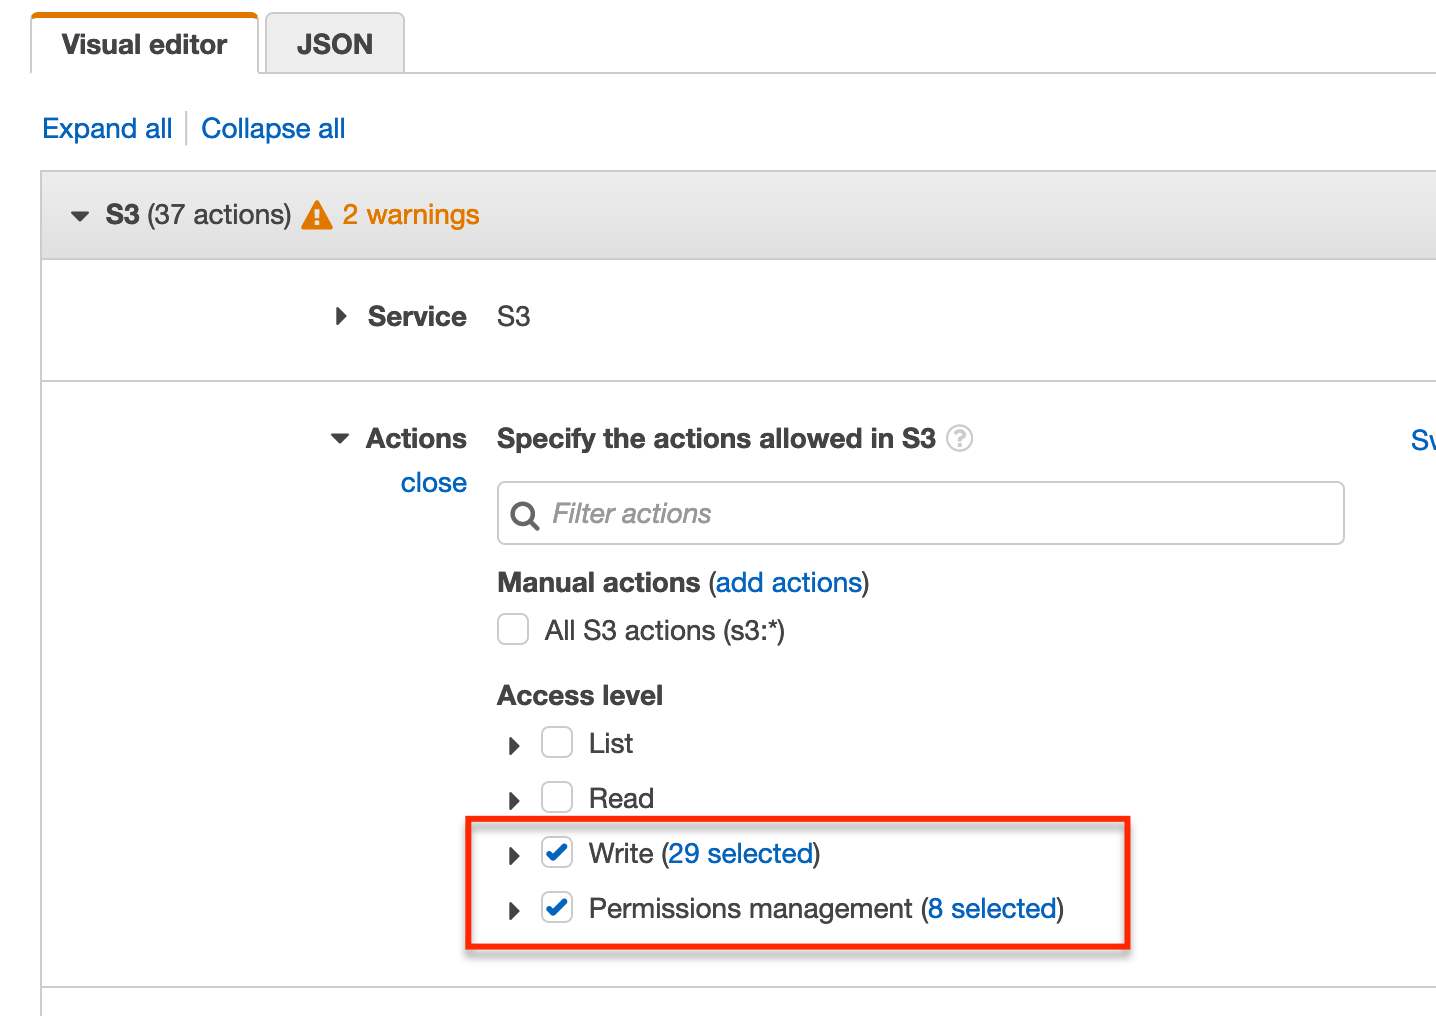
Now under Actions select Write and Permissions management.
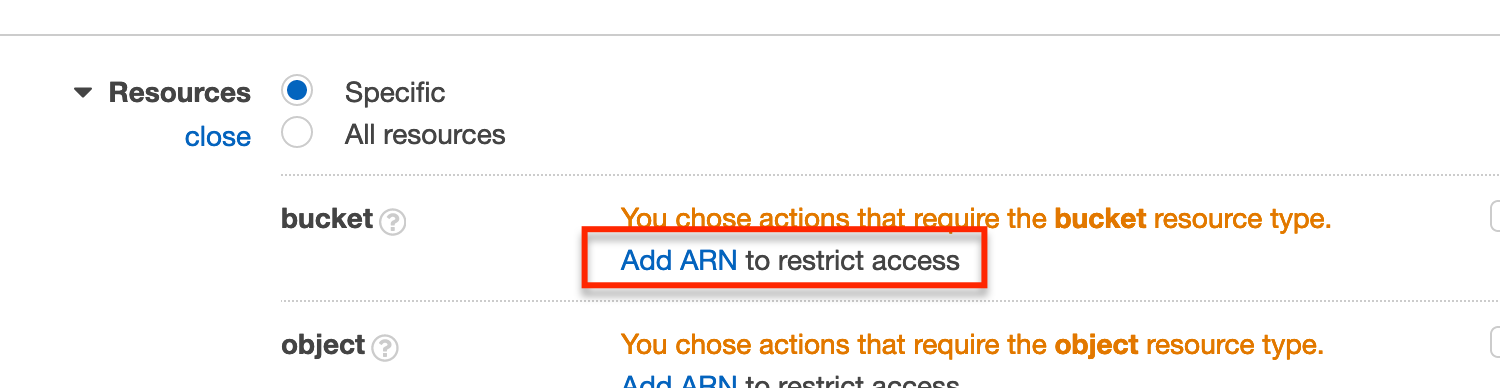
We next need to specify the resources the policy refers to. Expand the Resources section and select Add ARN under the bucket section.
Fill in the Bucket name field with the bucket name we made note of earlier (i.e. cf-simple-s3-origin-my-test-stack-086691984892). Filling in the bucket name will populate the Specify ARN for bucket field.
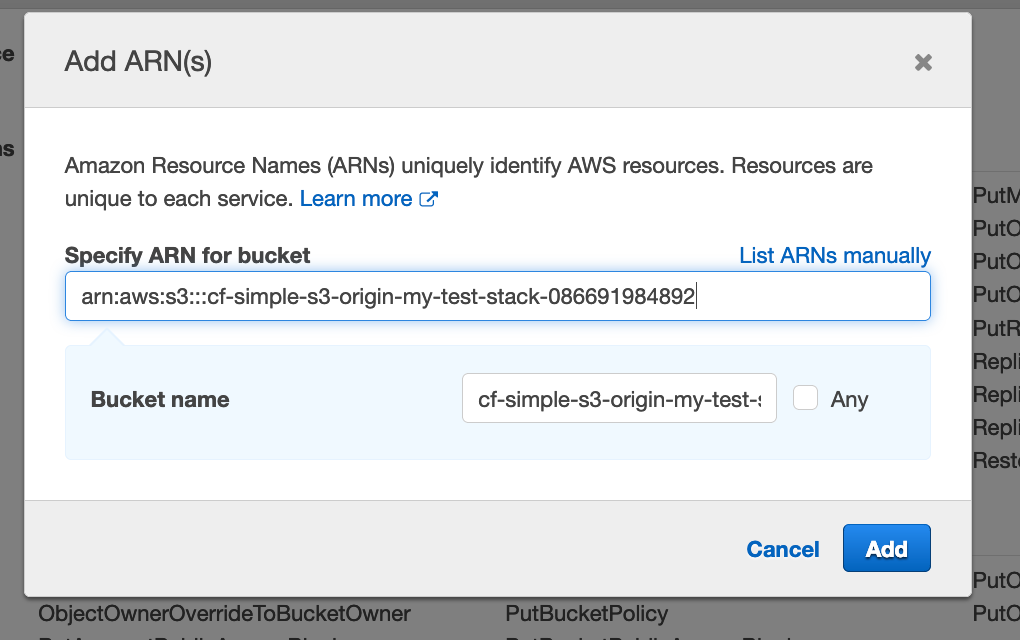
Click Add.
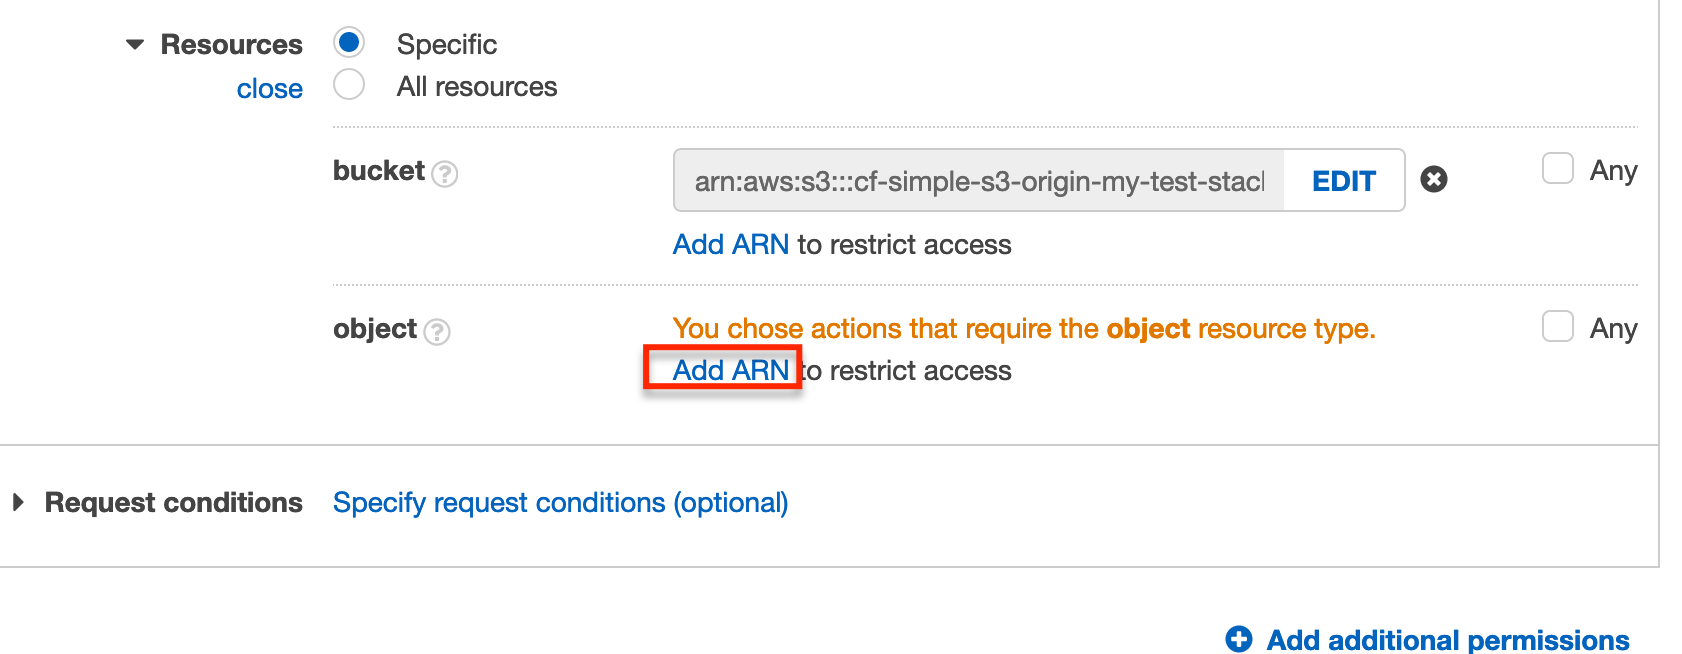
We now need to specify the object resources. Select Add ARN under the object section.
Once again fill in the Bucket name field with the name of the bucket we created. Select the Any checkbox beside the Object name field.
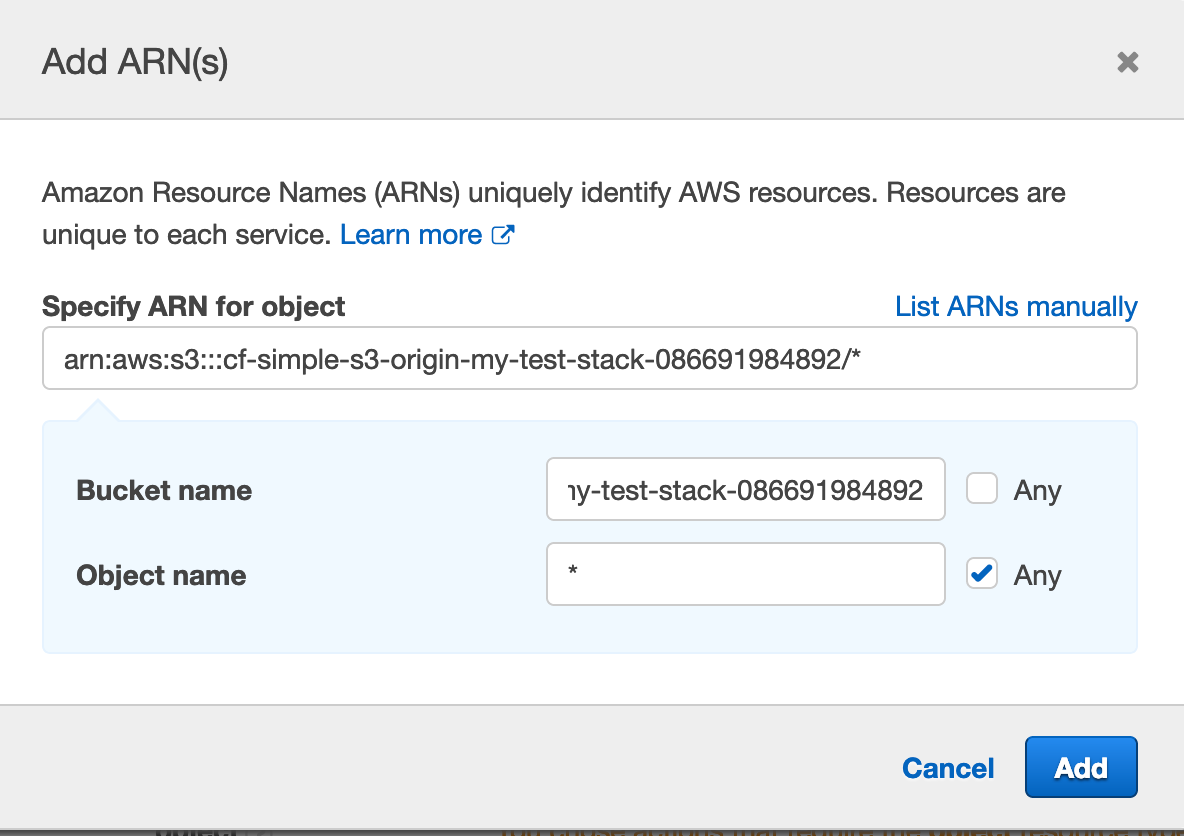
Click Add.
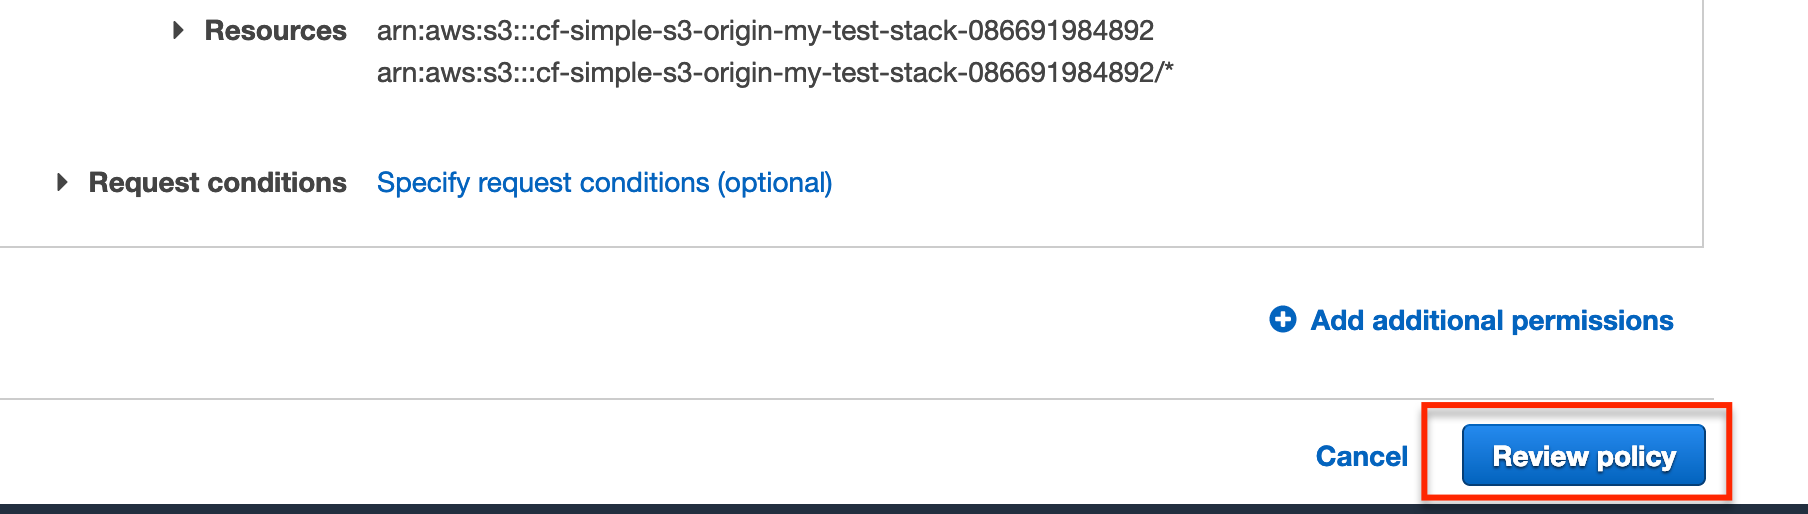
We should see the Resources values we specified and can now click Review policy to continue.
On the Review policy page we just need to enter a name for the policy.
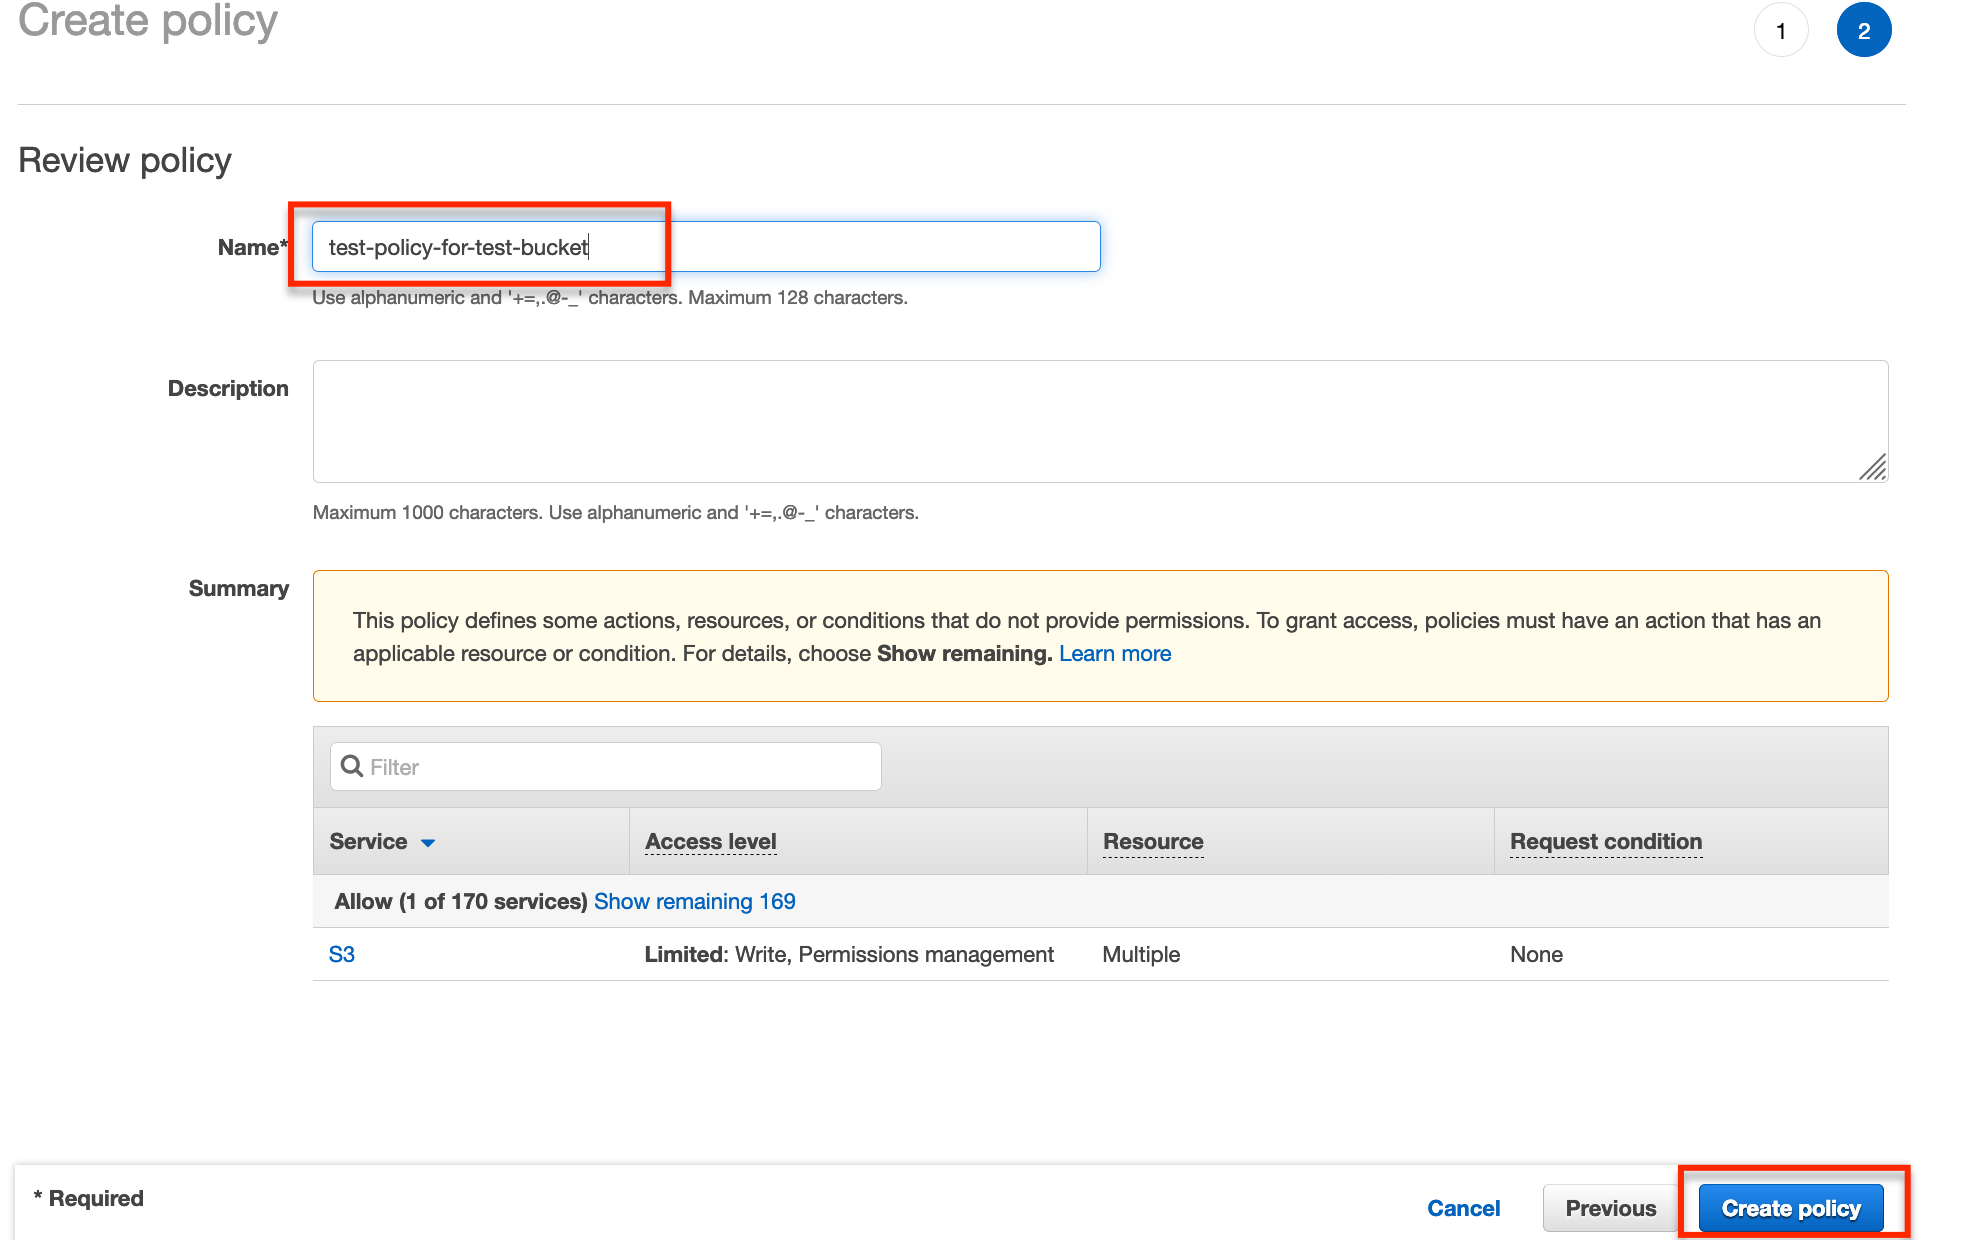
Now click Create policy.

That’s it for the policy… now onto creating a group.
Creating a group
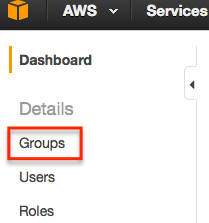
From IAM, select Groups and Create New Group.

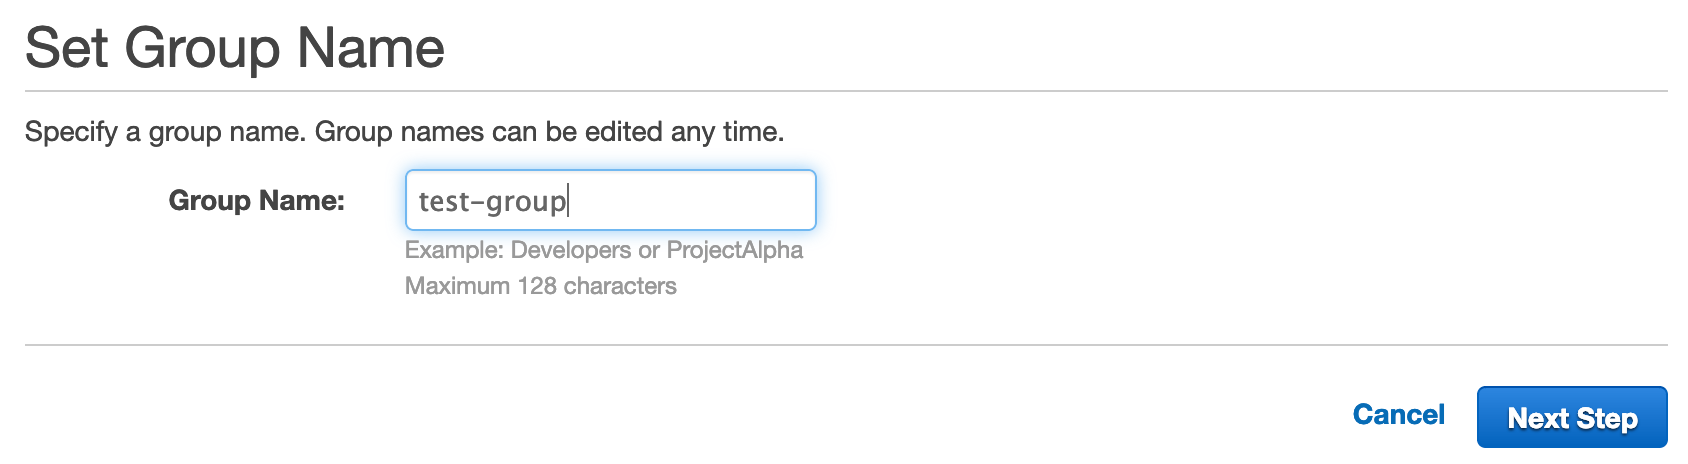
Choose a name for the group, preferably something that makes it obvious it is related to the policy we just created.
Click Next Step, and then search for the policy we just created.
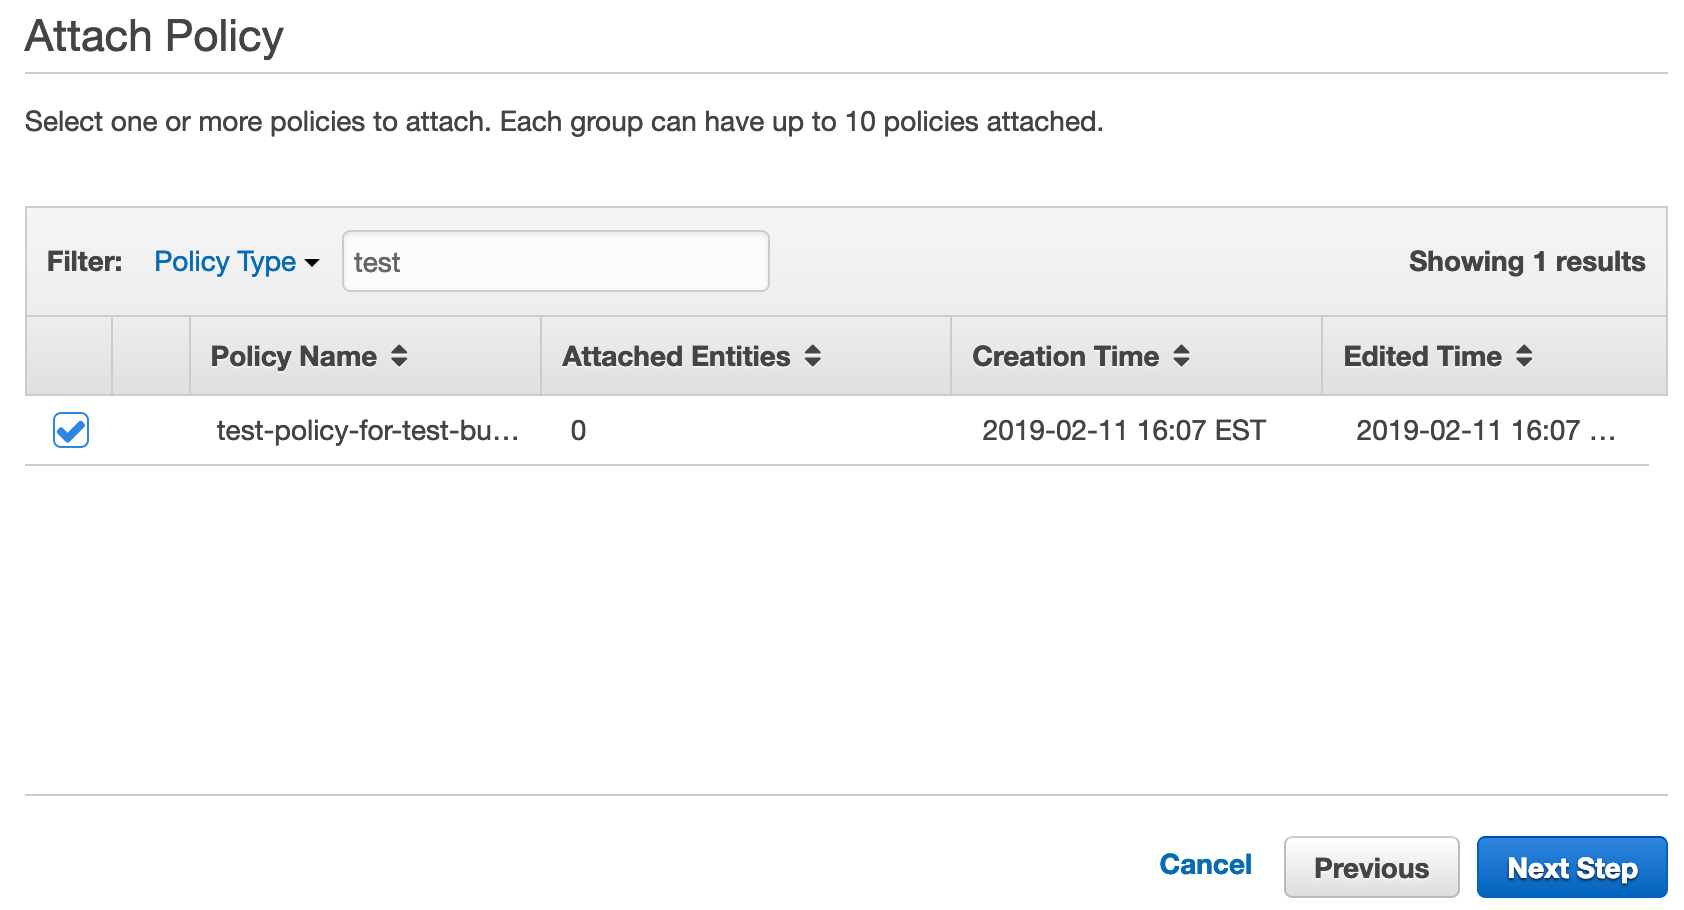
Select the policy and then click Next Step.
In the following screen click Create Group.
And that’s it… now onto creating a user.
Creating a user
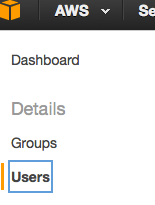
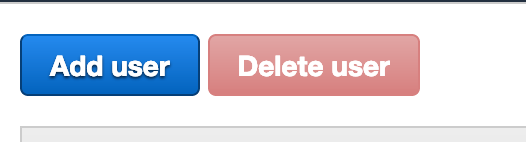
OK, we’re getting close to being done, I promise! The final step is to create a user, select Users from IAM and then Add user.
Enter a user name and select Programmatic access for the Access type.
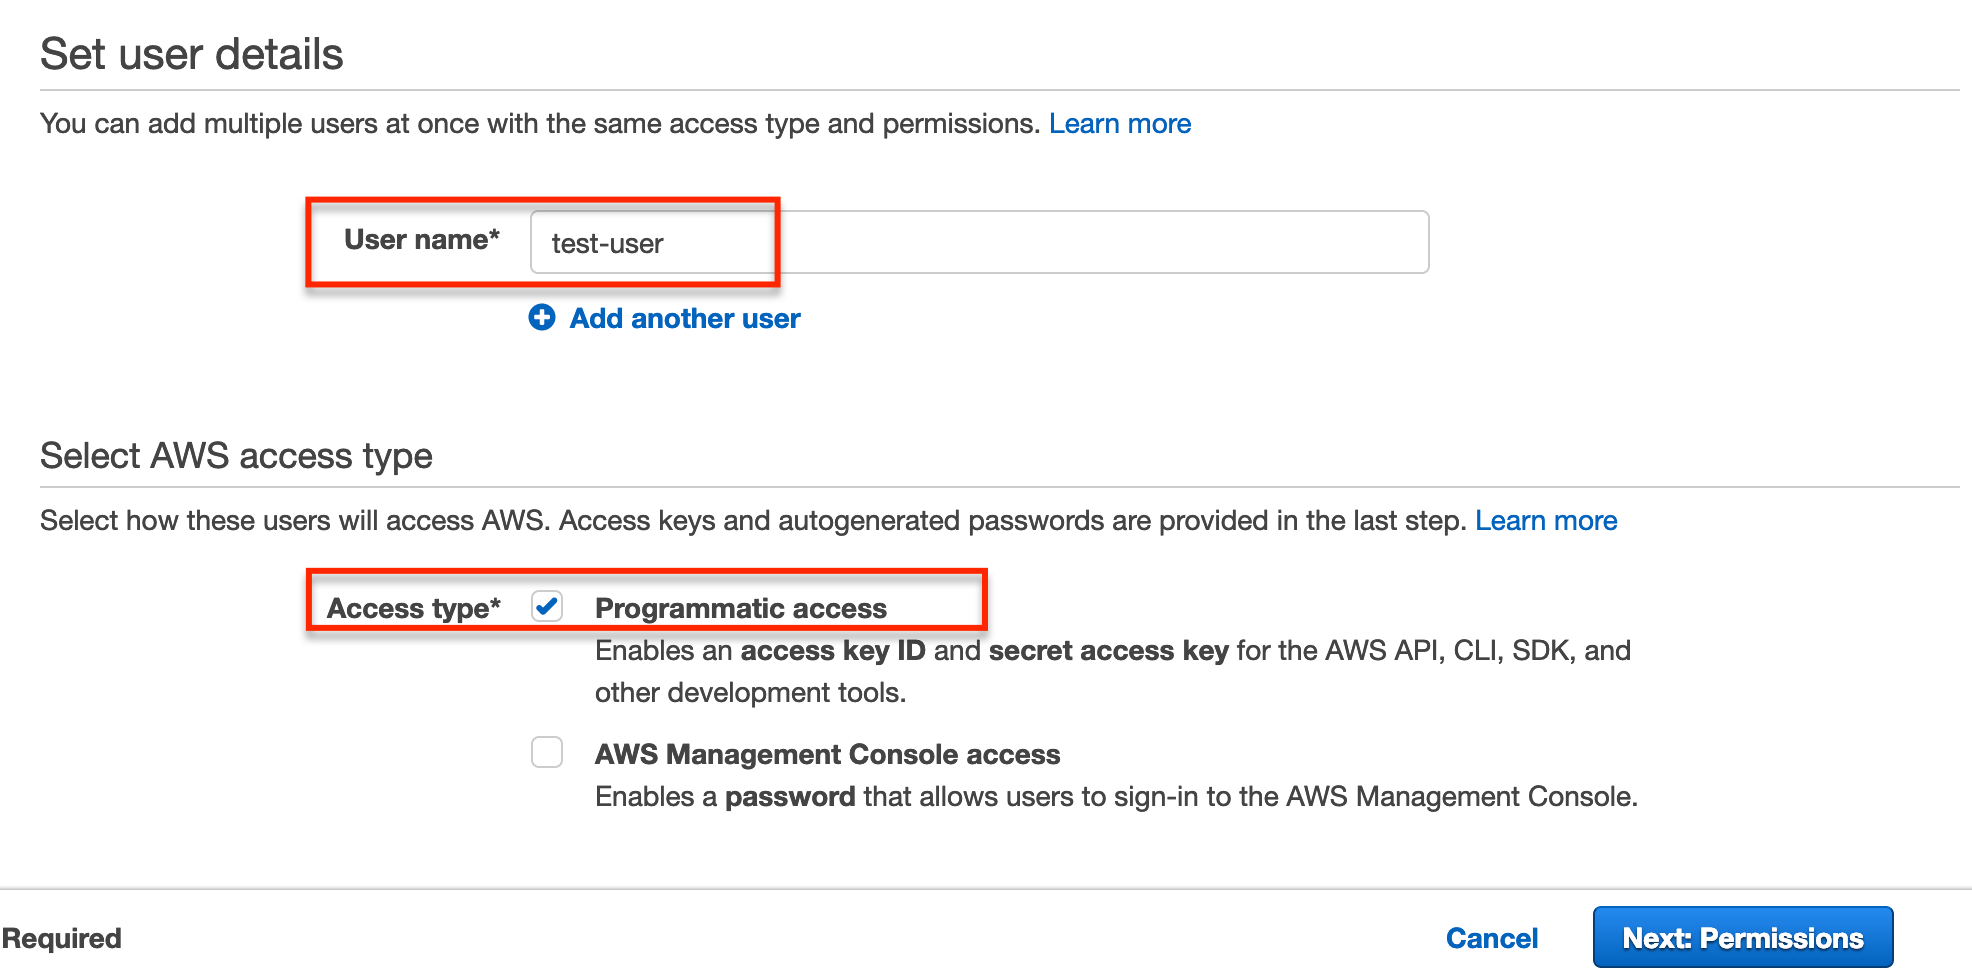
Click Next: Permissions.
We need to assign the user to the group we just created… so search for the group and select it.
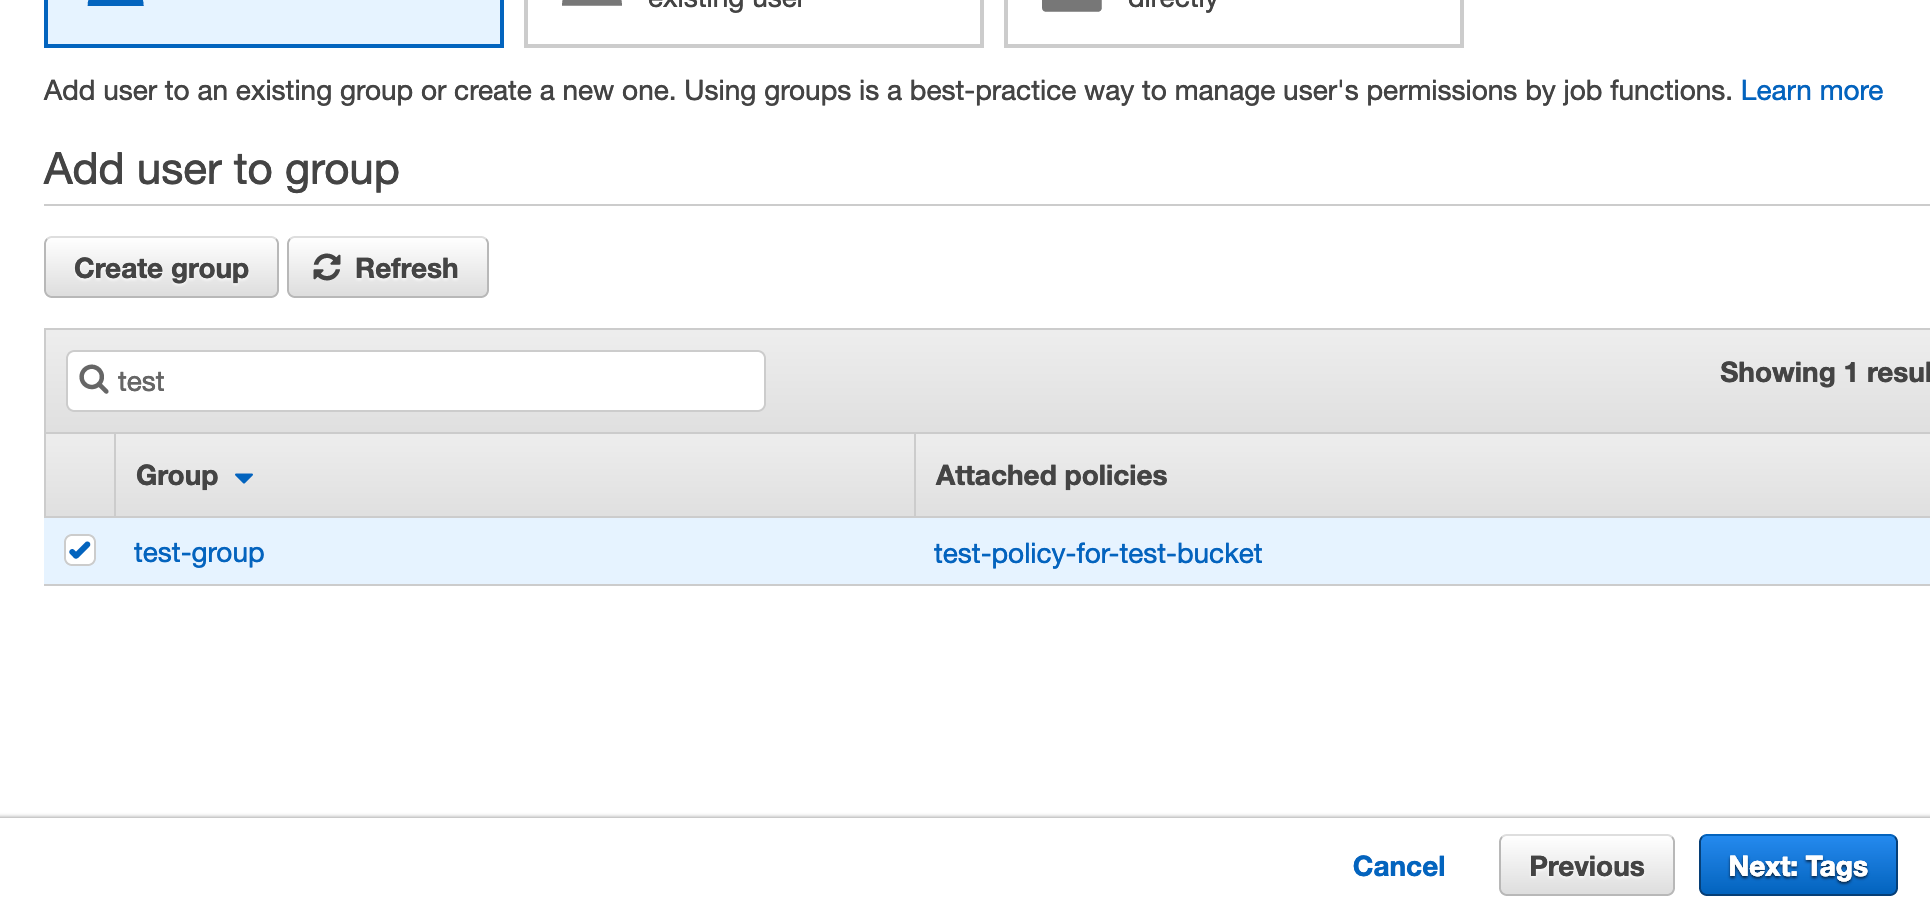
Click Next: Tags.
Enter some tags if you wish.
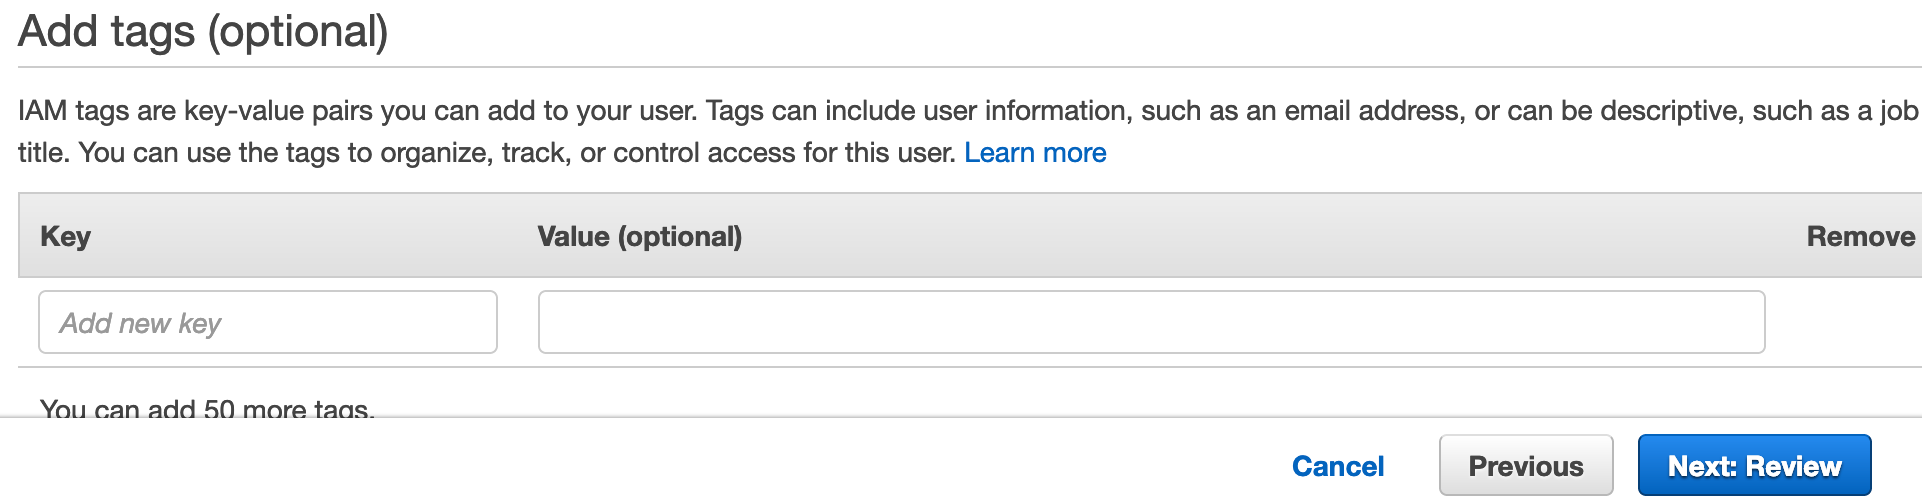
Click Next: Review.
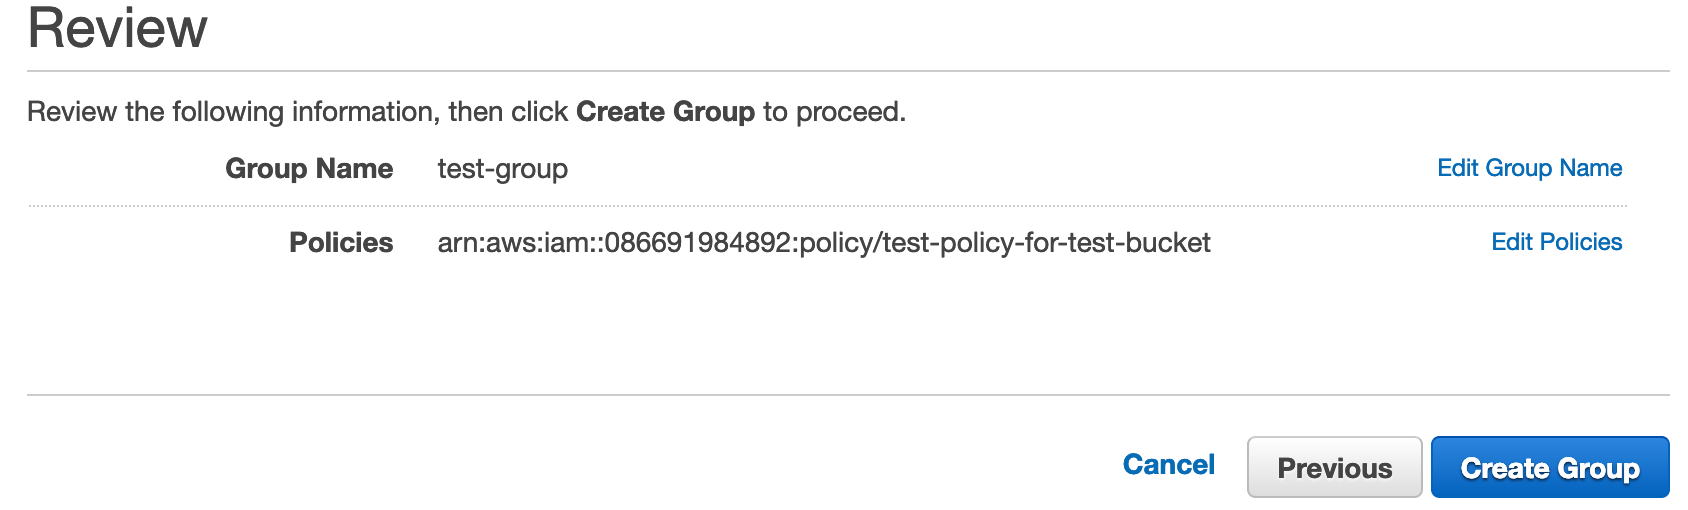
The review page will appear.
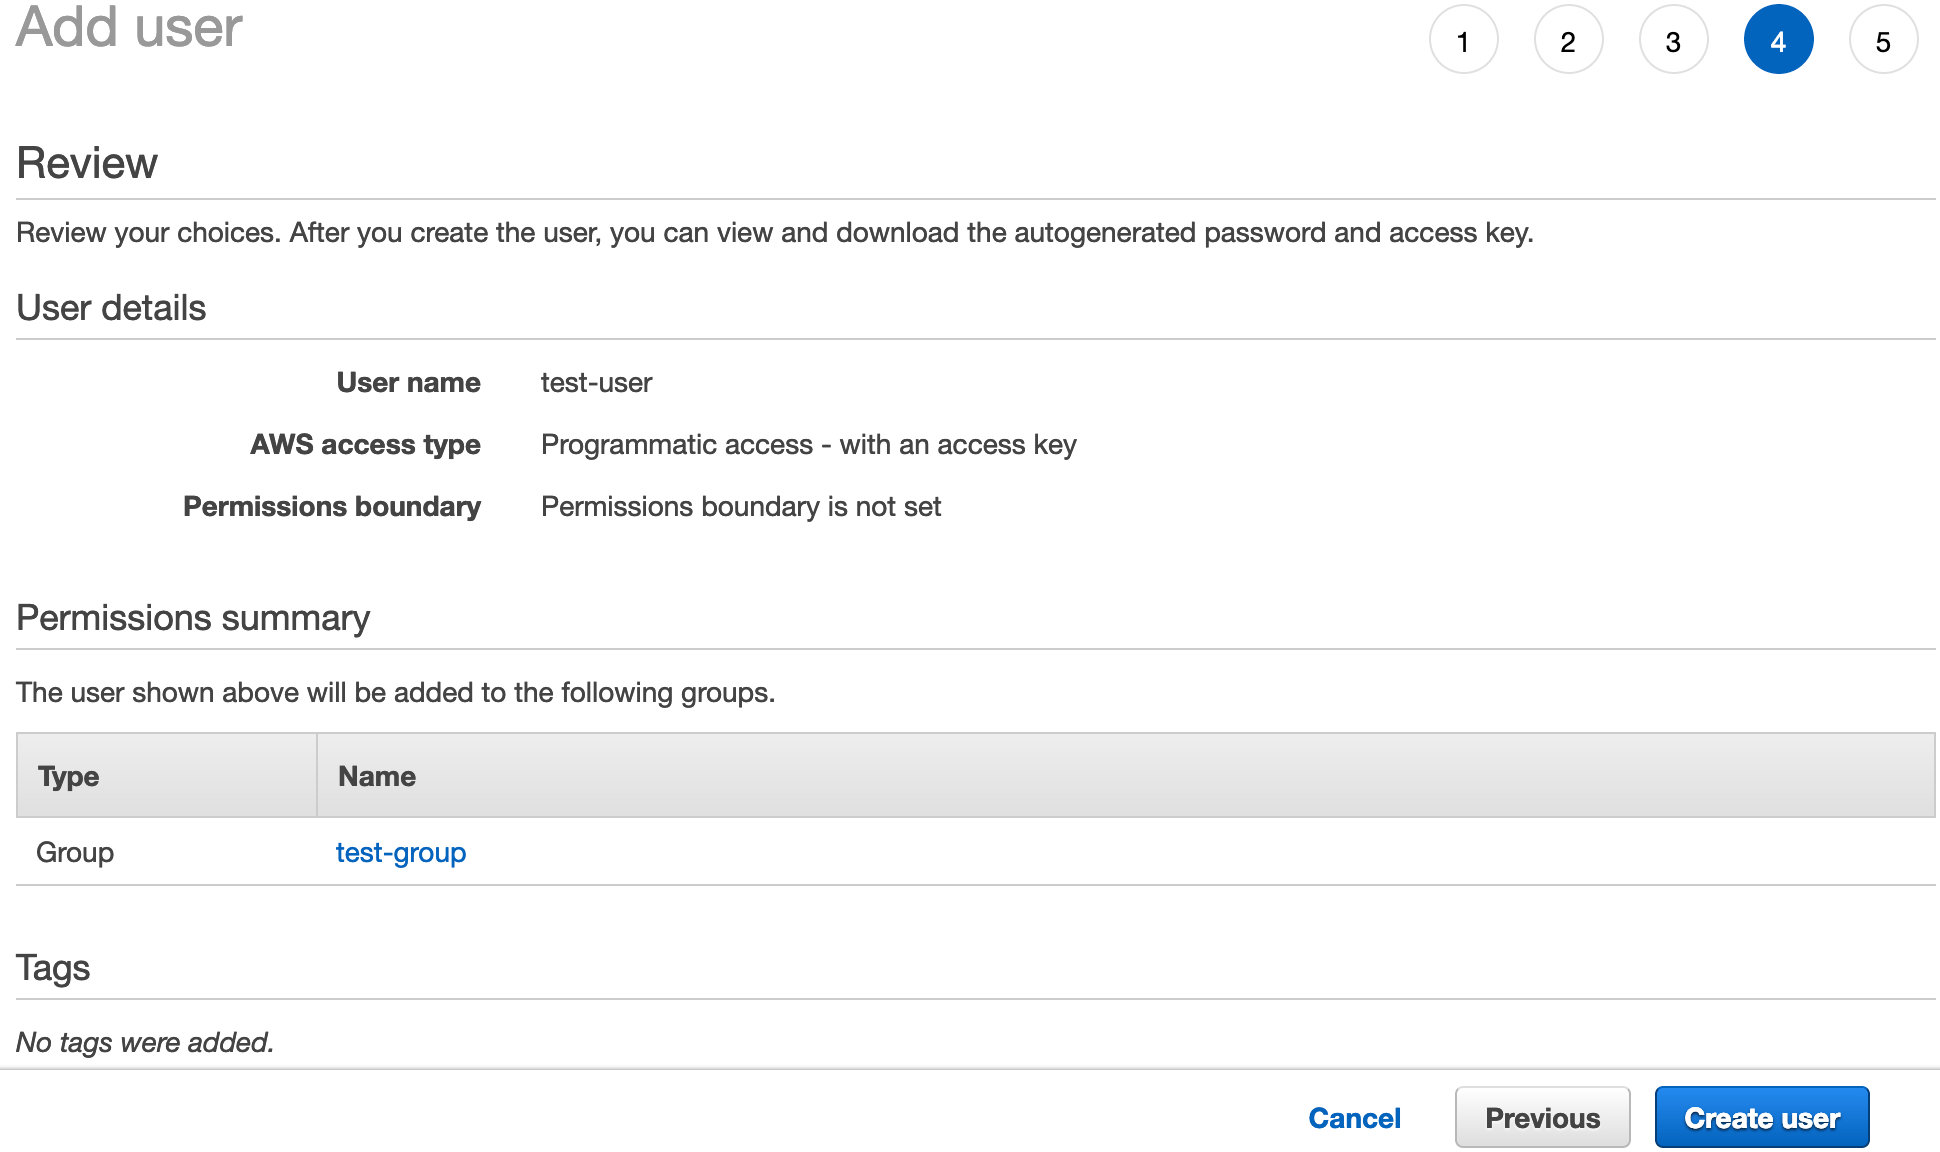
Finally click Create user to create the user.
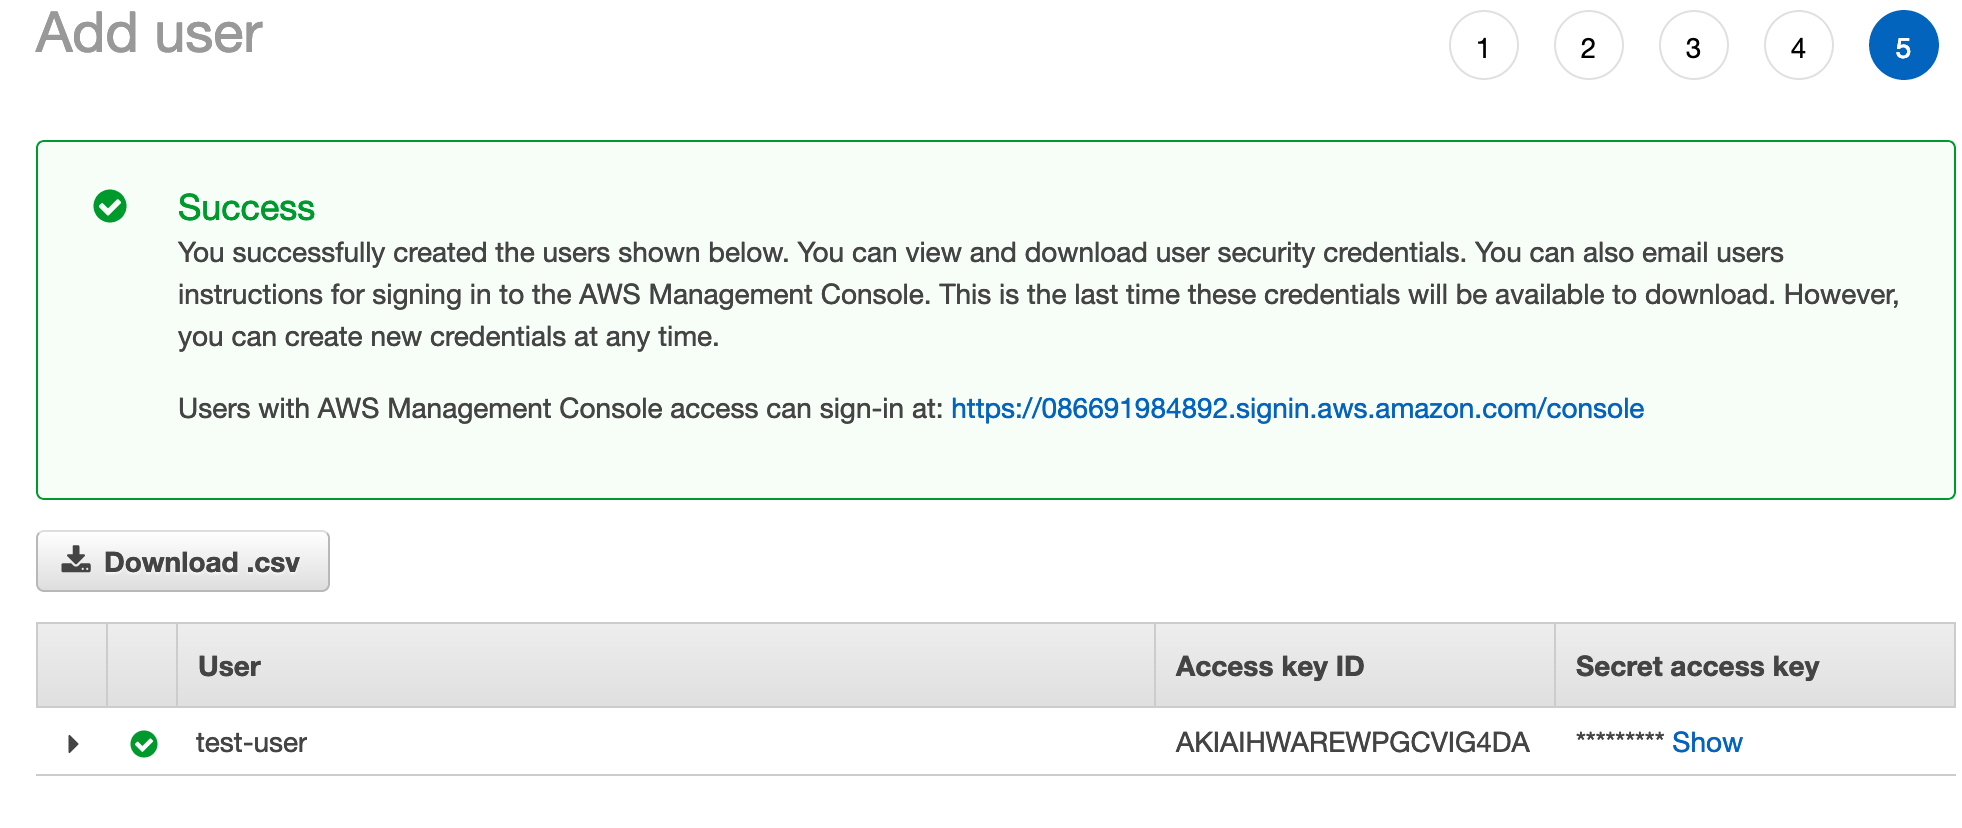
You’ll want to click the Download .csv button to download the user credentials. Make note of where the credentials file is saved as these are what you’ll use to authenticate access to your bucket.
Click Close after the credentials download and you’ll be back at the main IAM User page.
And… that’s it, all done!
Testing the policy
Before wrapping up, let’s verify that we now have the ability to upload objects to our bucket. We’ll use the AWS Command Line Interface for this.
You can check if the AWS CLI is installed by running:
Terminal
aws --version
If you don’t already have it installed, you’ll need to install it. On Mac OS, you can do so with Homebrew.
Terminal
brew install awscliOnce installed, we then need to configure the CLI.
Terminal
aws configureAfter running the above, we can enter or change our Access Key, Secret and region.

Use the crendentials you downloaded earlier for the key and secret. Set the default region to the region of your bucket.
You can view your bucket region from the AWS S3 console.

A list of region codes are available here.
We can now test an upload. I’m in a directory with a few files, so can attempt to push one of the files to the bucket.
Terminal
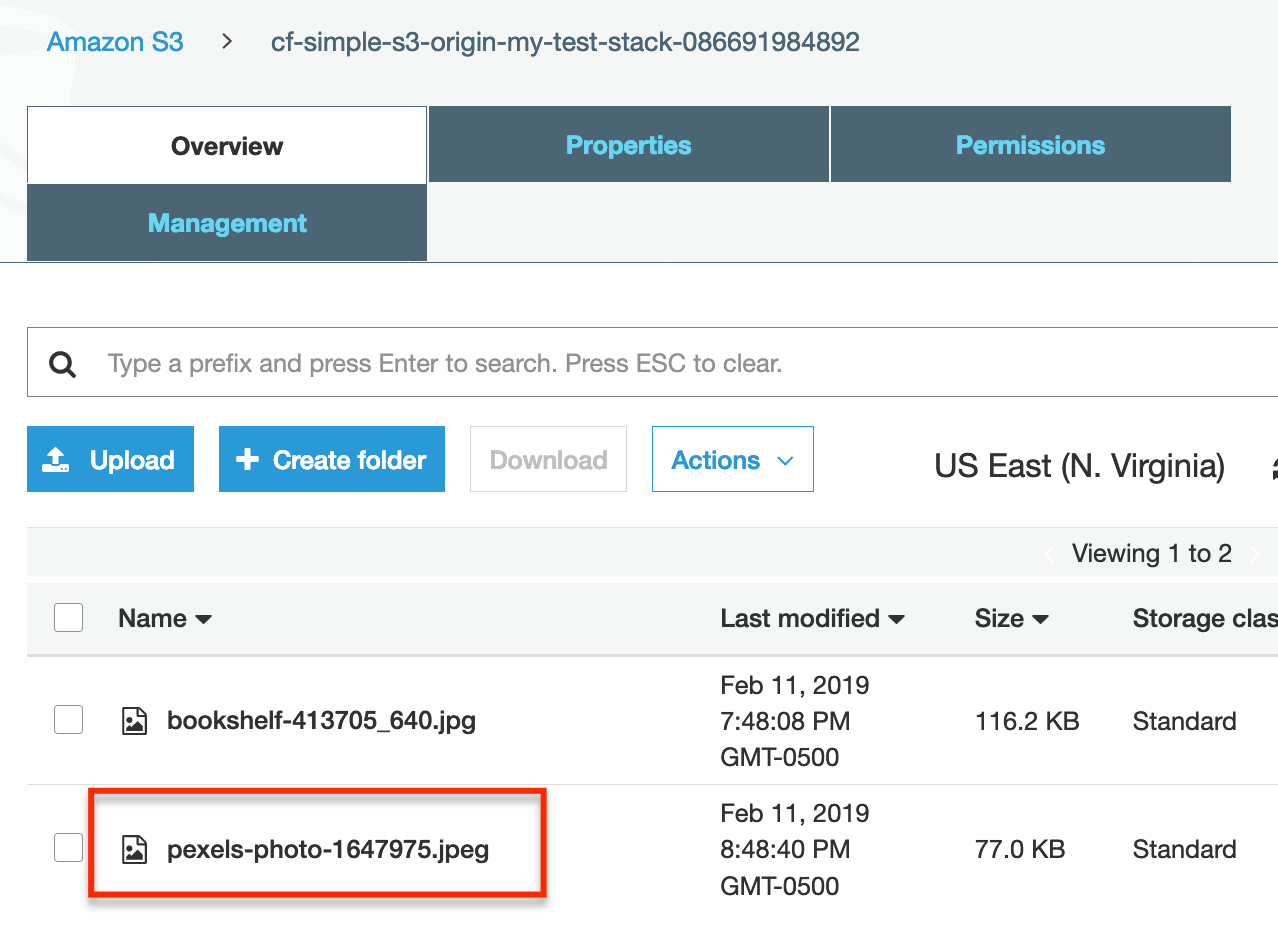
aws s3 cp pexels-photo-1647975.jpeg s3://cf-simple-s3-origin-my-test-stack-086691984892/Obviously you’ll need to change the bucket name to the name of your bucket. But if everything has been set up correctly the image upload will succeed…

And the file will be in our bucket.
Summary
There is no denying it’s a bit of a job getting everything set up with S3 and CloudFront, but it’s not too terrible. As they say… no pain, no gain!
Thanks for reading and I hope you enjoyed the post!