I recently had the opportunity to set-up a Phoenix CI / CD pipeline on GitLab. I was super impressed with how easy it was to get everything up and running. In this post we’ll look at how to go about compiling our code and running our tests on GitLab. In subsequent posts, we’ll deploy our application via the GitLab Kubernetes integration. Exciting stuff! Let’s get at it!
Getting started
We’ll start off with an existing Phoenix application, so the first step is to clone the repo:
Terminal
git clone -b 1-add-scaffolding git@gitlab.com:riebeekn/phx_gitlab_ci_cd.gitNow let’s create a branch for today’s work.
Terminal
cd phx_gitlab_ci_cd
git checkout -b 2-add-ci
And let’s run our existing application to see what we are working with; first we’ll need to install dependencies.
Terminal
mix deps.get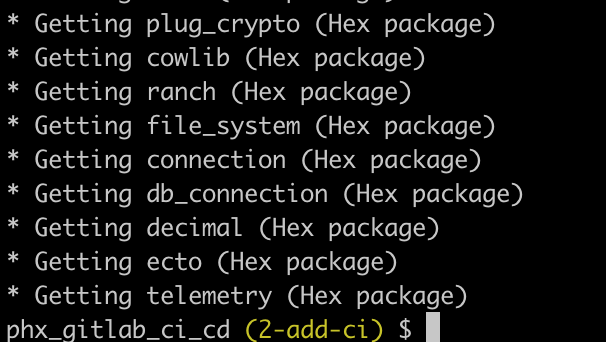
… then assets…
Terminal
cd assets && npm install && cd ..
And now we need to create the database… Note: before running mix ecto.setup you may need to update the username / password database settings in dev.config to match your local postgres settings, i.e.
/config/dev.config
# Configure your database
config :warehouse, Warehouse.Repo,
  username: "postgres",
  password: "postgres",
  database: "warehouse_dev",
  hostname: "localhost",
  pool_size: 10
Terminal
mix ecto.setup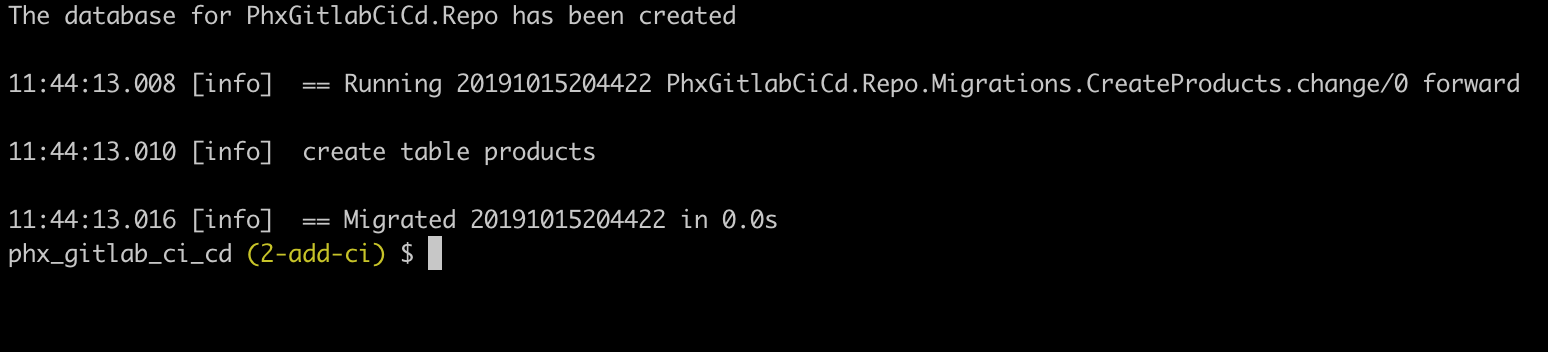
With that all out of the way, let’s fire things up.
Terminal
mix phx.serverIf we navigate to http://localhost:4000/ we’ll see our application.
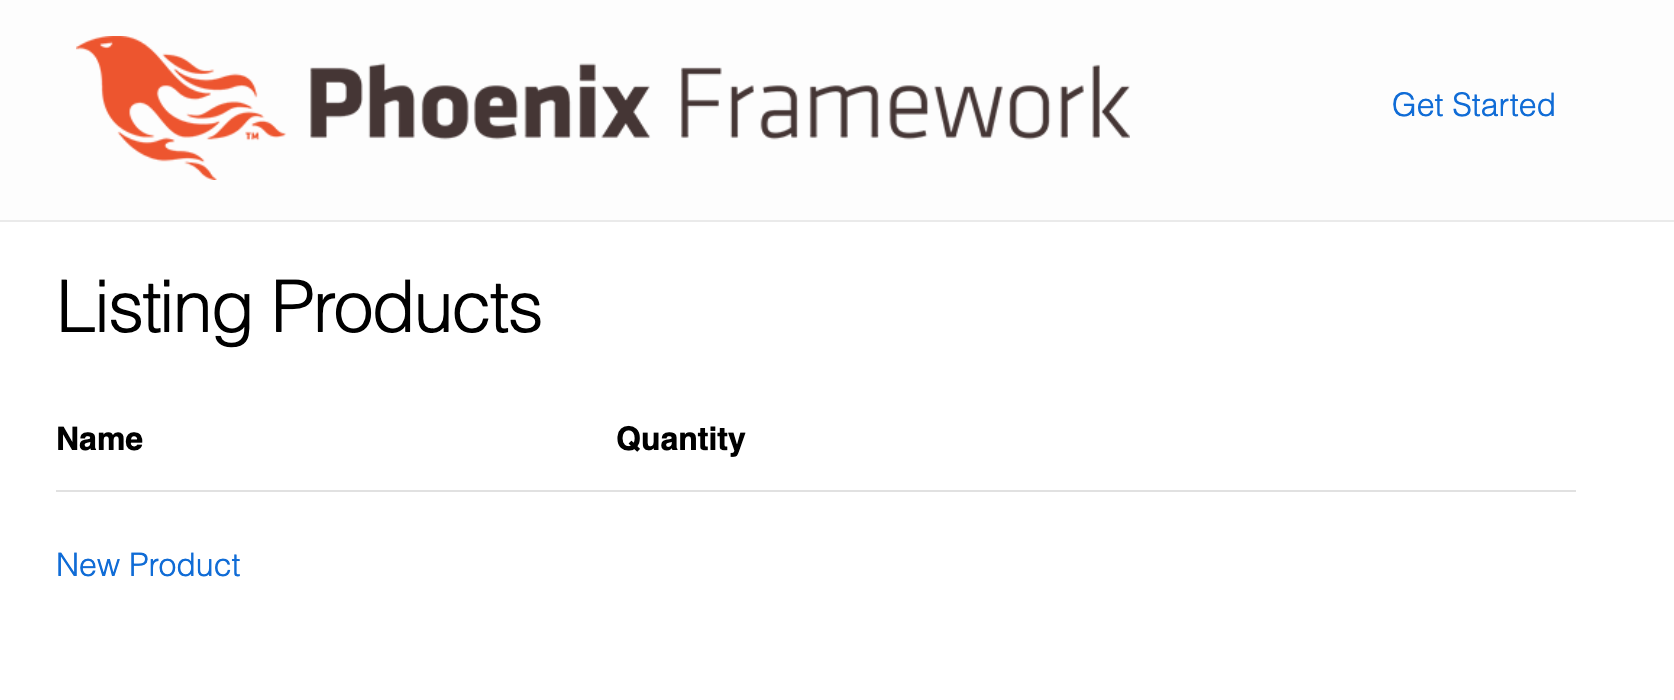
Nothing fancy, just the standard project you get when running mix phx.new. I’ve also added some simple scaffolding so we have some database related tests and functionality to run against GitLab.
Let’s move on to setting up continuous integration on GitLab.
Adding CI to GitLab
Setting up a CI pipeline on GitLab is dead simple. GitLab will look for a .gitlab-ci.yml file in the root of the project; and then create / run a pipeline based on the contents of this file.
So as a first step, let’s see if we can get GitLab to build our code.
Build stage
We’ll create both the .gitlab-ci.yml file mentionned above and also a ci directory. We’ll keep the .gitlab-ci.yml file pretty sparse, calling into files we’ll place in the ci directory. I find this keeps things a little more organized versus having one huge .yml file.
Let’s create our files and folders.
Terminal
touch .gitlab-ci.yml
mkdir ci
touch ci/build.yml
We’ll start with .gitlab-ci.yml.
/.gitlab-ci.yml
# Main CI yml file for GitLab
stages:
  - build

include:
  - local: "/ci/build.yml"
Super simple, we indicate the stages (currently just build) of our pipeline via the stages section, and then include a reference to our build.yml file. Let’s fill in build.yml next.
/ci/build.yml
compile:
  stage: build
  image: elixir:1.9.1-alpine
  # use cache to speed up subsequent builds
  cache:
    key: ${CI_COMMIT_REF_SLUG}
    paths:
      - _build
      - deps
  script:
    - mix local.hex --force
    - mix local.rebar --force
    - mix deps.get
    - mix compile --warnings-as-errors
Our build.yml file is also pretty simple. We indicate this is part of the build stage via the stage: build line. We then indicate the image for our build.
We’ve added a cache section to speed up subsequent runs of the pipeline. When possible GitLab will use the cached dependencies and build instead of building everything from scratch.
The script section is where we specify what commands we want GitLab to execute. First off we need to ensure hex and rebar are available (thanks to Dan Ivovich’s excellent post for flagging this up), as neither are included in the cache. Next we grab our dependencies via mix deps.get, and finally run mix compile, passing in the --warnings-as-errors flag as we don’t want our pipeline to pass if we have compiler warnings.
Let’s test things out by pushing to GitLab:
Terminal
git add .
git commit -am "Add CI build step"
git push origin 2-add-ci
Since we now have a .gitlab-ci.yml file in our project GitLab picks this up, and when we navigate to CI/CD, Jobs in GitLab, we see our build stage running the compile job we specified in build.yml:
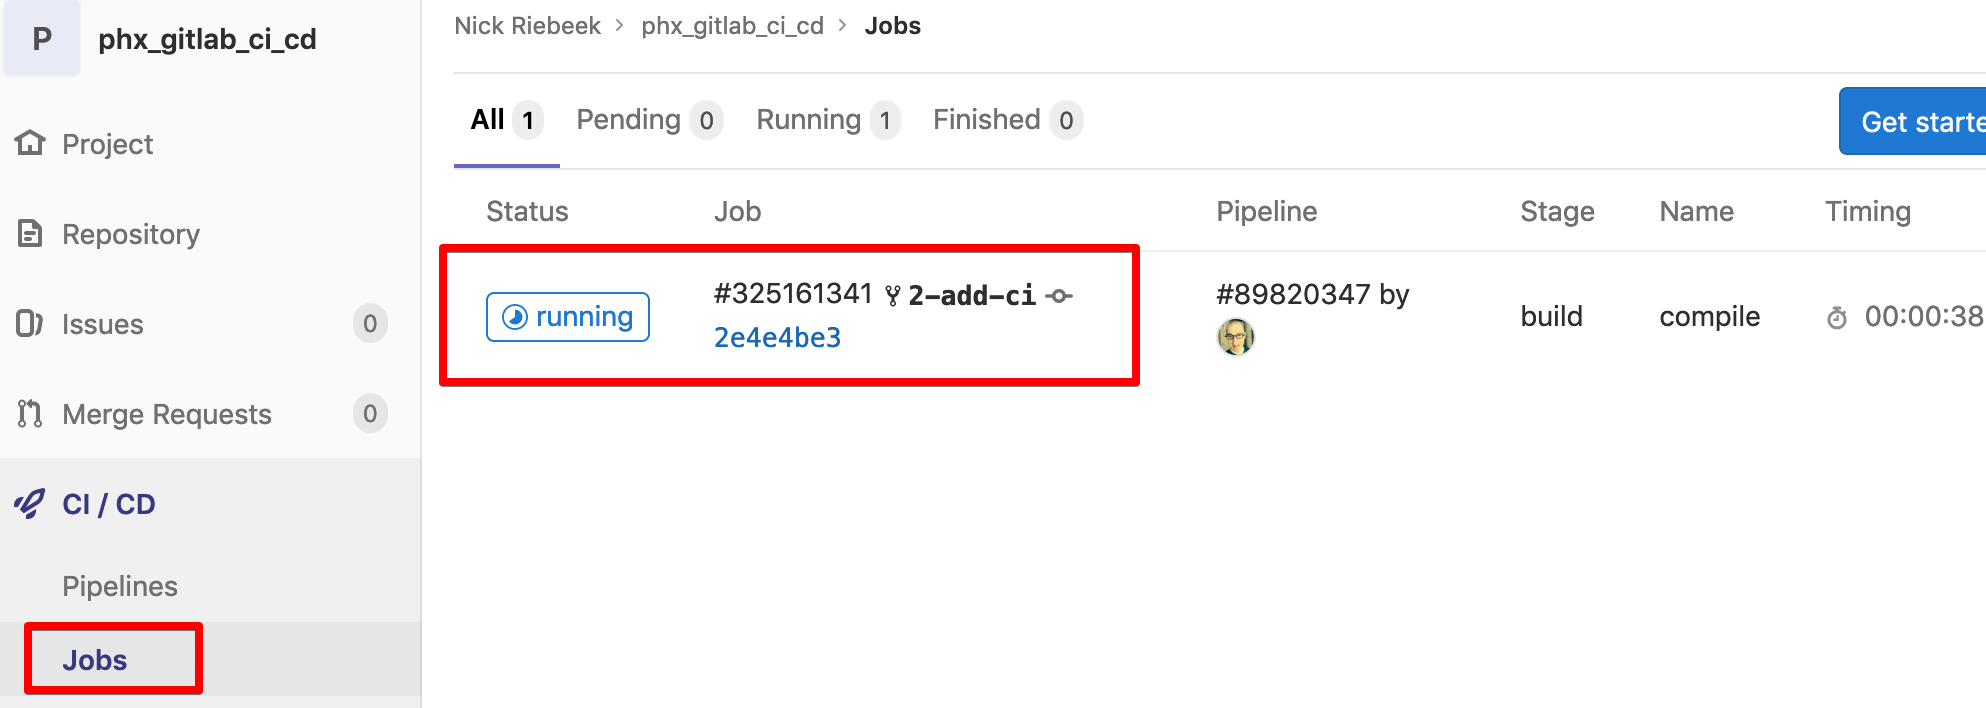
Refreshing the page after a few minutes will show the job as passing. Note, you can also view the details of a job by clicking the job number.

If we re-run the job, we can see our caching seems to be doing the trick:

Our build stage looks to be all good, let’s move onto the test stage.
Test stage
We’ll perform both testing and linting in this stage. Let’s start by setting up testing.
Setting up tests
The first step is to add a new stage and local reference in.gitlab-ci.yml.
/.gitlab-ci.yml
# Main CI yml file for GitLab
stages:
  - build
  - test

include:
  - local: "/ci/build.yml"
  - local: "/ci/test.yml"
Simple, now let’s create test.yml.
Terminal
touch ci/test.yml/ci/test.yml
# this stage will fail if any tests fail or if test coverage is
# below the coverage specified in /coveralls.json
test:
  stage: test
  image: elixir:1.9.1-alpine
  services:
    - postgres:11.5-alpine
  variables:
    POSTGRES_DB: phx_gitlab_ci_cd_test
    POSTGRES_HOST: postgres
    POSTGRES_USER: postgres
    POSTGRES_PASSWORD: "postgres"
    MIX_ENV: "test"
  # use cache
  cache:
    key: ${CI_COMMIT_REF_SLUG}
    paths:
      - _build
      - deps
  script:
    - mix local.hex --force
    - mix local.rebar --force
    - mix ecto.setup
    - mix coveralls
Ok, a little bit more is going on here. We set the stage to test and specify that GitLab needs to use the postgres service. This provides a database to run our tests against.
We’re also setting some variables in the variables section for the database configuration. We’ll need to update test.config to make use of these.
Similar to the build stage, we use the cache in order to avoid re-building everything.
Finally, in the script section we set up our database (mix ecto.setup) and then run our tests via excoveralls.
Before testing this out on GitLab, we’re going to need to set up coveralls in our project. Before dealing with coveralls, let’s first get the test configuration changes out of the way.
Update the test config
/config/test.exs
use Mix.Config

# Configure your database
config :phx_gitlab_ci_cd, PhxGitlabCiCd.Repo,
  username: System.get_env("POSTGRES_USER") || "postgres",
  password: System.get_env("POSTGRES_PASSWORD") || "postgres",
  database: System.get_env("POSTGRES_DB") || "phx_gitlab_ci_cd_test",
  hostname: System.get_env("POSTGRES_HOST") || "localhost",
  pool: Ecto.Adapters.SQL.Sandbox

# We don't run a server during test. If one is required,
# you can enable the server option below.
config :phx_gitlab_ci_cd, PhxGitlabCiCdWeb.Endpoint,
  http: [port: 4002],
  server: false

# Print only warnings and errors during test
config :logger, level: :warn
All we’ve done is replace the hard-coded database configuration values with environment variables that default back to the original hard-coded values. GitLab will provide the appropriate environment variables during the test stage.
Install coveralls
Let’s move onto getting coveralls installed. We need to update both the project and deps section our mix.exs file.
/mix.exs
...
...
def project do
  [
    app: :phx_gitlab_ci_cd,
    version: "0.1.0",
    elixir: "~> 1.5",
    elixirc_paths: elixirc_paths(Mix.env()),
    compilers: [:phoenix, :gettext] ++ Mix.compilers(),
    start_permanent: Mix.env() == :prod,
    aliases: aliases(),
    deps: deps(),
    test_coverage: [tool: ExCoveralls],
    preferred_cli_env: [
      coveralls: :test,
      "coveralls.detail": :test,
      "coveralls.post": :test,
      "coveralls.html": :test
    ],
  ]
end
...
...
defp deps do
  [
    ...
    ...
    {:plug_cowboy, "~> 2.0"},
    {:excoveralls, "~> 0.10", only: :test}
  ]
end
Now we need to get the new dependency.
Terminal
mix deps.get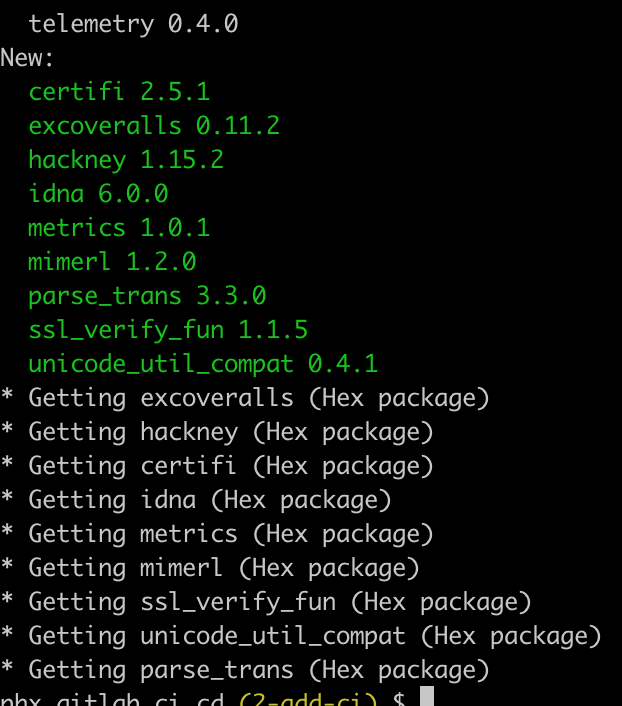
We should now be able to run our test coverage.
Terminal
mix coveralls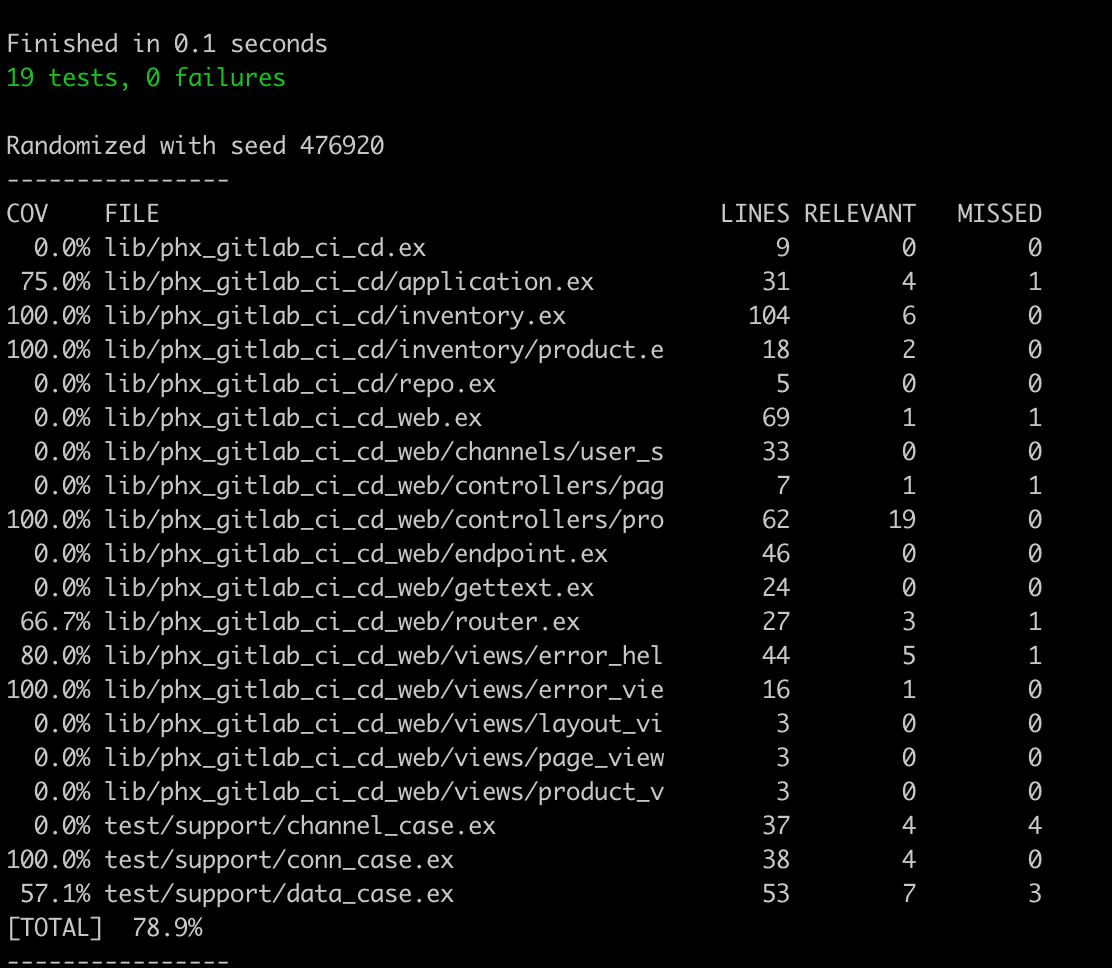
Looking good, but let’s add some coveralls configuration.
Terminal
touch coveralls.json/coveralls.json
{
  "skip_files": [
    "test",
    "lib/phx_gitlab_ci_cd.ex",
    "lib/phx_gitlab_ci_cd_web.ex",
    "lib/phx_gitlab_ci_cd/application.ex",
    "lib/phx_gitlab_ci_cd/repo.ex",
    "lib/phx_gitlab_ci_cd_web/endpoint.ex",
    "lib/phx_gitlab_ci_cd_web/gettext.ex",
    "lib/phx_gitlab_ci_cd_web/router.ex",
    "lib/phx_gitlab_ci_cd_web/channels/user_socket.ex",
    "lib/phx_gitlab_ci_cd_web/views/error_helpers.ex"
  ],

  "coverage_options": {
    "minimum_coverage": 90
  }
}
The skip_files section ignores any files we don’t expect to write tests against, and which as a result, we don’t want counting against our coverage percentage. In the coverage_options we specify the coveralls task will fail if we don’t have at least 90% test coverage.
With our newly ignored files, if we run coveralls again, we’ll see we are well within our coverage boundary.
Terminal
mix coveralls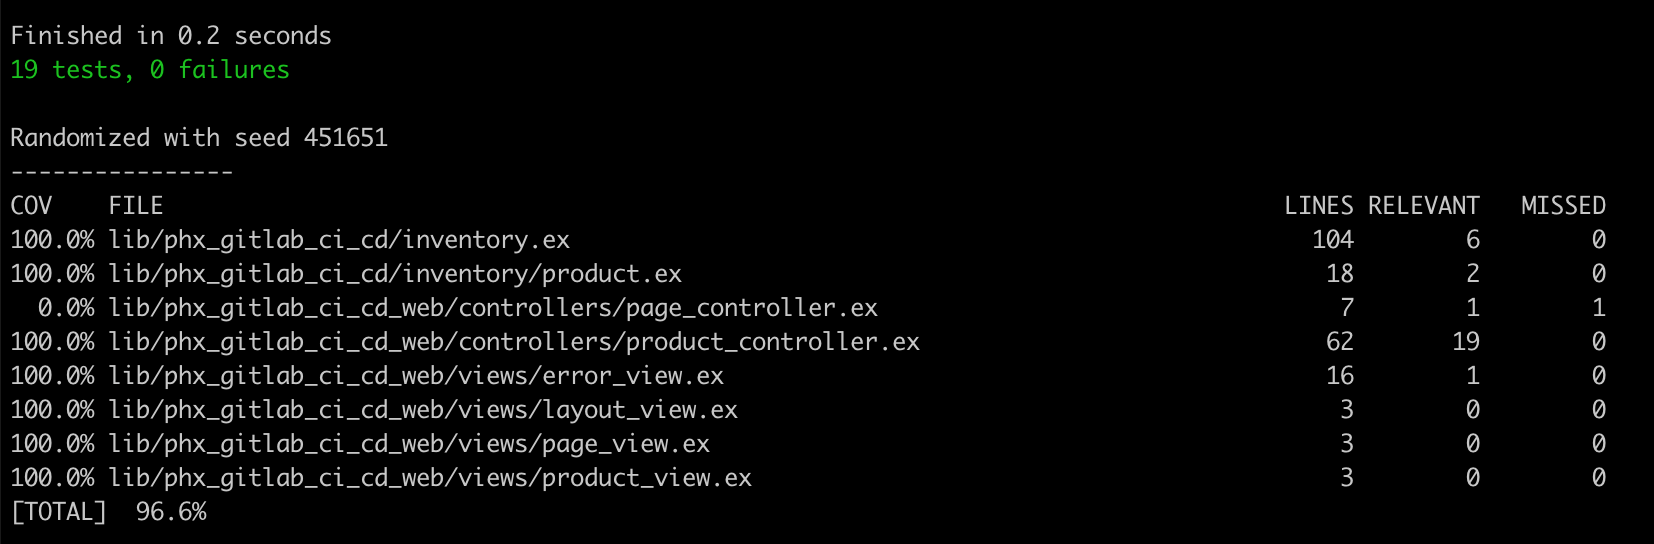
Great! So let’s do a push to GitLab and see what happens.
Terminal
git add .
git commit -am "Add CI test step"
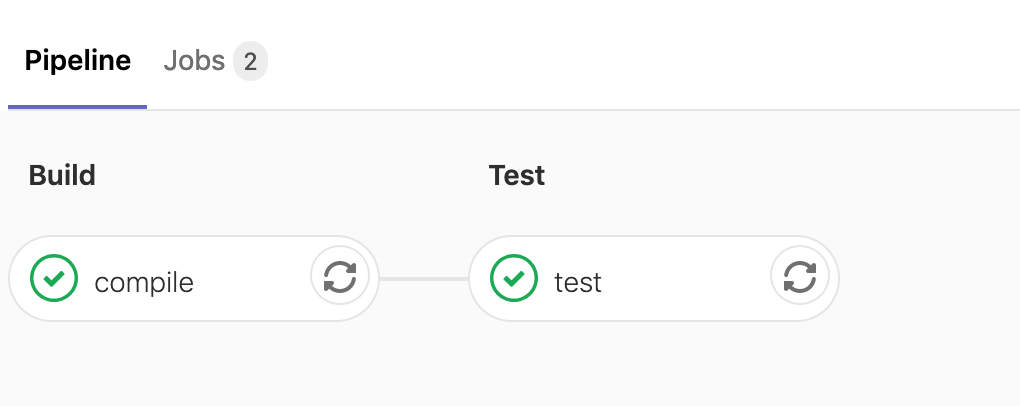
git push origin 2-add-ciBack in GitLab, if you refresh the page after a few minutes, you’ll see our test stage / job.

Viewing the pipeline in GitLab we’ll also see the test stage has been added to the pipeline.
So this is pretty fantastic, we’re already in a pretty good spot in terms of our continuous integration set-up.
As a final step for today, let’s add some linting to the test stage.
Setting up linting
We’re going to use both mix format and credo for linting.
Let’s see if we currently have any formatting issues:
Terminal
mix format --check-formatted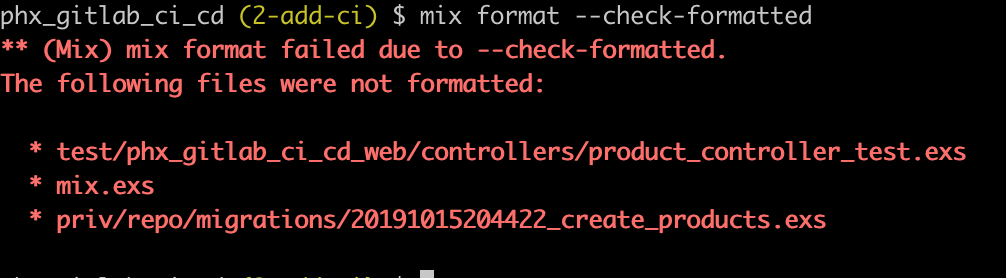
Looks like we do, so we’ll run mix format to resolve those.
Terminal
mix formatNow let’s install credo.
Add the credo dependency to mix.exs.
/mix.exs
...
...
defp deps do
  [
    ...
    ...
    {:plug_cowboy, "~> 2.0"},
    {:excoveralls, "~> 0.10", only: :test},
    {:credo, "~> 1.1.0", only: [:dev, :test], runtime: false}
  ]
end
And grab the dependency.
Terminal
mix deps.get
We’ll add a config file for credo while we are at it.
Terminal
touch config/.credo.exs/config/.credo.exs
%{
  configs: [
    %{
      name: "default",
      files: %{
        included: ["lib/", "src/", "web/", "apps/"],
        excluded: []
      },
      checks: [
        # deactivate checks that are not compatible with Elixir 1.9.1
        {Credo.Check.Refactor.MapInto, false},
        {Credo.Check.Warning.LazyLogging, false},
        # don't fail on TODO tags
        {Credo.Check.Design.TagTODO, false}
      ]
    }
  ]
}
Pretty self explanatory.
Let’s run credo and see if we need to make any updates to our code.
Terminal
mix credo --strict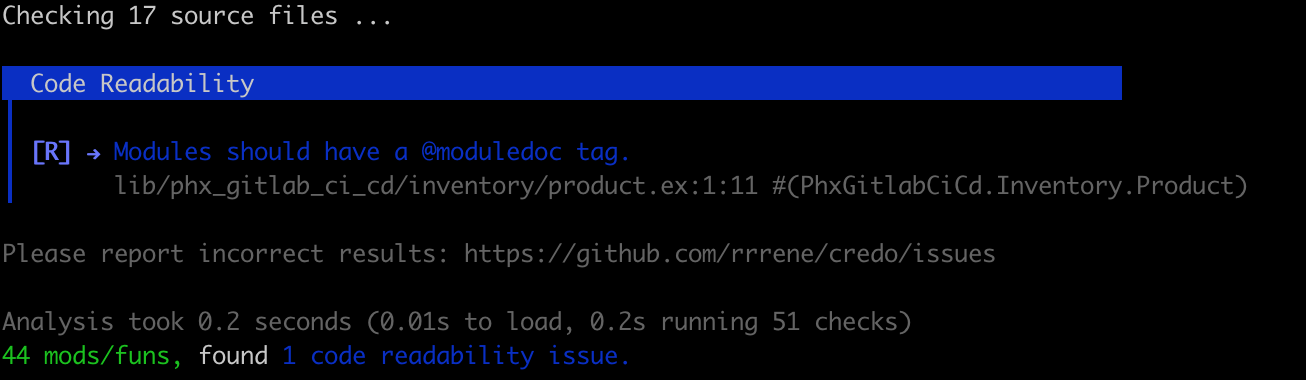
Looks like we have a missing moduledoc tag. Let’s leave this for now, so we see an example of our pipeline failing on a push to GitLab.
With credo configured, all that remains is to add a lint job to test.yml.
/ci/test.yml
# this stage will fail if any tests fail or if test coverage is
# below the coverage specified in /coveralls.json
test:
  stage: test
  image: elixir:1.9.1-alpine
  services:
    - postgres:11.5-alpine
  variables:
    POSTGRES_DB: phx_gitlab_ci_cd_test
    POSTGRES_HOST: postgres
    POSTGRES_USER: postgres
    POSTGRES_PASSWORD: "postgres"
    MIX_ENV: "test"
  # use cache
  cache:
    key: ${CI_COMMIT_REF_SLUG}
    paths:
      - _build
      - deps
  script:
    - mix local.hex --force
    - mix local.rebar --force
    - mix ecto.setup
    - mix coveralls

# this stage will fail if formatting or credo issues are present
lint:
  stage: test
  image: elixir:1.9.1-alpine
  # use cache
  cache:
    key: ${CI_COMMIT_REF_SLUG}
    paths:
      - _build
      - deps
  script:
    - mix local.hex --force
    - mix local.rebar --force
    - mix format --check-formatted
    - mix credo --strict
Pretty simple, the job just runs mix format and then mix credo.
Let’s see what happens when we push to GitLab.
Terminal
git add .
git commit -am "Add CI lint job"
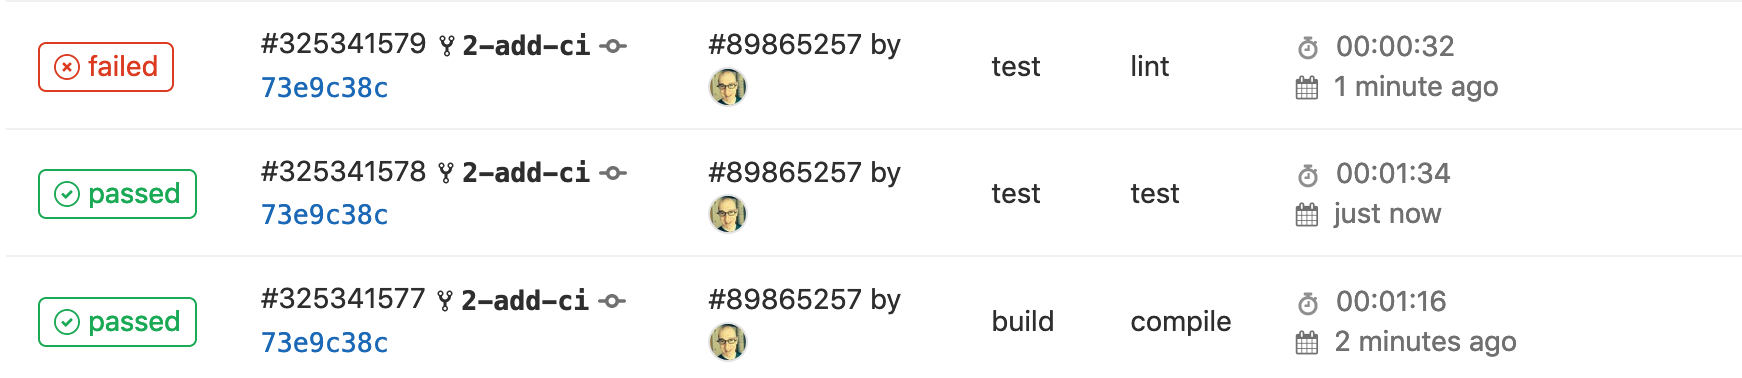
git push origin 2-add-ciOnce our jobs complete we see:
We also receive an email which contains details of the failed job.
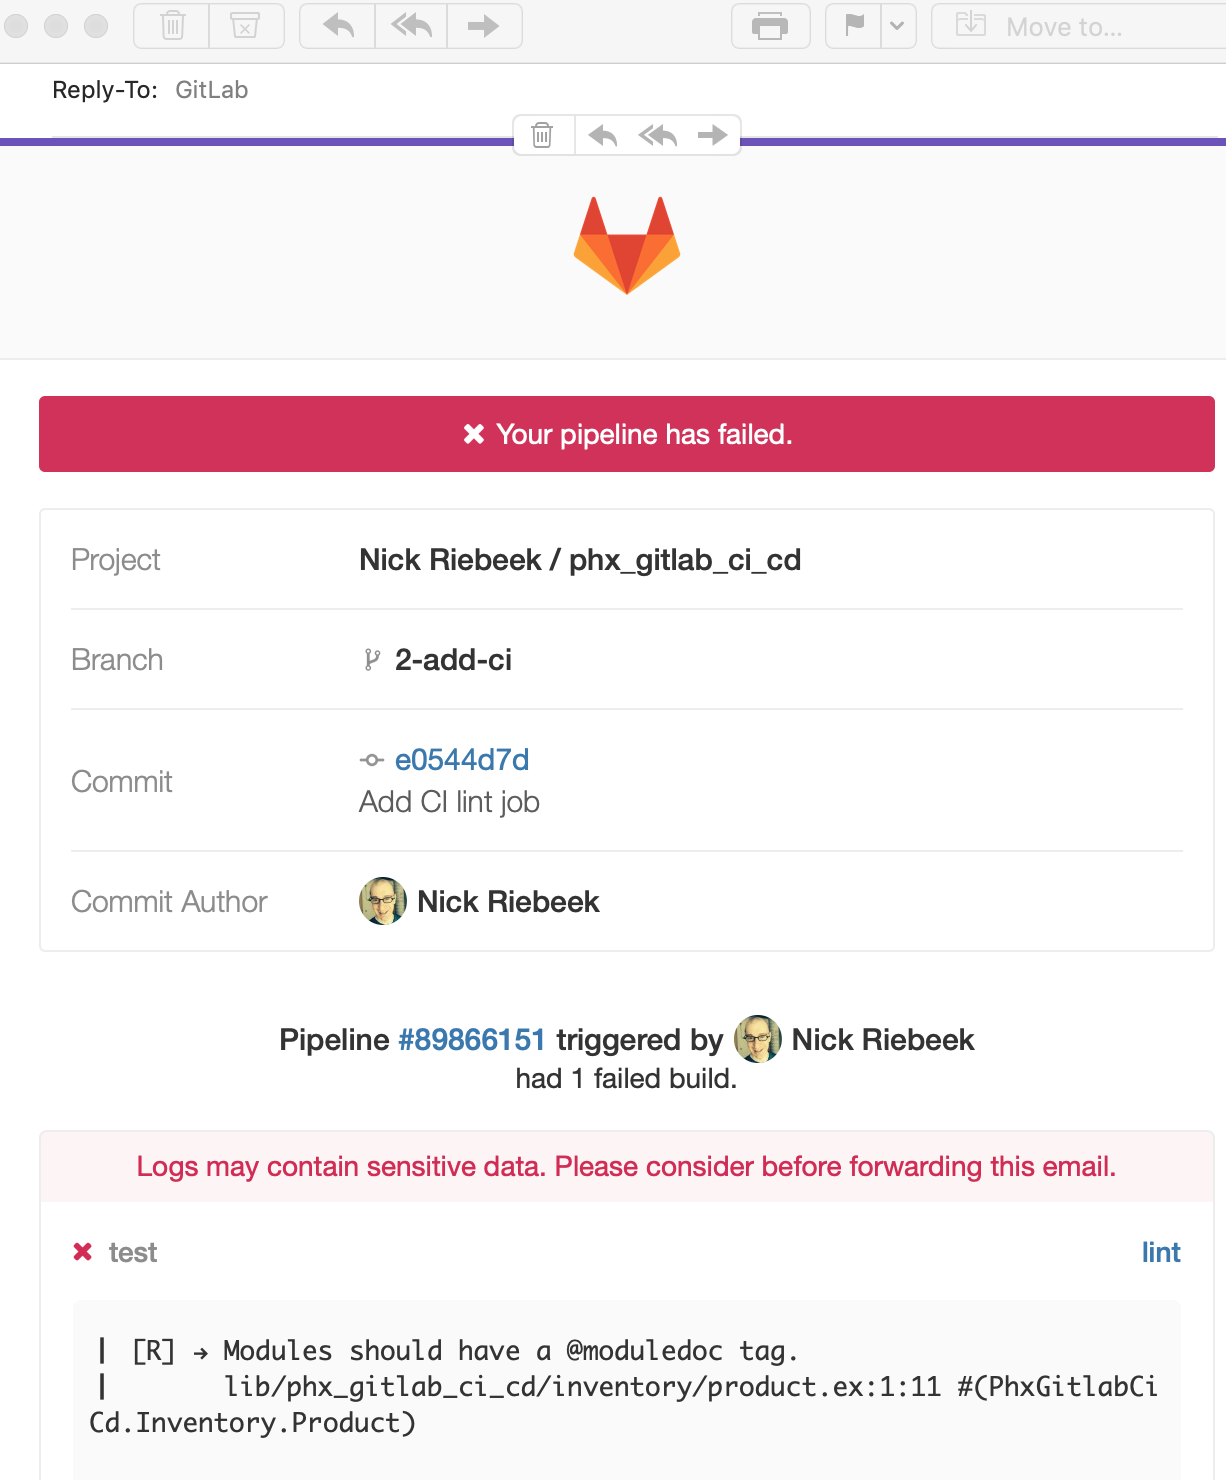
And of course, we can also see the detailed output of a job by clicking the job number in GitLab.
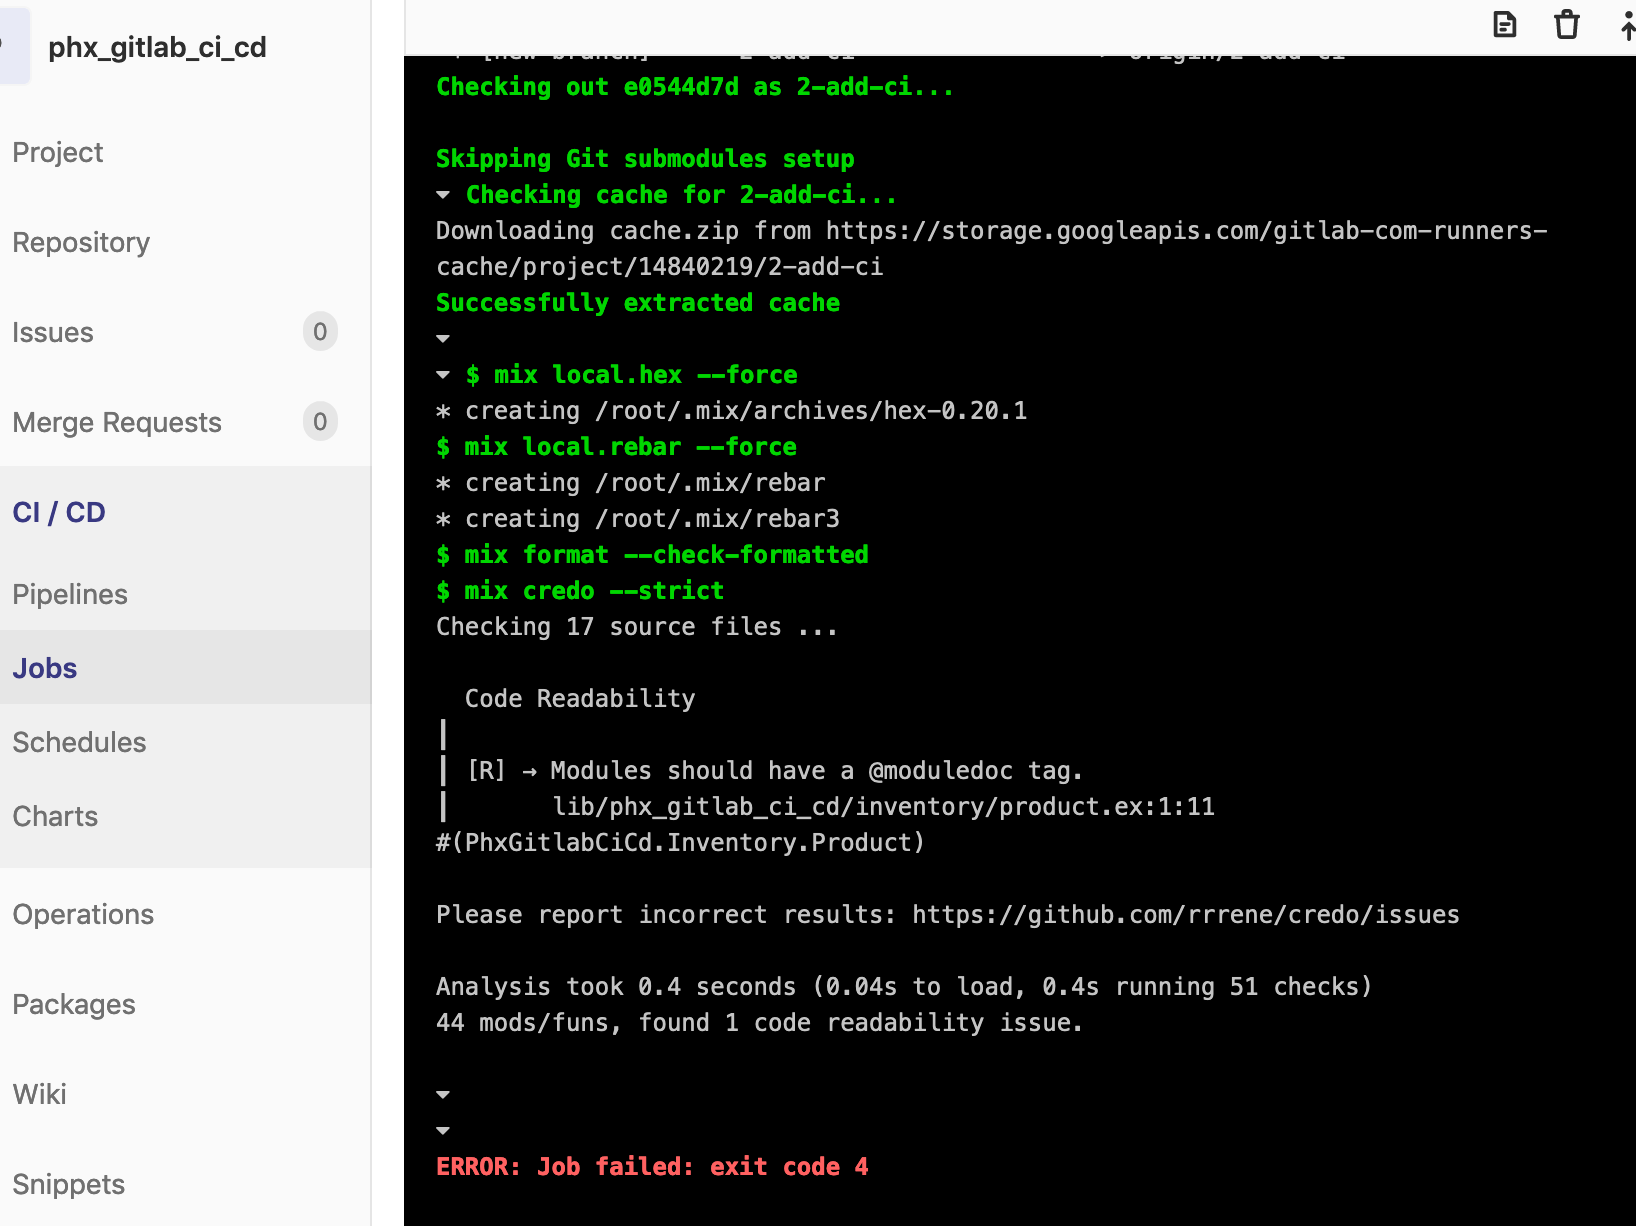
In order for our pipeline to get back to a passing state, we need to add a moduledoc tag to product.ex. I’ll leave that to you as an exercise if you wish.
Summary
With a pretty minimal amount of effort we’ve managed to set-up the “CI” portion of our pipeline. Pretty sweet!
Next time out we’ll work on getting a Docker image of our application built on GitLab. And following that, we’ll look to deploy our application via Kubernetes.
Thanks for reading, hope you enjoyed the post!