When creating a website it can be challenging to come up with an aesthetically pleasing design; especially if you aren’t a web designer. Luckily there are a number of sites that provide Bootstrap themes, and these are a great way to get started. Today we’ll look at how to make use of a Bootstrap theme within Jekyll.
It’s completely valid to stick with straight HTML when using a Bootstrap theme, but doing so means having a fair amount of duplicate code even on a fairly small site. So Jekyll can be a good option even if working on a simple project.
What we’ll build
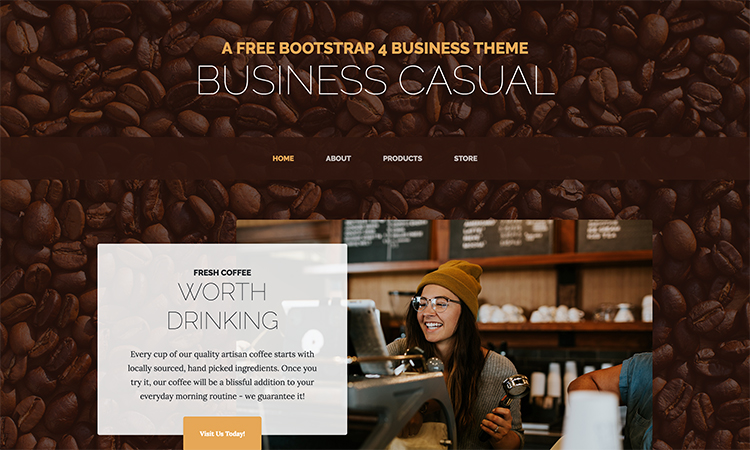
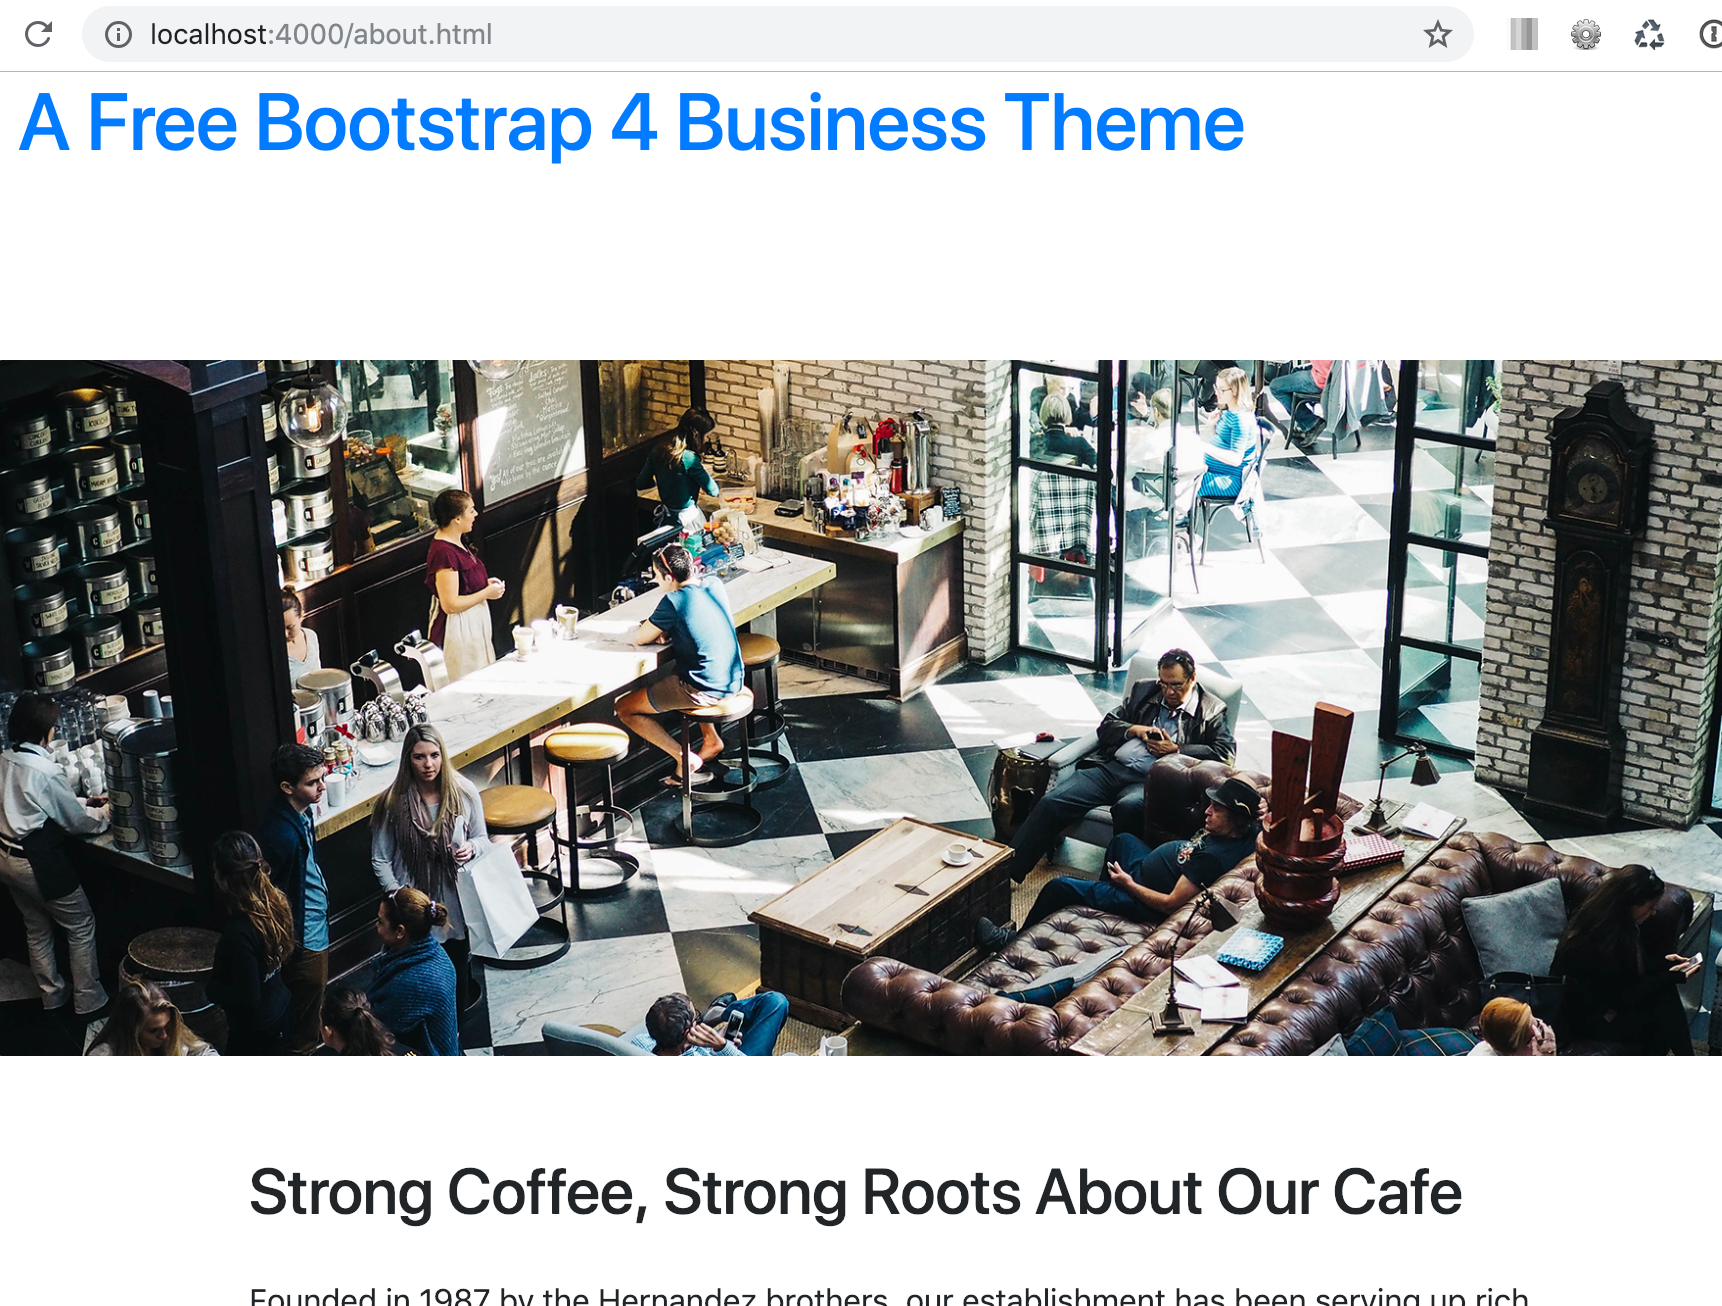
We’ll use a free theme for the purposes of this post, we’ll go with the business casual theme from startbootstrap.com.
The theme looks like:
Making use of the theme from within Jekyll
Depending on the way a particular theme has been structured, the steps for making use of the theme inside Jekyll will vary slightly. The general procedure will be the same however:
- Generate and configure the initial Jekyll site.
- Get the theme running within Jekyll.
- Restructure the site to make use of
includeandlayoutfiles to eliminate code duplication.
Let’s get at it!
Generate and configure the initial Jekyll site
First off we need to create the Jekyll site.
Generating the site
Terminal
jekyll new bootstrap-theme --blankAnd let’s launch the site.
Terminal
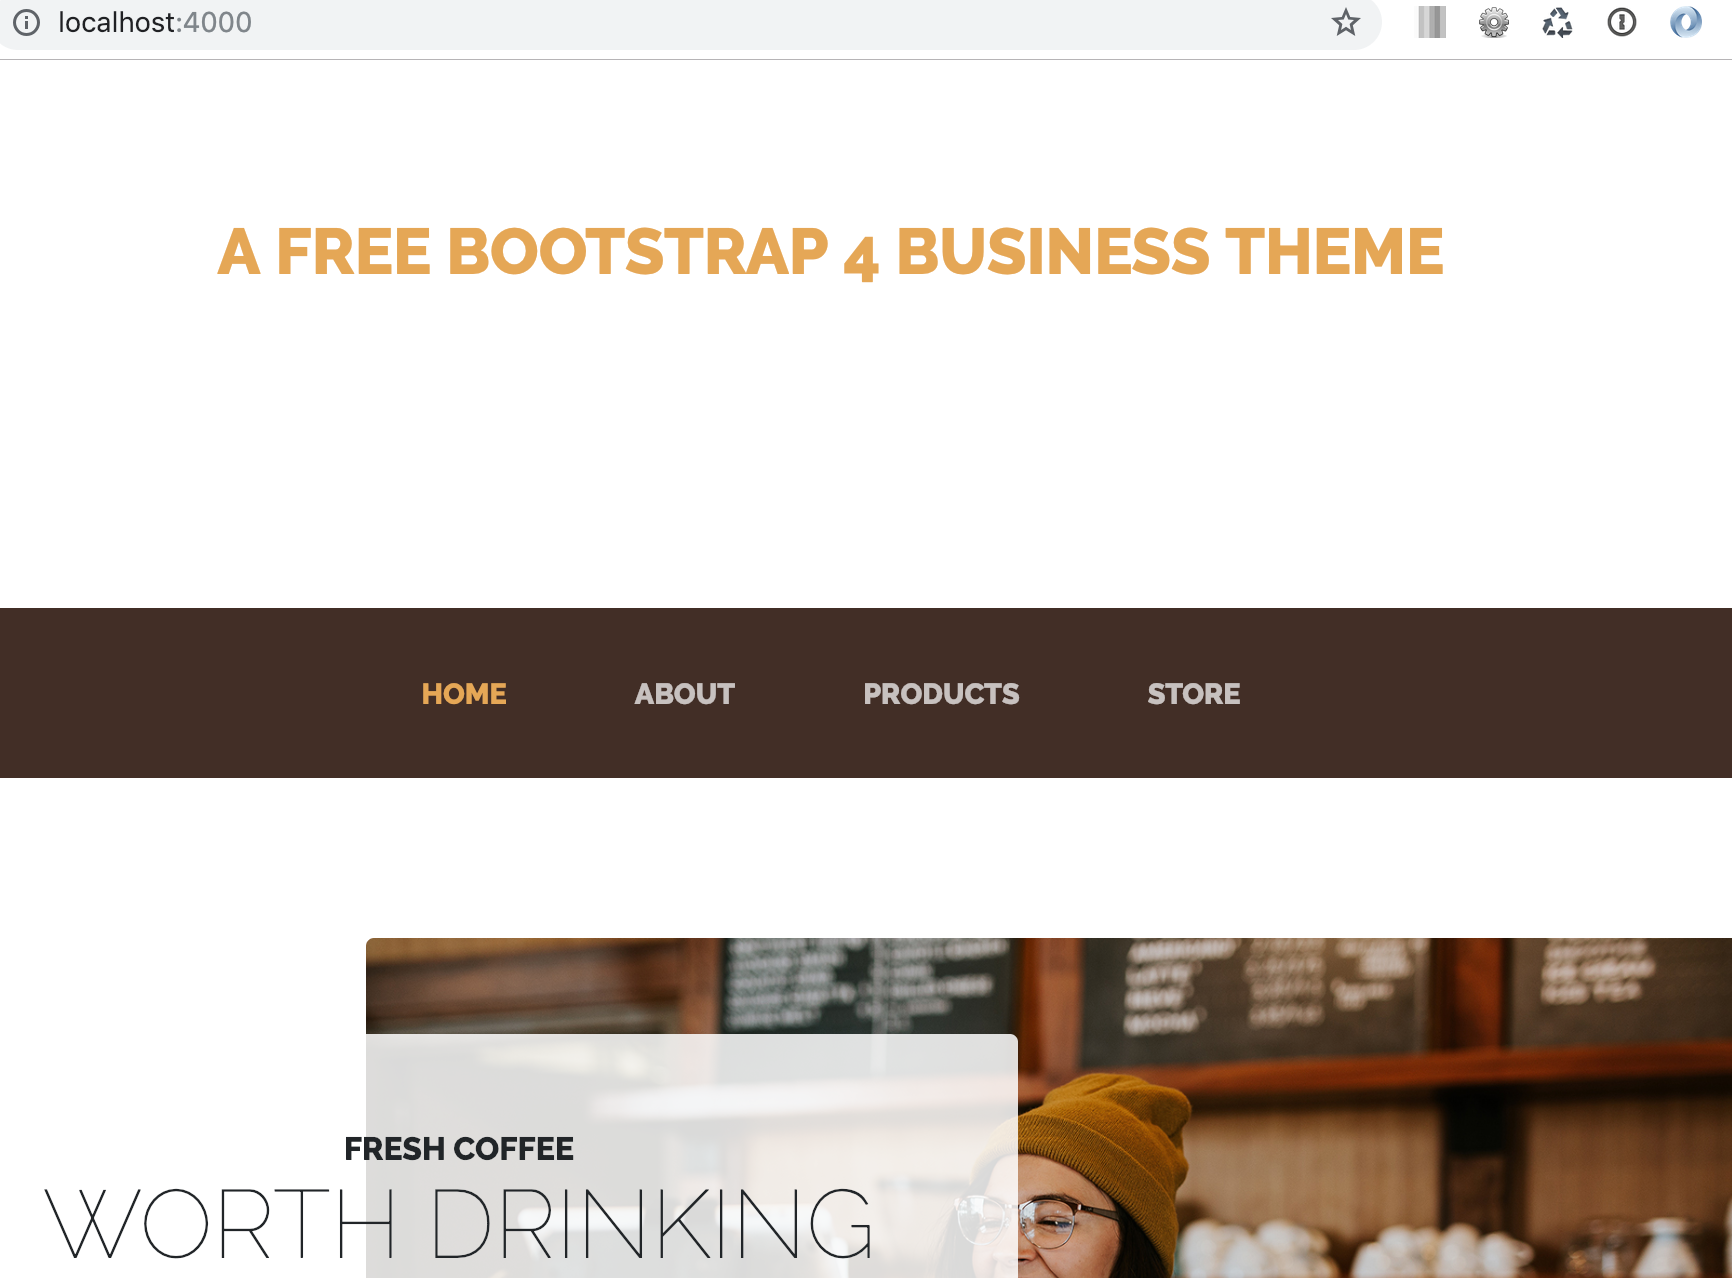
cd bootstrap-theme
jekyll serve --livereload
Navigating to http://localhost:4000 we get a beautiful blank page.

Now for some configuration.
Configuration
We’ll create a _config.yml file and fill in some basic contents.
Terminal
touch _config.yml/_config.yml
# Build settings
sass:
  sass_dir: css
  style: compressed
We’re just setting up our Jekyll site to use Sass and to minify our styles.
We can also clean up our directory structure as there are some folders we won’t be needing.
Terminal
rmdir _drafts
rmdir _posts
And with that we are done our initial set-up, let’s move onto getting the theme running inside Jekyll.
Get the theme running within Jekyll
The first step is to download the files for the theme. A direct link is here. The page we’re grabbing this from is the main page for the theme.
Once having downloaded and unzipped the theme, we’ll see the following file structure.
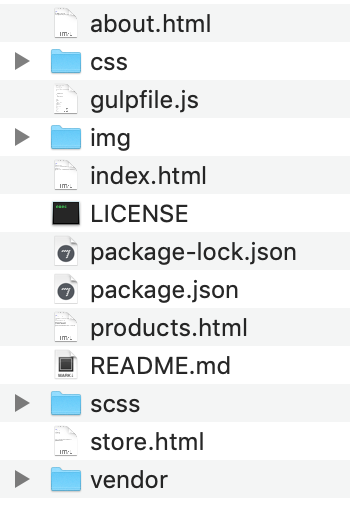
Looking at the structure and poking around the files a bit gives us an idea of what we need to bring over to our Jekyll site.
We’ll be bringing over the img, scss and vendor folders. We’ll also replace our current blank index.html page with the page from the theme.
So you can copy these items over manually, or use the command line, we’ll place the scss files in a css directory, for everything else we’ll keep the same folder names as the theme… so:
Terminal
mkdir css
cp -r ~/Downloads/startbootstrap-business-casual-gh-pages/scss/ css/
Terminal
cp -r ~/Downloads/startbootstrap-business-casual-gh-pages/img/ img/
cp -r ~/Downloads/startbootstrap-business-casual-gh-pages/vendor/ vendor/
cp ~/Downloads/startbootstrap-business-casual-gh-pages/index.html index.html
If we have a look at our site, we see the index.html content but we’re not seeing any of the styles show up.

Let’s have a look at index.html and see what the style-sheet link looks like.
/index.html …line 20
<!-- Custom styles for this template -->
<link href="css/business-casual.min.css" rel="stylesheet">
We need to update the link as Jekyll doesn’t add .min to the generated filename.
/index.html …line 20
<!-- Custom styles for this template -->
<link href="css/business-casual.css" rel="stylesheet">
Our link to the style sheet is now correct, but we still don’t see our styles, let’s have a look in the _site/css directory.
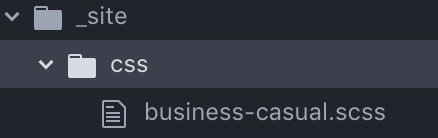
That looks like an issue, if the Sass files were being processed correctly we would expect a .css file to be created. Likely the problem is the main .scss file, which for this theme is named business-casual.scss, let’s have a look at it.
/css/business-casual.scss
@import "variables";
@import "mixins";
@import "global";
...
...
OK, simple enough fix, we need to add blank front matter to the file so Jekyll knows to process it as Sass.
/css/business-casual.scss
---
---
@import "variables";
@import "mixins";
@import "global";
...
...
I needed to restart the Jekyll server after making these changes, after doing so things are looking a fair bit better, but we are still missing our background image.
This is an issue with the styling in _global.scss, sometimes I find there are hiccups between what works in Jekyll and what works directly within a theme, perhaps due to differences in the Jekyll Sass engine? Usually it is pretty easy to track down the problem however.
In this case we need to make a small change to line 3 of _global.scss.
/css/_global.scss
body {
  @include body-font;
  background: linear-gradient(rgba(47, 23, 15, 0.65), rgba(47, 23, 15, 0.65)), url('../img/bg.jpg');
  ...
  ...
We’ve explicitly specified a 2nd value (the same value as the first) for the linear-gradient as it’s not defaulting to the same value when omitted.
And with that we have our theme running in Jekyll!

Customizing the theme
Once the theme is running in Jekyll, customizations to the style can done as you would normally. This usually involves updating the color scheme via the _variable.scss file. For instance we could replace the current contents of the file with:
/css/_variables.scss
$white: pink !default;
$gray-100: #f8f9fa !default;
$gray-200: #e9ecef !default;
$gray-300: #dee2e6 !default;
$gray-400: #ced4da !default;
$gray-500: #adb5bd !default;
$gray-600: #868e96 !default;
$gray-700: #495057 !default;
$gray-800: #343a40 !default;
$gray-900: #212529 !default;
$black: #000 !default;

$primary: blue !default;
$secondary: red !default;
Yielding:

Yikes, that is ugly! Failed experiment there, let’s revert to the original color scheme and move on!
Restructure the site to eliminate code duplication.
Now it’s time to take advantage of Jekyll’s features and eliminate some code duplication. We’ll bring in another page to help with the motivation for this section, so let’s do that first. We’ll bring in the about page.
Terminal
cp ~/Downloads/startbootstrap-business-casual-gh-pages/about.html about.htmlIf we view the about page, we’ll see that we are missing our styling again.
To fix this, we’d need to update our style link in the about page… but that’s not the approach we want to take. We don’t want to have to set a style link in all our pages, instead let’s set up a general layout and as part of doing so, move our style link into a common file that can be re-used by all our pages.
Using a layout
In order to prevent having to repeatedly specify the layout of our site, we’ll create a default layout file.
Terminal
touch _layouts/default.htmlLooking at our site, each page follows the same layout: a banner; followed by a navigation bar; followed by page specific content; followed by a footer. So along with adding a head section, this is the format our layout file will take.
/_layouts/default.html
<!DOCTYPE html>
<html lang="en">
  {% include head.html %}
  <body>
    {% include banner.html %}
    {% include navbar.html %}
    {{ content }}
    {% include footer.html %}
  </body>
</html>
Let’s get at building out these sections.
Breaking out the head section
First off let’s break out our header section. We’ll make use of an _includes directory for the various sections we’ll break out, so let’s also create the directory while we are at it.
Terminal
mkdir _includes
touch _includes/head.html
Now we’ll insert our head content.
/_includes/head.html
<head>
  <meta charset="utf-8">
  <meta name="viewport" content="width=device-width, initial-scale=1, shrink-to-fit=no">
  <meta name="description" content="">
  <meta name="author" content="">

  <title>Business Casual - Start Bootstrap Theme</title>

  <!-- Bootstrap core CSS -->
  <link rel="stylesheet" href="/vendor/bootstrap/css/bootstrap.min.css">

  <!-- Custom fonts for this template -->
  <link href="https://fonts.googleapis.com/css?family=Raleway:100,100i,200,200i,300,300i,400,400i,500,500i,600,600i,700,700i,800,800i,900,900i" rel="stylesheet">
  <link href="https://fonts.googleapis.com/css?family=Lora:400,400i,700,700i" rel="stylesheet">

  <!-- Custom styles for this template -->
  <link rel="stylesheet" href="/css/business-casual.css">

</head>
Simple, we’ve just extracted the <head> section of the existing index.html page.
Breaking out the banner, navigation and footer
We’ll follow the same procedure for the banner, navigation and footer.
Let’s create the include files:
Terminal
touch _includes/banner.html
touch _includes/navbar.html
touch _includes/footer.html
And now extract the contents of these sections from index.html.
/_includes/banner.html
<h1 class="site-heading text-center text-white d-none d-lg-block">
  <span class="site-heading-upper text-primary mb-3">A Free Bootstrap 4 Business Theme</span>
  <span class="site-heading-lower">Business Casual</span>
</h1>
Nothing complicated about the banner, onto the navigation.
/_includes/navbar.html
<nav class="navbar navbar-expand-lg navbar-dark py-lg-4" id="mainNav">
  <div class="container">
    <a class="navbar-brand text-uppercase text-expanded font-weight-bold d-lg-none" href="#">Start Bootstrap</a>
    <button class="navbar-toggler" type="button" data-toggle="collapse" data-target="#navbarResponsive" aria-controls="navbarResponsive" aria-expanded="false" aria-label="Toggle navigation">
      <span class="navbar-toggler-icon"></span>
    </button>
    <div class="collapse navbar-collapse" id="navbarResponsive">
      <ul class="navbar-nav mx-auto">
        <li class="nav-item px-lg-4">
          <a class="nav-link text-uppercase text-expanded" href="index">Home</a>
        </li>
        <li class="nav-item px-lg-4">
          <a class="nav-link text-uppercase text-expanded" href="about">About</a>
        </li>
        <li class="nav-item px-lg-4">
          <a class="nav-link text-uppercase text-expanded" href="products">Products</a>
        </li>
        <li class="nav-item px-lg-4">
          <a class="nav-link text-uppercase text-expanded" href="store">Store</a>
        </li>
      </ul>
    </div>
  </div>
</nav>
We’ve made a small change to the navigation code, we’ve removed the hard-coded active class which highlights the navigation link for the page the user is currently viewing. Since the navigation is now shared by all pages, we can’t hard-code which page is currently active. We’ll deal with restoring this functionality later.
Similar to the banner, the footer section is very straight forward.
/_includes/footer.html
<footer class="footer text-faded text-center py-5">
<div class="container">
<p class="m-0 small">Copyright © Your Website 2018</p>
</div>
</footer>
<!-- Bootstrap core JavaScript -->
<script src="vendor/jquery/jquery.min.js"></script>
<script src="vendor/bootstrap/js/bootstrap.bundle.min.js"></script>With the code for all our _includes defined we now need to update our actual pages.
Updating the content pages
We’ll start with the index.html page, all we need to do is to specify a layout and then remove the sections we extracted to our _include files.
/index.html
---
layout: default
---
<section class="page-section clearfix">
  <div class="container">
    <div class="intro">
      <img class="intro-img img-fluid mb-3 mb-lg-0 rounded" src="img/intro.jpg" alt="">
      <div class="intro-text left-0 text-center bg-faded p-5 rounded">
        <h2 class="section-heading mb-4">
          <span class="section-heading-upper">Fresh Coffee</span>
          <span class="section-heading-lower">Worth Drinking</span>
        </h2>
        <p class="mb-3">Every cup of our quality artisan coffee starts with locally sourced, hand picked ingredients. Once you try it, our coffee will be a blissful addition to your everyday morning routine - we guarantee it!
        </p>
        <div class="intro-button mx-auto">
          <a class="btn btn-primary btn-xl" href="#">Visit Us Today!</a>
        </div>
      </div>
    </div>
  </div>
</section>

<section class="page-section cta">
  <div class="container">
    <div class="row">
      <div class="col-xl-9 mx-auto">
        <div class="cta-inner text-center rounded">
          <h2 class="section-heading mb-4">
            <span class="section-heading-upper">Our Promise</span>
            <span class="section-heading-lower">To You</span>
          </h2>
          <p class="mb-0">When you walk into our shop to start your day, we are dedicated to providing you with friendly service, a welcoming atmosphere, and above all else, excellent products made with the highest quality ingredients. If you are not satisfied, please let us know and we will do whatever we can to make things right!</p>
        </div>
      </div>
    </div>
  </div>
</section>
Simple! The same procedure applies to the about page.
/about.html
---
layout: default
---
<section class="page-section about-heading">
  <div class="container">
    <img class="img-fluid rounded about-heading-img mb-3 mb-lg-0" src="img/about.jpg" alt="">
    <div class="about-heading-content">
      <div class="row">
        <div class="col-xl-9 col-lg-10 mx-auto">
          <div class="bg-faded rounded p-5">
            <h2 class="section-heading mb-4">
              <span class="section-heading-upper">Strong Coffee, Strong Roots</span>
              <span class="section-heading-lower">About Our Cafe</span>
            </h2>
            <p>Founded in 1987 by the Hernandez brothers, our establishment has been serving up rich coffee sourced from artisan farmers in various regions of South and Central America. We are dedicated to travelling the world, finding the best coffee, and bringing back to you here in our cafe.</p>
            <p class="mb-0">We guarantee that you will fall in <em>lust</em> with our decadent blends the moment you walk inside until you finish your last sip. Join us for your daily routine, an outing with friends, or simply just to enjoy some alone time.</p>
          </div>
        </div>
      </div>
    </div>
  </div>
</section>
With the above changes we have our site displaying as before, but with the advantage of having eliminated our duplicate code.

Now let’s deal with getting the active page link back to being highlighted on the navigation bar. This is a pretty simple fix.
/_includes/navbar.html …line 8
<ul class="navbar-nav mx-auto">
  <li class="nav-item px-lg-4 {% if '/' == page.url %}active{% endif %}">
    <a class="nav-link text-uppercase text-expanded" href="index">Home</a>
  </li>
  <li class="nav-item px-lg-4 {% if '/about.html' == page.url %}active{% endif %}">
    <a class="nav-link text-uppercase text-expanded" href="about">About</a>
  </li>
  ...
  ...
The addition of some simple logic in the li tags to determine whether we should include the active class or not does the trick:

And that’s all there is to it!
Summary
So hopefully this demonstrates how easy it is to use a theme from within Jekyll. It’s basically a process of moving some files around and potentially making a few tweaks to the scss files. So no need to be limited to only Jekyll specific themes, using Bootstrap or other UI frameworks and themes is a snap!
Thanks for reading and I hope you enjoyed the post!