In Part 1 we had a look through our budget application and identified some issues. In part 2, we’ll be concentrating on getting the code up and running locally. We made a prior attempt at this and did get the code running but things were not optimal. With a little bit of research and a reminder of the proper usage of Bundler things worked out much better this time out! As a result this post has been updated fairly extensively.
Today’s objective
The goal for today is to get a local copy of the code up and running. We’ll define this as being able to load up the login / signup page. We’ll also look to get the unit tests for the application up and running (thou not necessarily passing).
Let’s get at it!
Grabbing the code
The code for the application is stored on GitHub at https://github.com/riebeekn/wmcgy2.
And already things are not looking good!
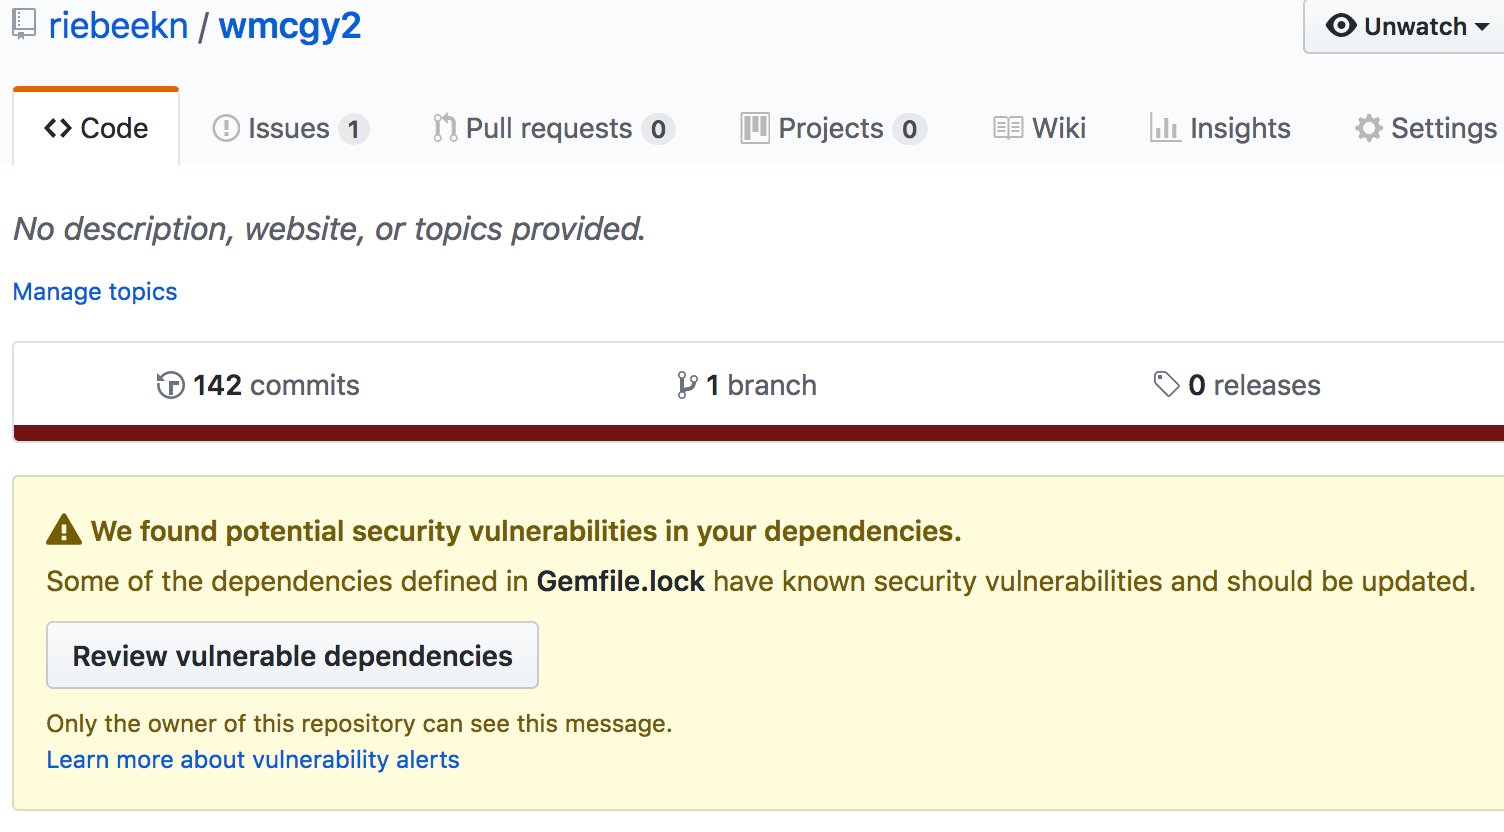
Looking at the security vulnerabilities, it appears these all have to do with our Gemfile and out of date third party dependencies. So as part of our refactoring project we will eventually need to go thru the Gemfile and update dependencies… fun, fun! This is the type of thing that is very typical of legacy code, dependecies have been allowed to lapse. It can be a royal pain to deal with dependecies as we’ll see, it’s much better to try to keep on top of these things!
Cloning the repo
Ok, let’s get our code!
Terminal
git clone https://github.com/riebeekn/wmcgy2.git budget-app
Now let’s navigate into the root directory for our code and create a new branch.
Terminal
cd budget-app
git checkout -b 2018-update-and-refactor
Running the application locally
Ok, we have the code… it should be simple to run it locally, right? Well probably not, considering I barely remember how to start up a rails project!
Before we get going, let’s have a quick look at our Gemfile.
/Gemfile
source 'https://rubygems.org'

gem 'rails', '3.2.19'
gem 'pg'
gem 'jquery-rails'
gem 'bcrypt-ruby', '~> 3.0.0'
...
...
One thing to make note of is that we do not have a Ruby version specified in our Gemfile. This is a little problematic as we want to be running the same version of Ruby locally as we are running in production. If you recall, we are hosting our application in Heroku. So to determine the Ruby version on production we can run the following command (note, nico44-wmcgy2 is the name of my application on Heroku… obviously this command won’t work if you try it as you don’t have access to my application on Heroku):
Terminal
heroku run --app nico44-wmcgy2 ruby -vThis gives us a result of:

So we can see that we are running version 2.2.4 of Ruby on production, let’s add that to our Gemfile.
Setting the Ruby version
Throughout this series we’ll be making a number of changes to our code base. In terms of how we’ll manage branches, we’ll treat our main refactoring branch as our stable branch and create seperate branches off of it for any changes we make. So let’s create a new branch for today’s changes.
Terminal
git checkout -b get-app-runningNow let’s add the Ruby version to our Gemfile.
/Gemfile
source 'https://rubygems.org'
ruby '2.2.4'

gem 'rails', '3.2.19'
gem 'pg'
...
...
With the Ruby version set, we should now be able to run bundle install to install our Gems, but we’ll encounter a problem.
Terminal
bundle install
Mismatched Ruby versions! If we run ruby -v, we’ll see that we’re currently running 2.3.6 locally.
I had to spend a bit of time remembering how to handle Ruby versions locally, I think in the past I used RMV, but it seems like rbenv is the preferred method now, so I went with that.
After playing around with rbenv a bit and getting familiar with it, I was able to install ruby 2.2.4:
Terminal
RUBY_CONFIGURE_OPTS="--disable-dtrace" rbenv install 2.2.4I had issues attempting the install with 'rbenv install 2.2.4', but some Googling yielded the --disable-drace fix. Some people have also reported issues if they have Avira antivirus running so that could be another thing to try if running into issues installing Ruby.
Anyway, we can now set our Ruby version for the current directory with rbenv:
Terminal
rbenv local 2.2.4And also verify that it’s been set:
Terminal
rbenv versions
And now we should be able to run bundle install.
Terminal
bundle install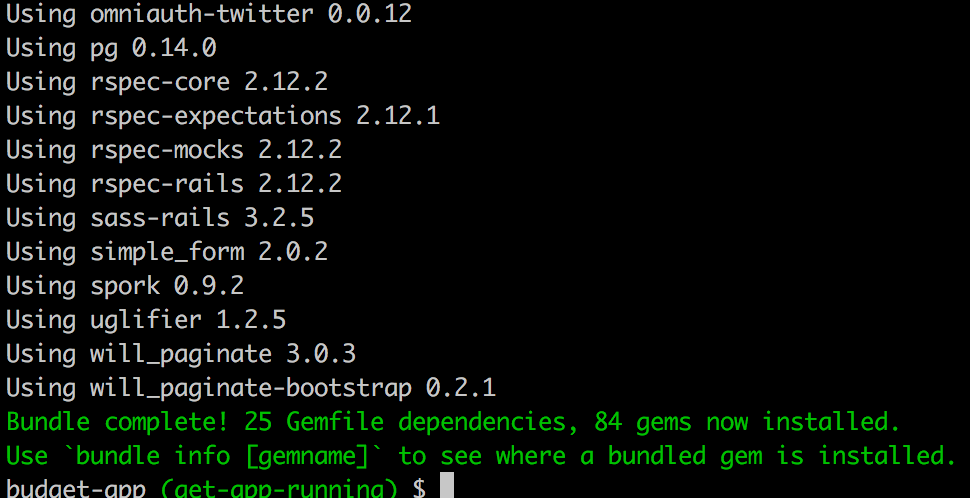
Running the code
Let’s fire things up and see what happens.
Terminal
rails s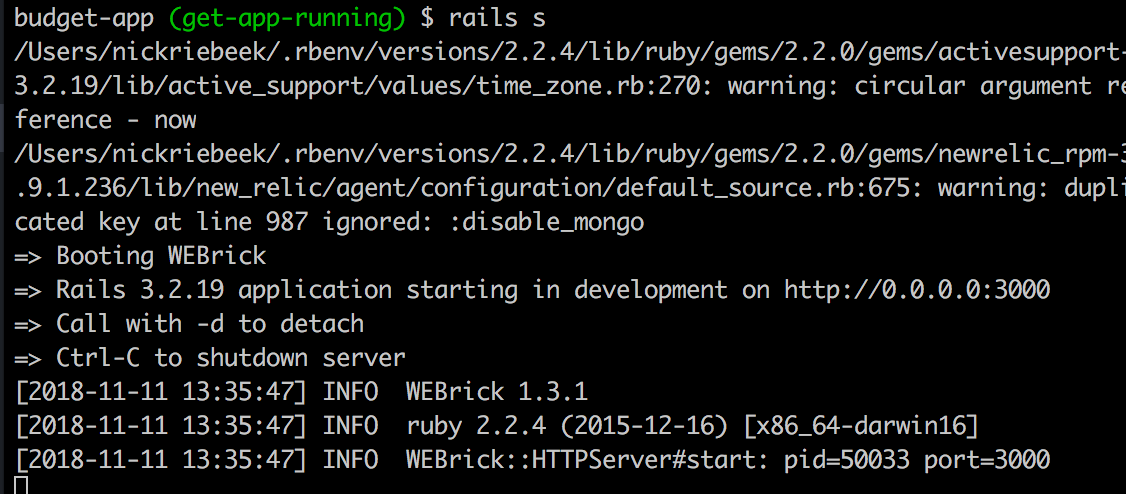
So the server seems to be running fine, although we do get a few warning messages.
Let’s see what happens when we navigate to http://localhost:3000/.
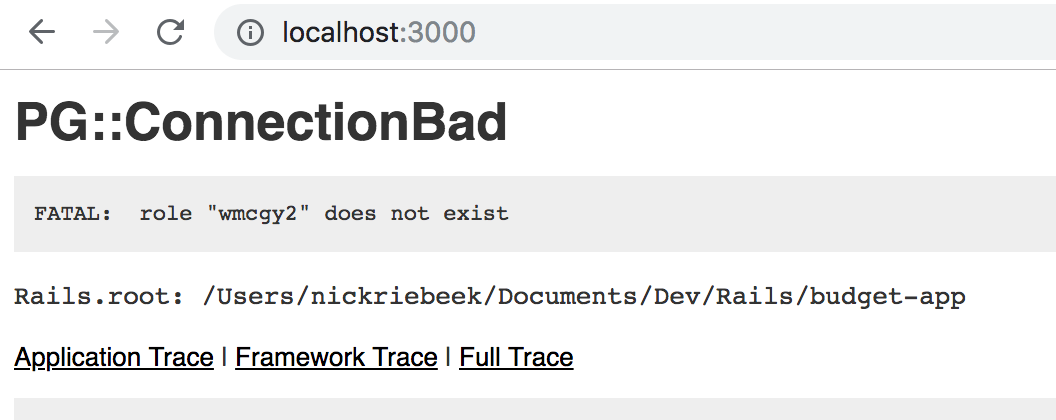
I actually remember what needs to happen here, we haven’t created our database or database user as of yet.
Setting up our local databases
So let’s get our databases set-up. If we look in the database.yml file we’ll find the appropriate details:
/Gemfile
development:
  adapter: postgresql
  encoding: unicode
  database: wmcgy2_development
  pool: 5
  username: wmcgy2
  password:

...
...

test:
  adapter: postgresql
  encoding: unicode
  database: wmcgy2_test
  pool: 5
  username: wmcgy2
  password:
So we need to create both a development and test database, along with a user. If you’re wondering about the wmcgy2 prefix, that stands for the name of the application, “where did my cash go yo?”. I think the “2” is because I scraped an initial proto-type of the application, thus version 2.
In any case let’s get our databases set-up using the standard Postgres commands.
Terminal
createuser wmcgy2 -d
createdb -Owmcgy2 -Eutf8 wmcgy2_development
createdb -Owmcgy2 -Eutf8 wmcgy2_test
Now that we have our database user and our databases created, we need to run our migrations to create our actual database tables.
Terminal
rake db:migrateArgh, an error!
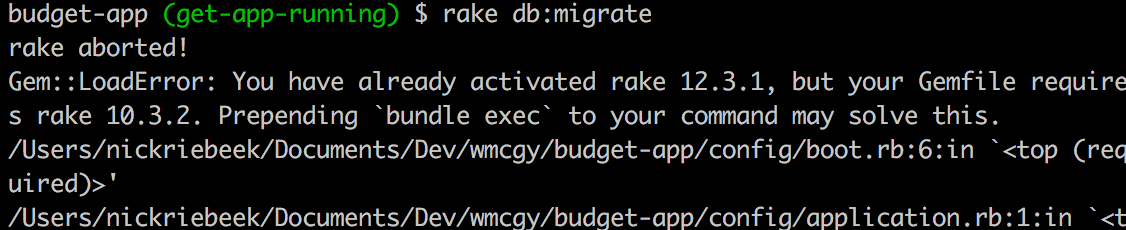
Some more Googling leads to a version issue with rake, we need to be using any version prior to version 11. We don’t have an entry for rake in our Gemfile, so let’s add it.
/Gemfile
source 'https://rubygems.org'
ruby '2.2.4'

gem 'rails', '3.2.19'
gem 'pg'
gem 'rake', '< 11.0'
...
...
Now we need to run bundle install again and then run the version of rake specified in our Gemfile, which we can do via the bundle exec command.
Terminal
bundle installTerminal
bundle exec rake db:migrateBut we get yet another error, this time the problem seems to be with the pg gem.
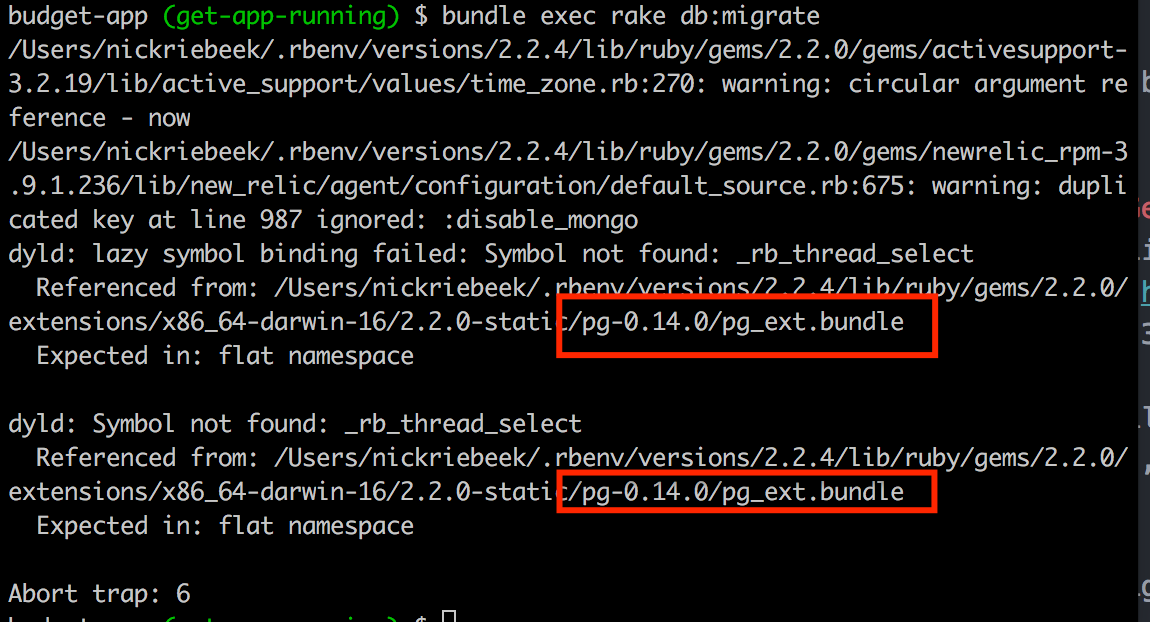
After a bit of research, I determined the latest version of the pg gem is incompatible with Rails 3. Our Gemfile doesn’t currently specify a pg version. We need to be using 0.18.4. This is getting super tedious! It’s a good illustration of why a little bit of regular maintenance is so much better than letting things go. Fixing the occasional out of date dependency as it comes up is much easier than trying to tackle a whole swack of them in one go.
/Gemfile
source 'https://rubygems.org'
ruby '2.2.4'

gem 'rails', '3.2.19'
gem 'pg', '~> 0.18.4'
...
...
We’ll need to run bundle install again.
Terminal
bundle installNow let’s try the migration once again.
Terminal
bundle exec rake db:migrate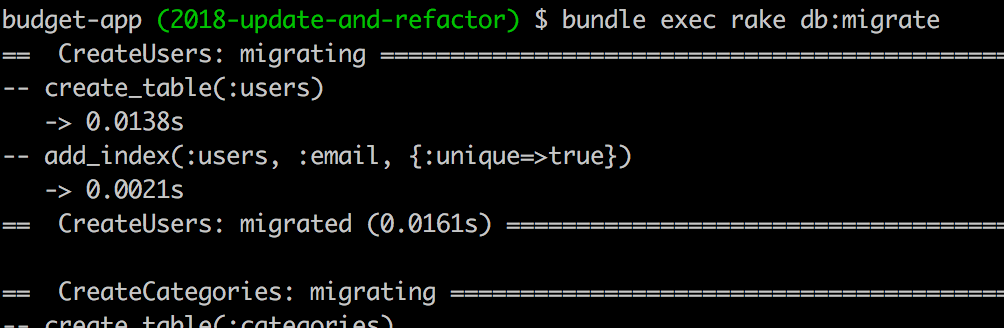
Success!
Another go at running the code
So let’s see what happens now when we run our server.
Terminal
rails sEverything looks good:
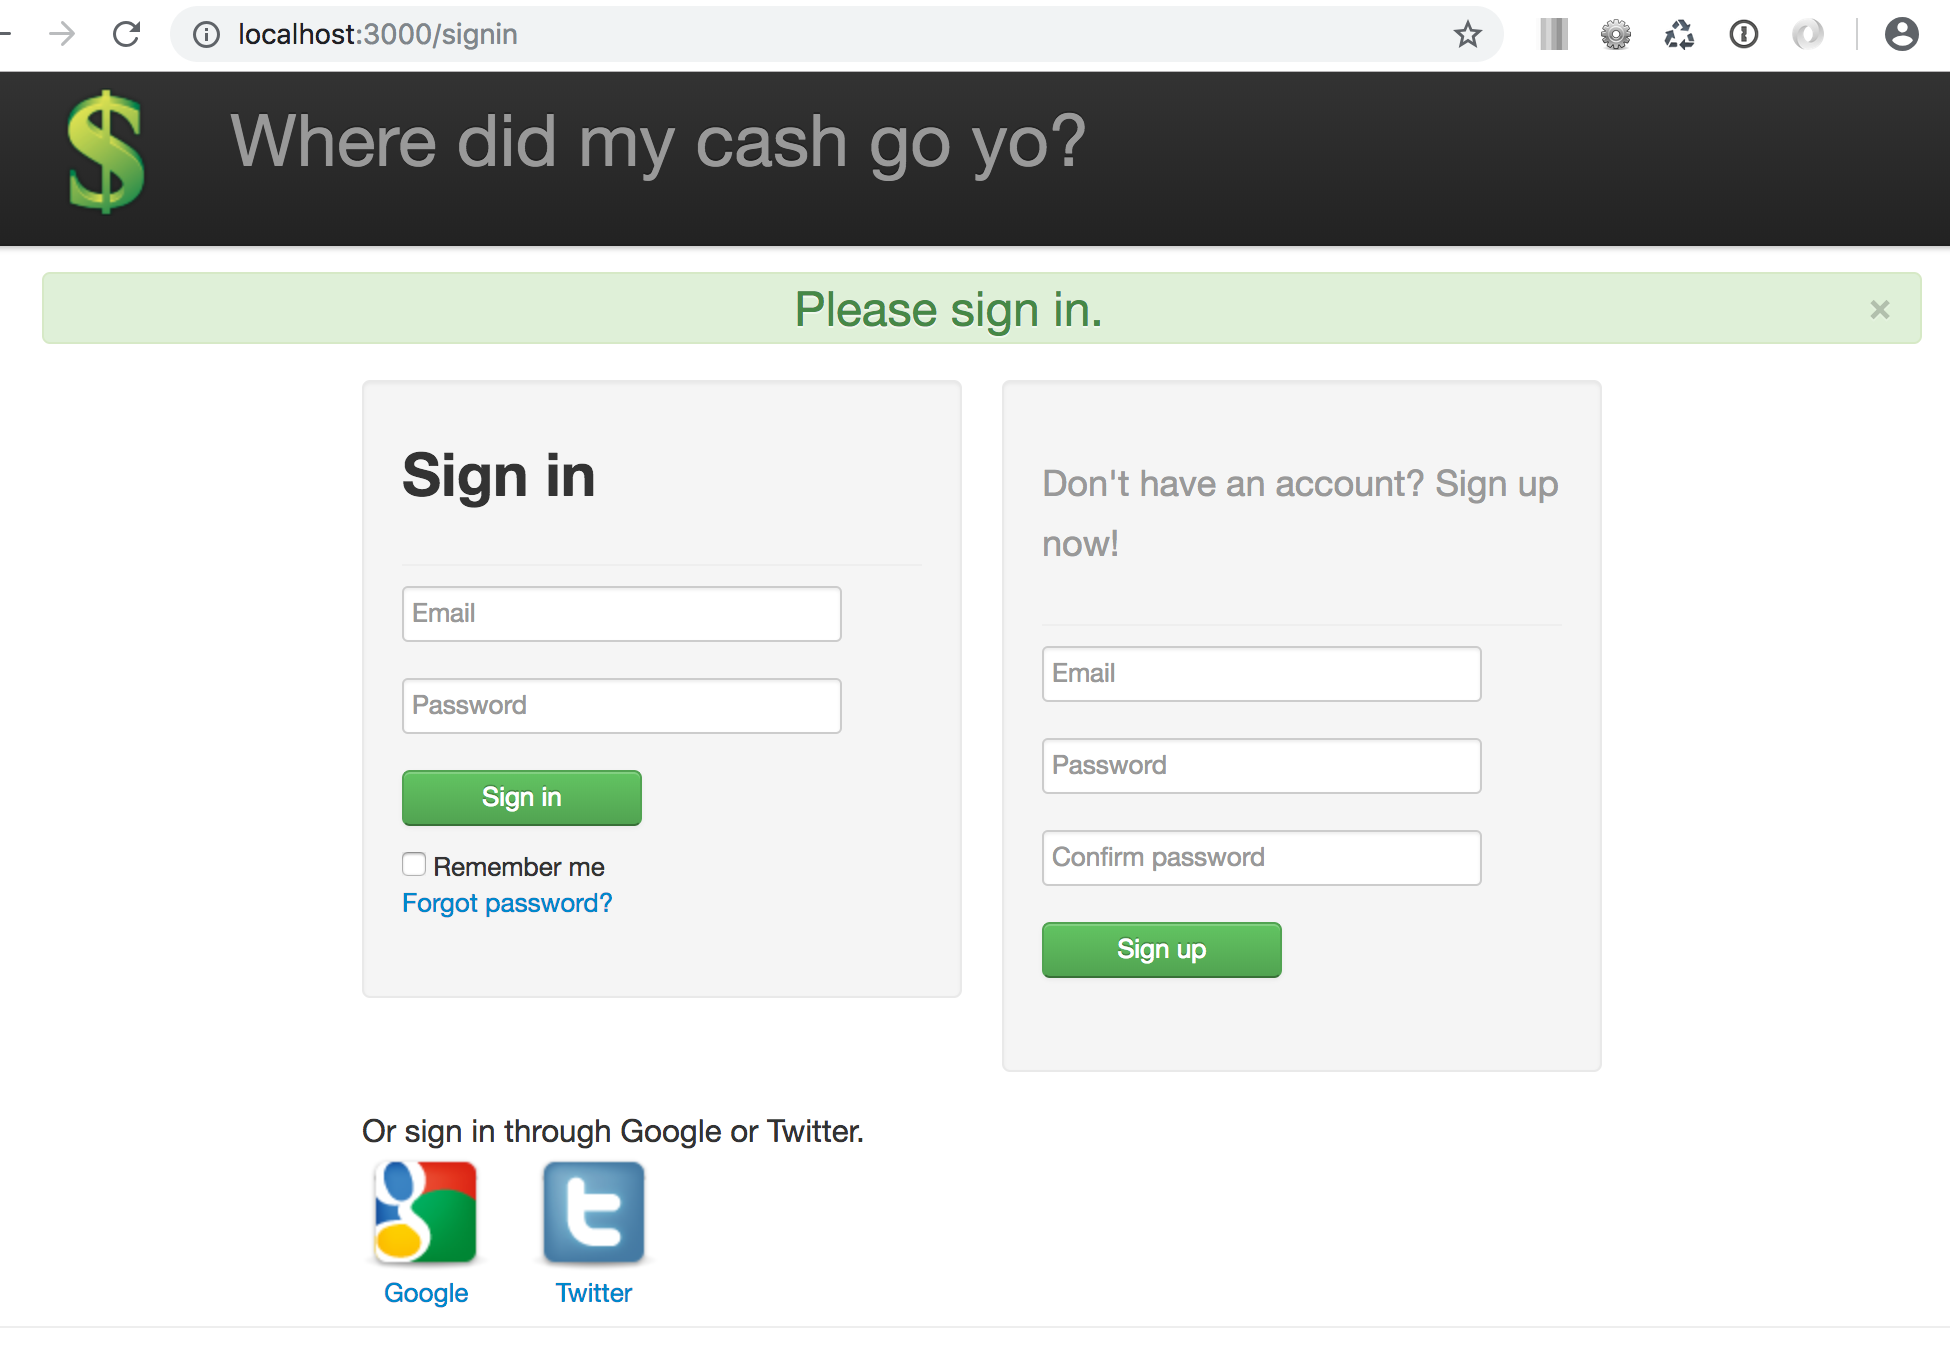
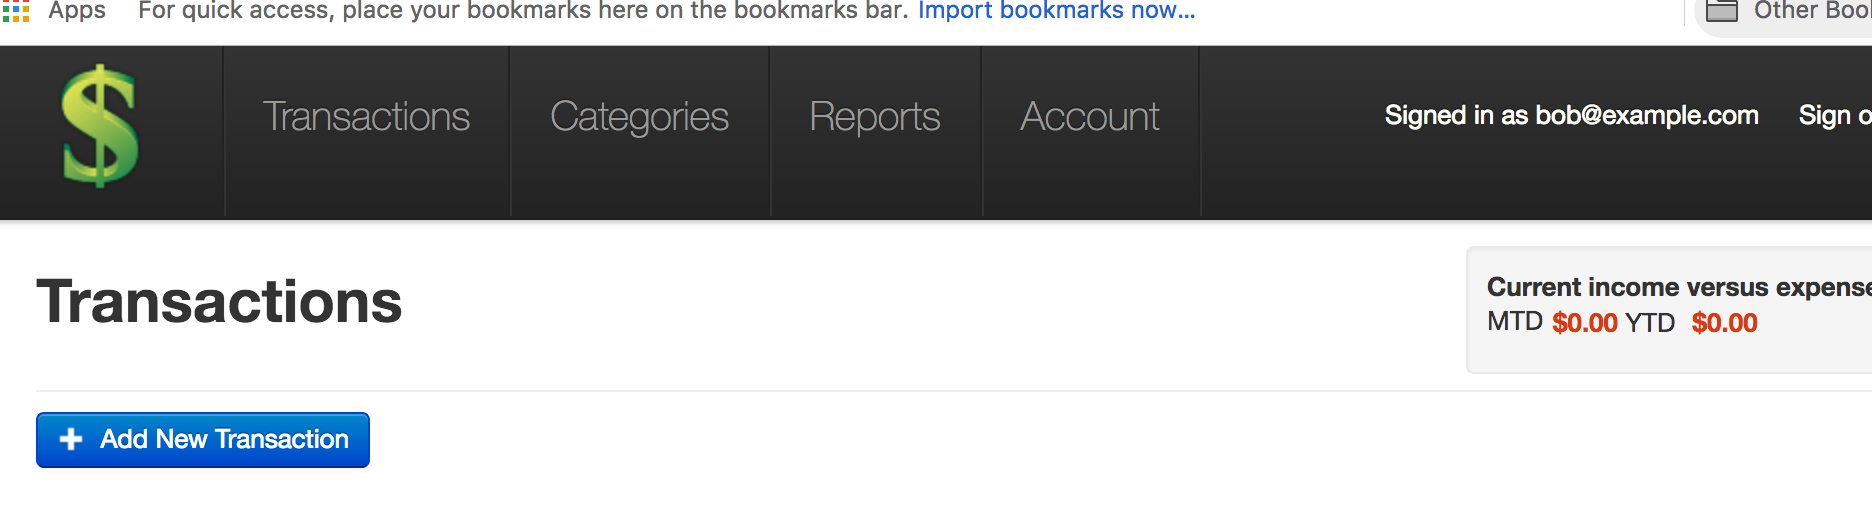
And now when we navigate to http://localhost:3000/, we see our application!
Validating the Category page and transaction deletion bugs
We’ve accomplished our goal of getting the code running locally… I don’t think we’re going to get to our unit tests, they will have to wait for next time. However, before stopping for the day, let’s set-up a user and see if we can replicate our 2 main issues from part 1, the Category pages bug and the issue with transaction deletions.
Getting a user set-up
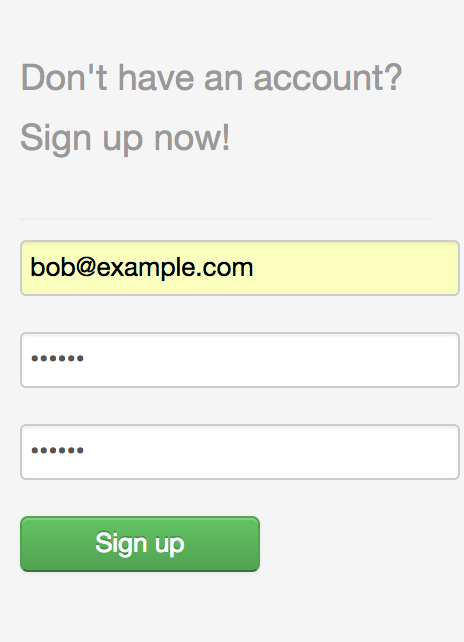
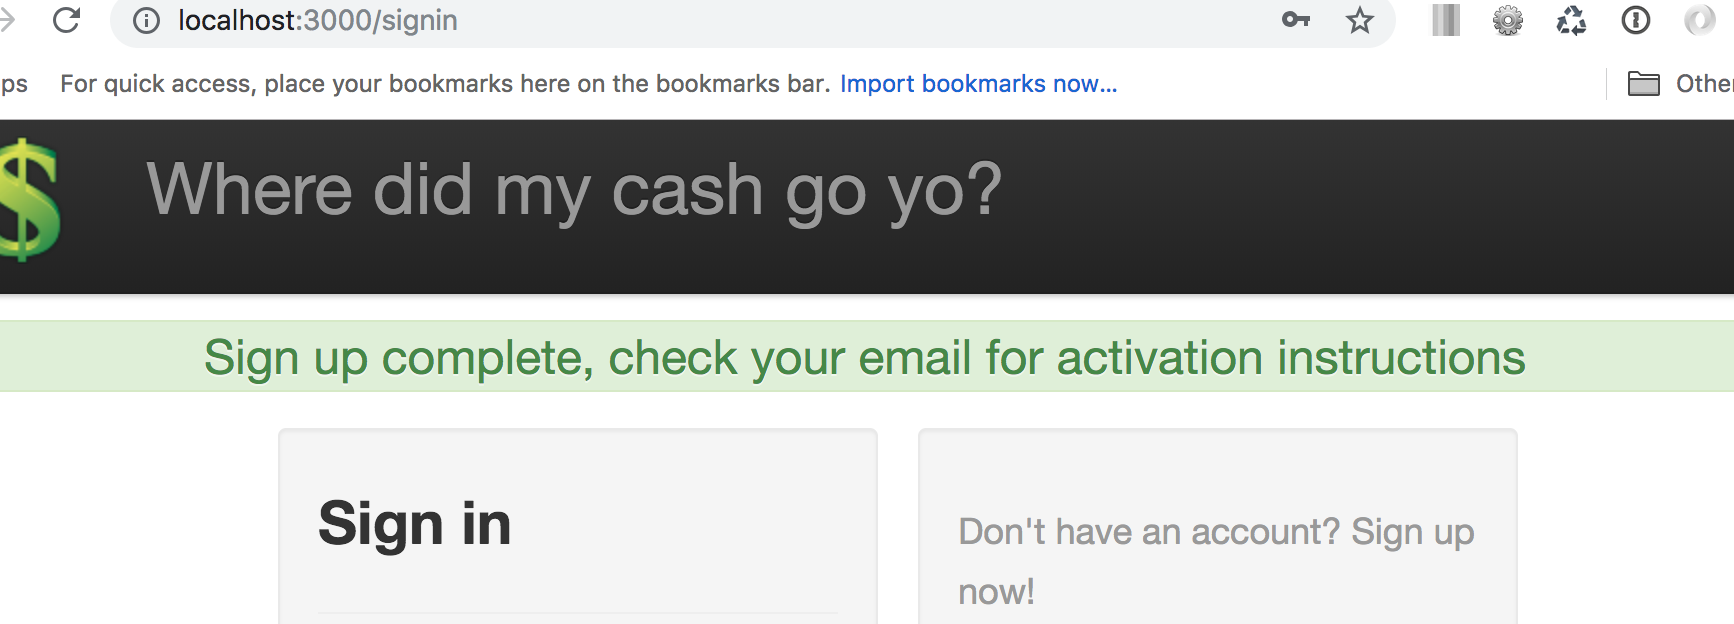
First we need to set-up a user. We can sign up via the home page.
The activation email will be displayed in the Rails console, we’ll scroll thru the console output until we find it:
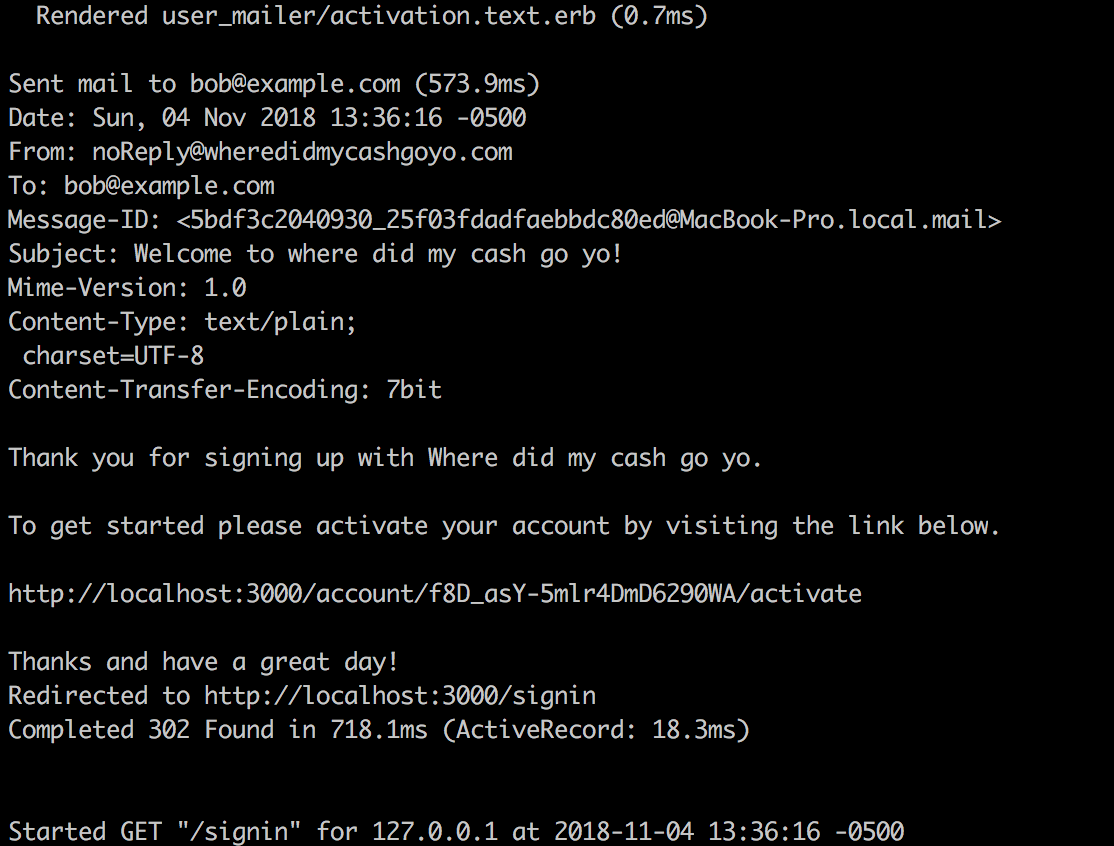
And now we can paste the activation link into our browser.
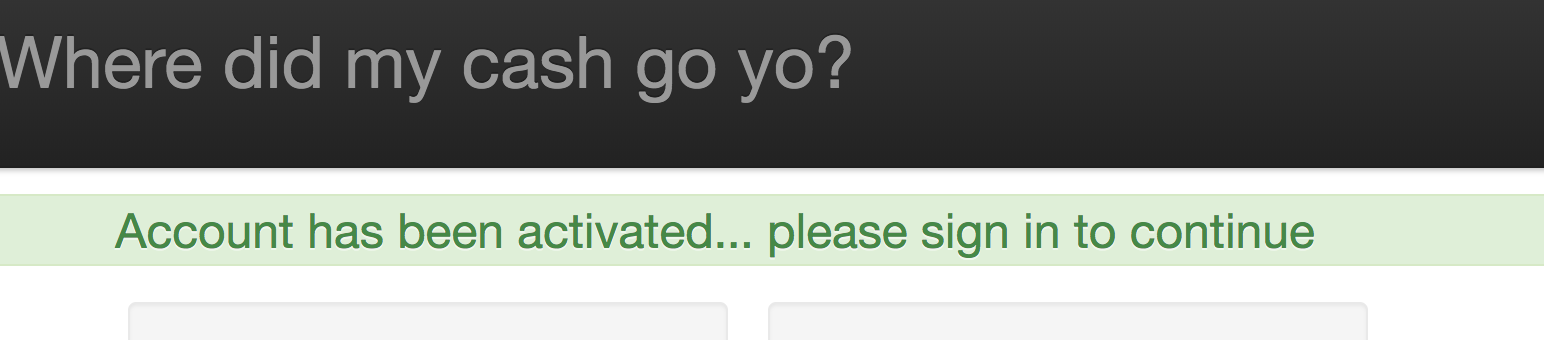
And with that we can sign-in.

Now let’s see if we can replicate the errors locally.
Checking our bugs
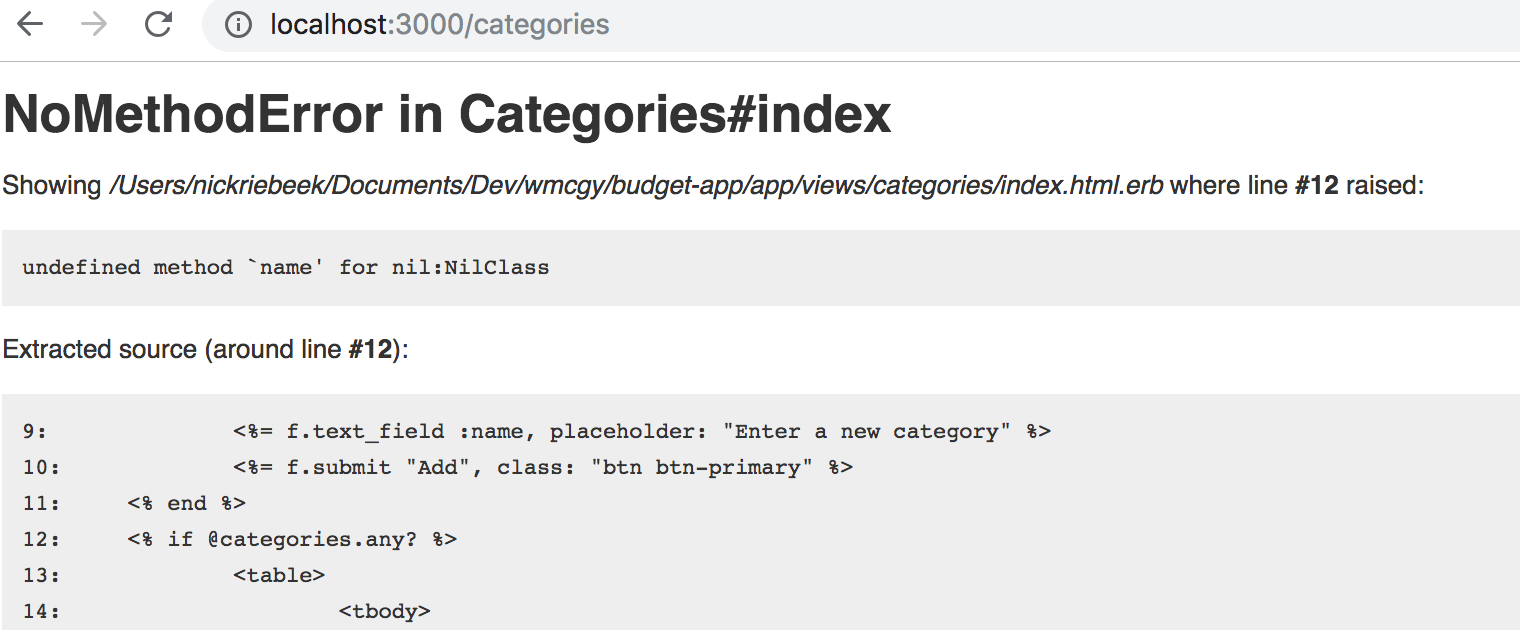
When we navigate to the Categories page, just like production we run into an error.
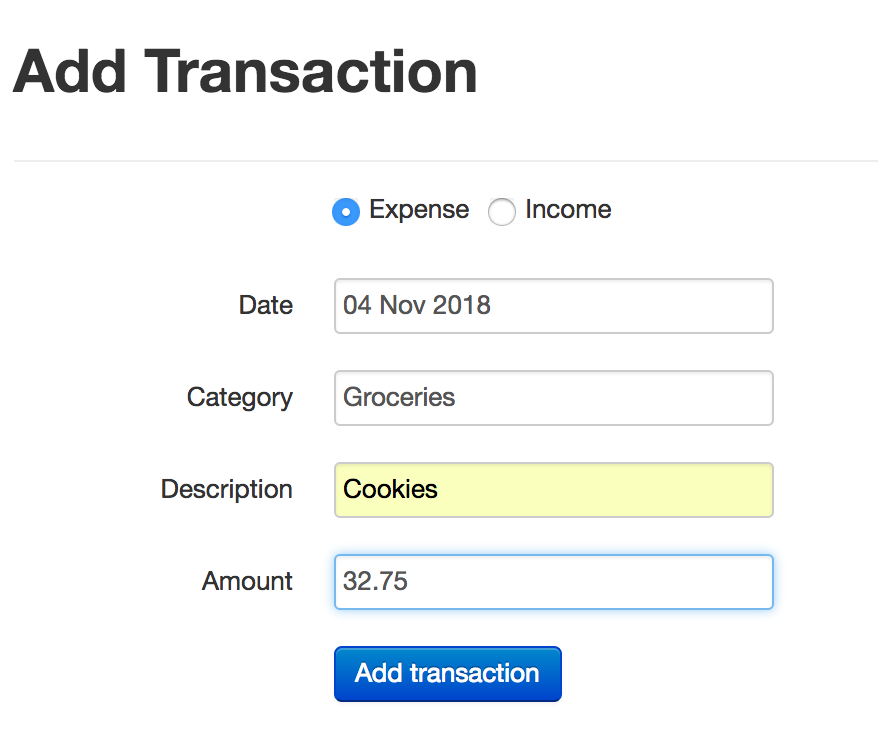
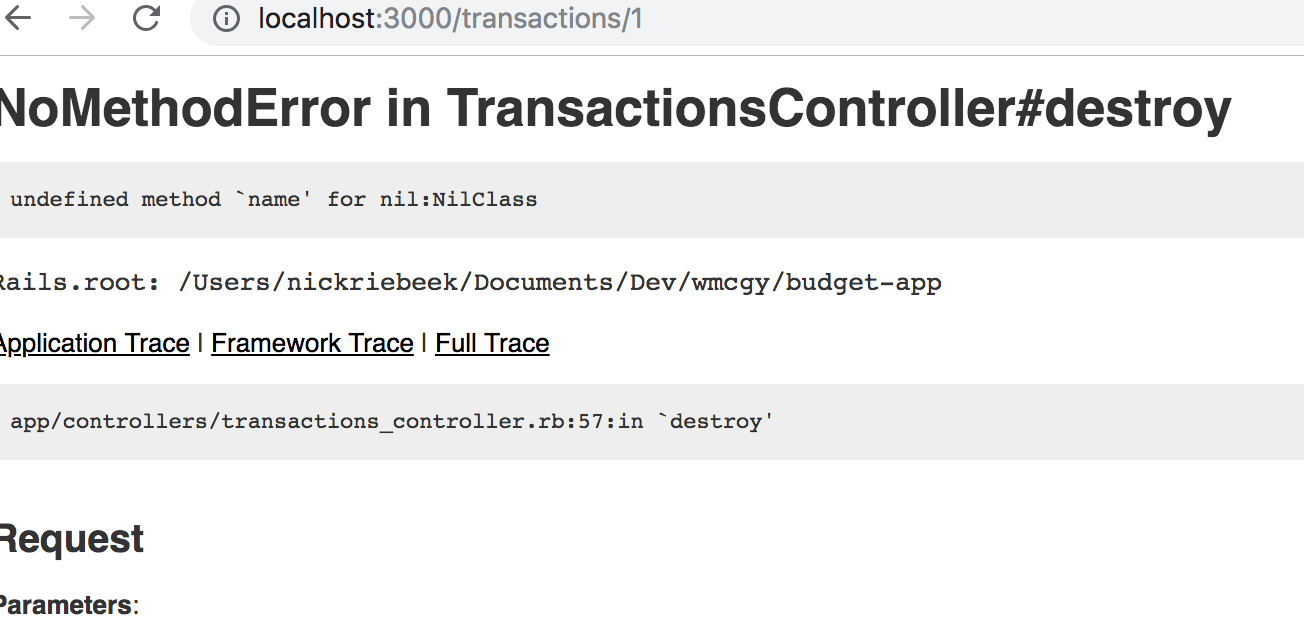
Likewise if we create a transaction:
And then try to delete it.
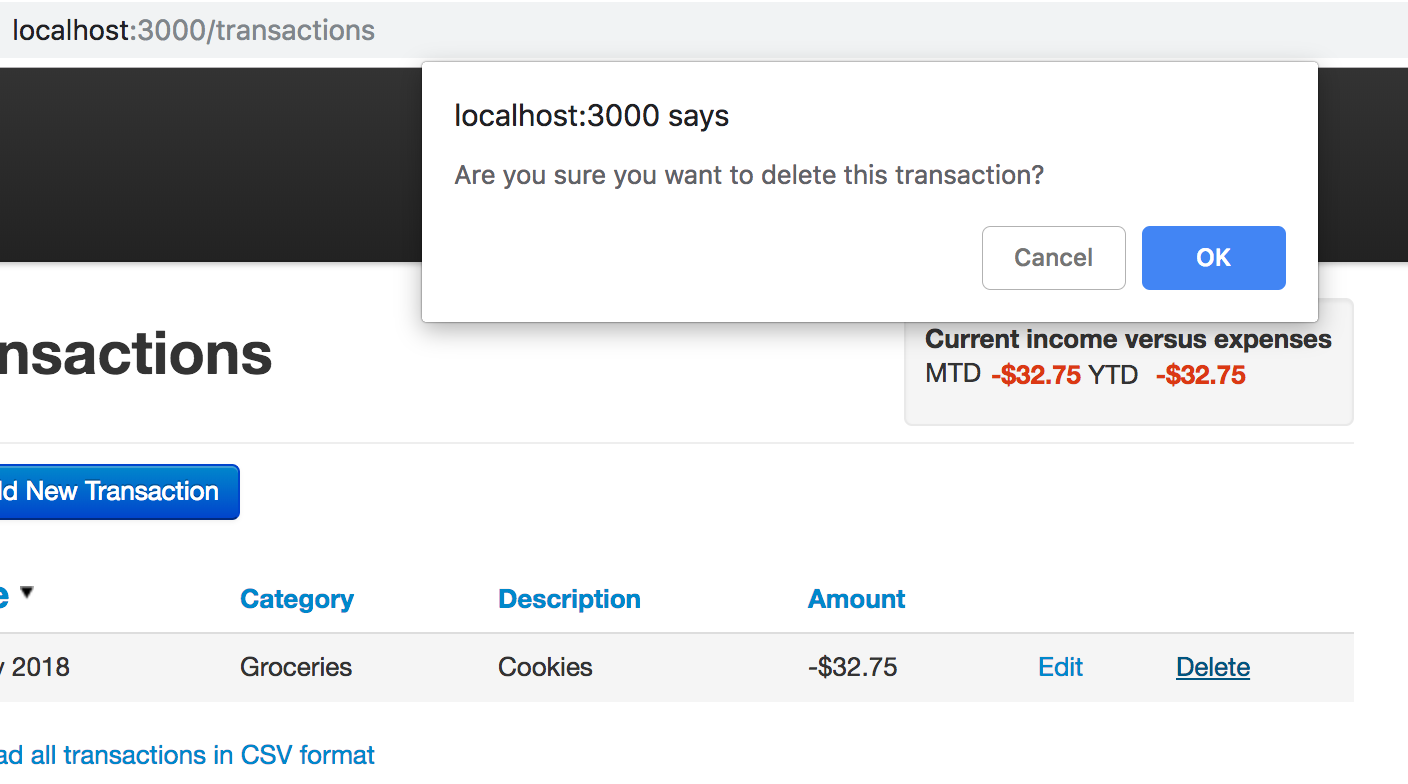
We get an error.
So this is a good start, we have our application running and we can replicate our bugs (at least the two we’ve checked).
We can now merge our Gemfile changes into our refactoring branch and remove our current working branch.
Terminal
git commit -am "updated Gemfile to get app working locally"
git checkout 2018-update-and-refactor
git merge get-app-running
git branch -d get-app-running
Summary
So I was hoping to have a look at the unit tests today, but turns out that was a little too ambitious, they will have to wait for another day.
We have however made some good progress, as we now appear to have the app running. It was a pretty painful process to be honest. I would guesstimate it took me about 8 hours spread over a number of days to figure everything out. Part of that is down to my having not used Rails for years, but a lot of the pain could have been avoided had I spent half an hour every 6 months or so giving the app a once over. Live and learn!
Next time we’ll get at the unit tests and see how we make out with them.
Thanks for reading and I hope you enjoyed the post!