In Part 7 we finished up our final coding task which was to restrict registrations. So now it’s pay-off time where we get to see our hard work in action. We need to run through some final testing and then we can deploy our changes to production!
Today’s objective
Our objective today is to deploy our changes to production. We have some testing to accomplish first in order to ensure everything goes smoothly. So our tasks for today are:
- Deploy the current production version of our code to a Heroku test instance.
- Export our current production data and import it to our test instance. This way we’ll be performing our final testing against real data and a true exact copy of our production instance.
- Perform a few quick tests on our test instance to make sure it is working.
- Deploy our updated code to our test instance.
- Again perform a few quick tests.
- Update the stack… we’re currently running on the Cedar-14 Stack. This stack is deprecated, with an EOL scheduled for April 2019. We want to upgrade to the Heroku-16 Stack so will perform this upgrade on our test instance and work out any issues before doing so on production.
- Perform some final testing.
If the above all goes well we can then merge our changes into our master branch and deploy to production!
Notice that the steps above serve to exactly replicate what will be happening on production, i.e. we start with the current production code and data and then apply our changes on top. This should ensure we don’t run into any nasty surprises when we deploy to production.
Let’s get at it!
Deploying our current production code to a test instance
We’ve run thru creating a test instance on Heroku before so this should be familiar, the only difference is that this time we’ll be initially deploying the current production version of the code.
So… we’ll need to grab our code, all our changes have been merged into the 2018-update-and-refactor branch so that’s what we’ll grab from GitHub.
Terminal
git clone -b  2018-update-and-refactor https://github.com/riebeekn/wmcgy2 budget-app
cd budget-app
Since we are first wanting to deploy our current production version of the code we need to switch to our master branch.
Terminal
git checkout masterAnd now we need to create our Heroku instance.
Terminal
heroku create temp-wmcgy -s=cedar-14Then deploy the code.
Terminal
git push herokuAfter that we need to set-up our database.
Terminal
heroku run rake db:schema:loadAt this point let’s take a quick look and make sure our application loads.
Terminal
heroku open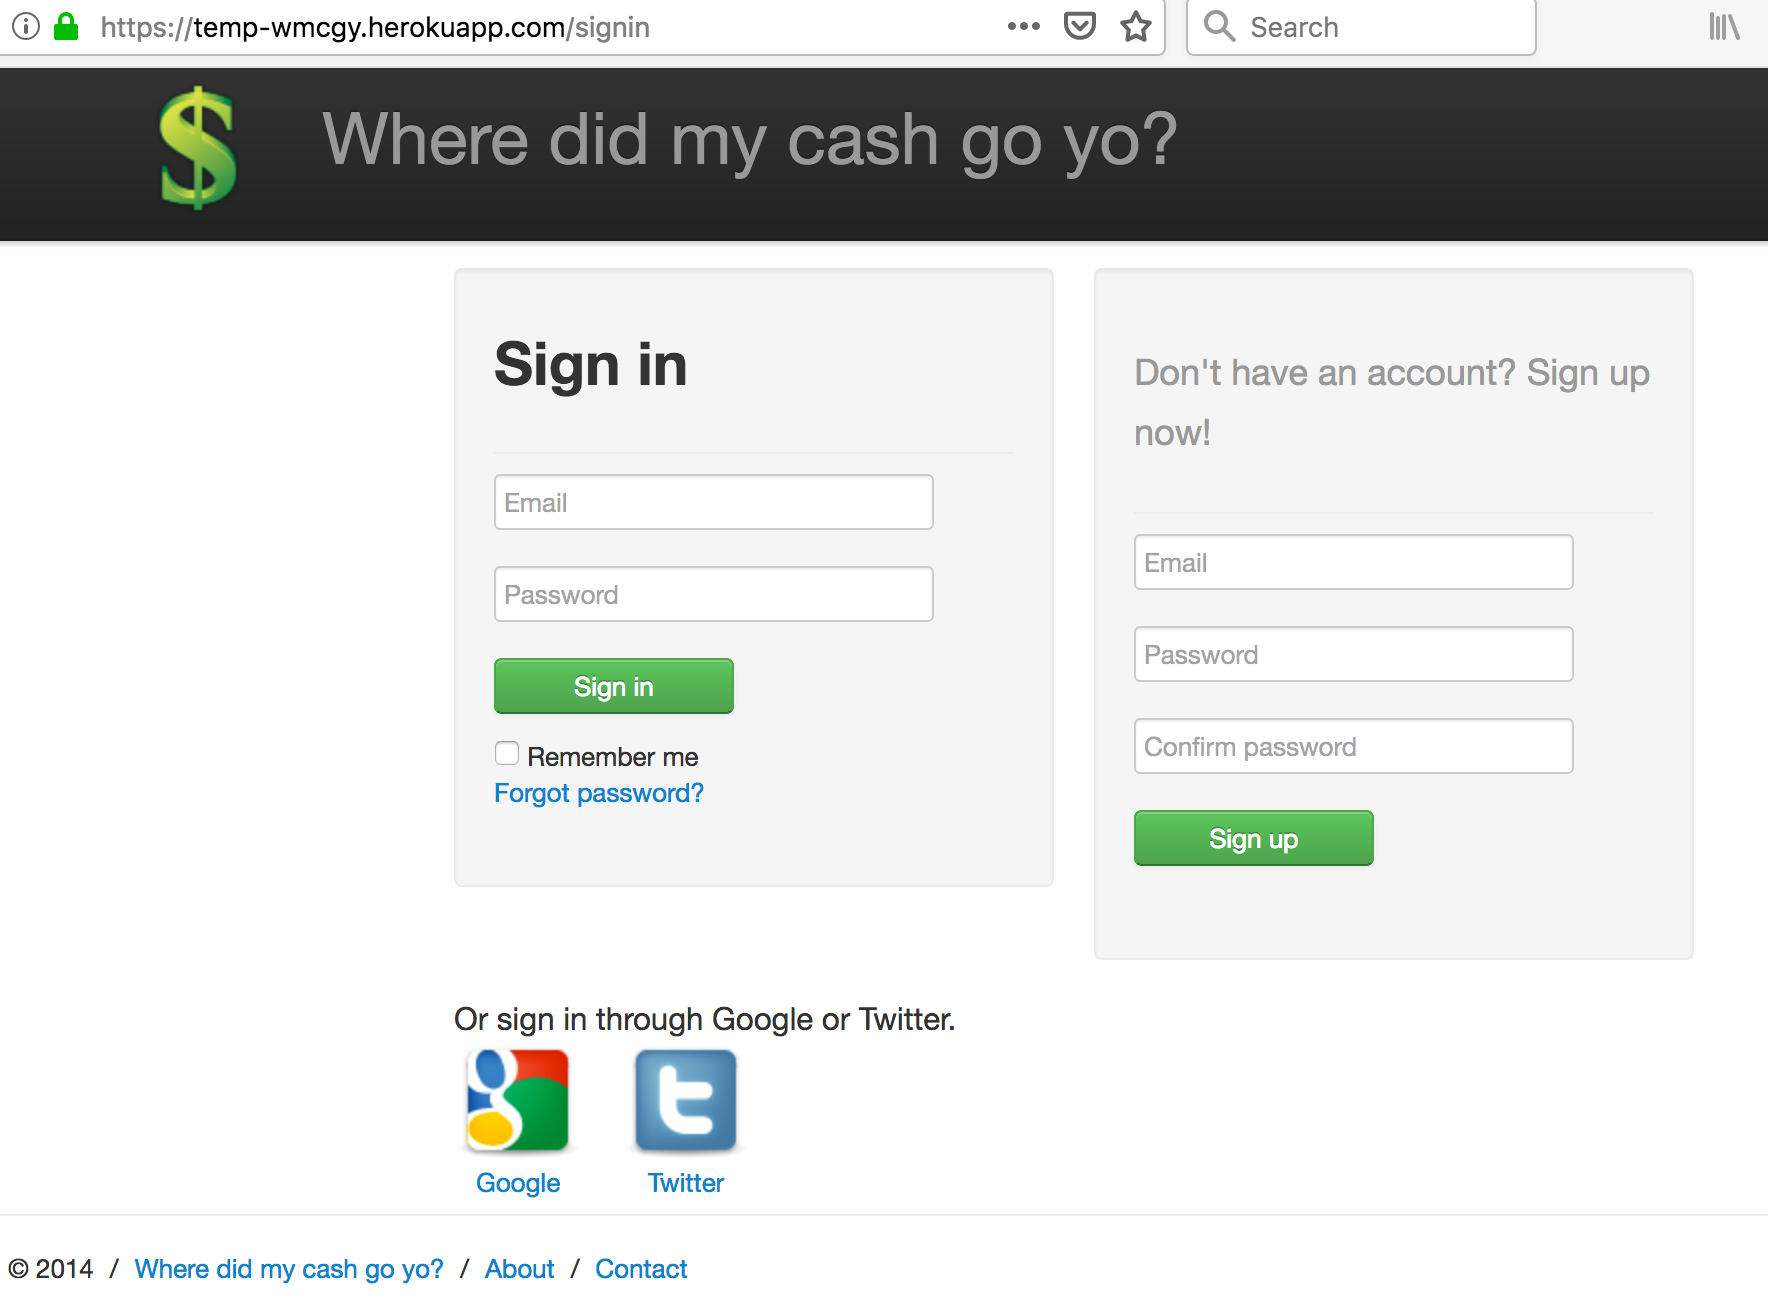
Perfect! Now we need to populate our test instance with our production data.
Populating our test instance with the production data
One of the great things about Heroku, is everything is super simple, this is true of exporting and importing data as well. We can use the pg:pull and pg:push commands as per the Heroku documentation.
Grabbing our current production data
We’ll use the pg:pull command to grab our current production data and import it to a local database. The pull command creates the schema locally and populates it with data so we don’t even need to have an existing database schema set-up locally (and actually can’t, the pull command will fail if we attempt to pull into an existing database), we just need to run the command. Let’s do it!
Terminal
heroku pg:pull DATABASE_URL wmcgyCopyOfProd --app nico44-wmcgy2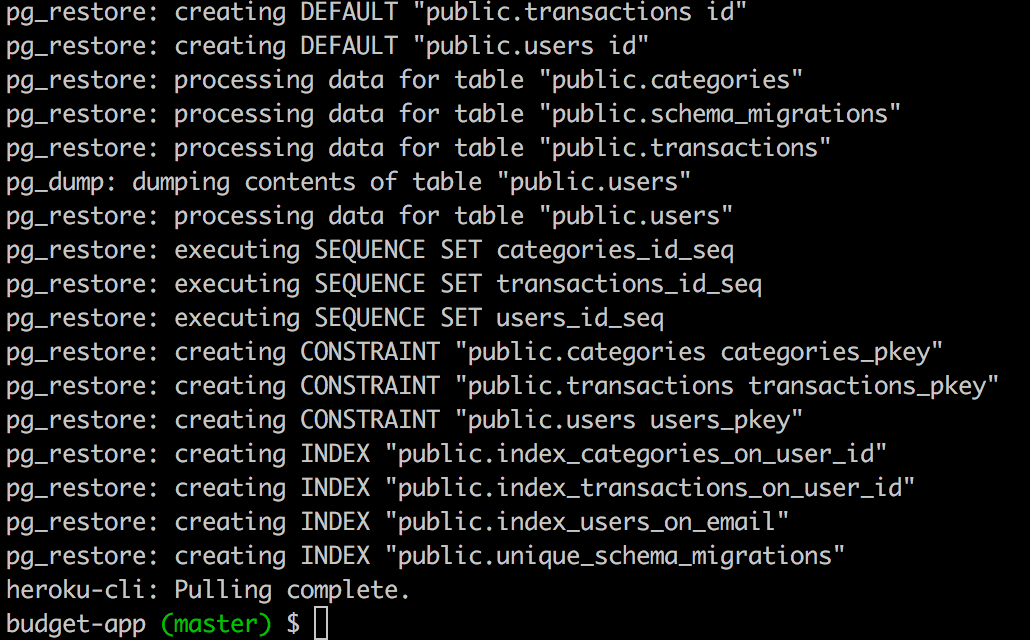
So with the above command, the first parameter is simply the DATABASE_URL config setting for our application, the second parameter is the name of the database we will create locally, and the final parameter is our application name on Heroku.
Now to push our local copy of the data to our test Heroku instance, we just need to use the push command.
The push command like pull, expects an empty database, so we first need to reset our database.
Terminal
heroku pg:reset --confirm temp-wmcgyAnd now we can push our data.
Terminal
heroku pg:push wmcgyCopyOfProd DATABASE_URL --app temp-wmcgy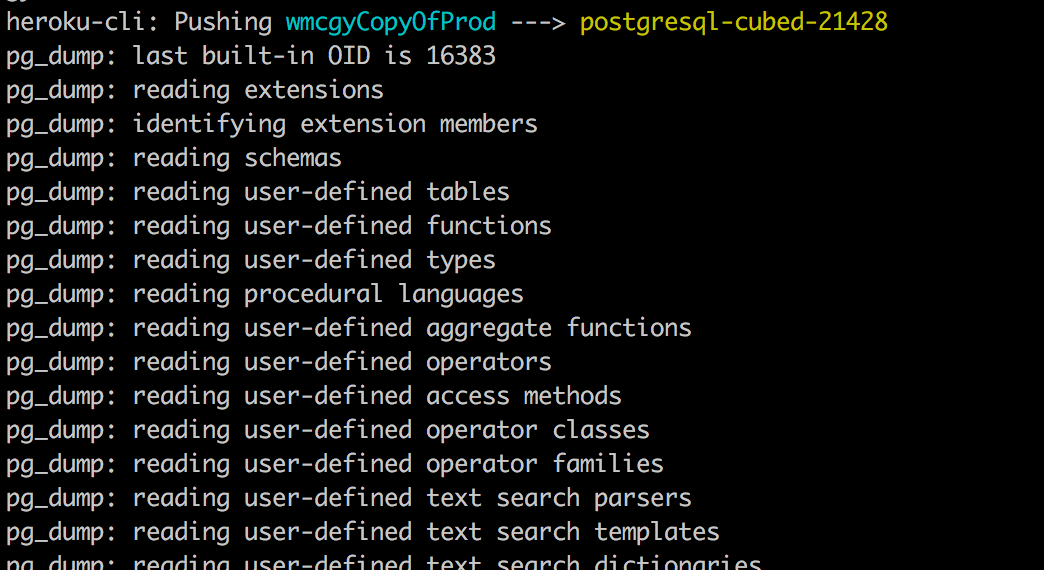
This command is very similar to the pull command, we specify the local database we’re pulling data from, then the URL of the database we’re pushing to, and finally the application name that we are pushing to.
Let’s open our application.
Terminal
heroku openWe can now log in with the user credentials that we use on production and sure enough we can see our production data.
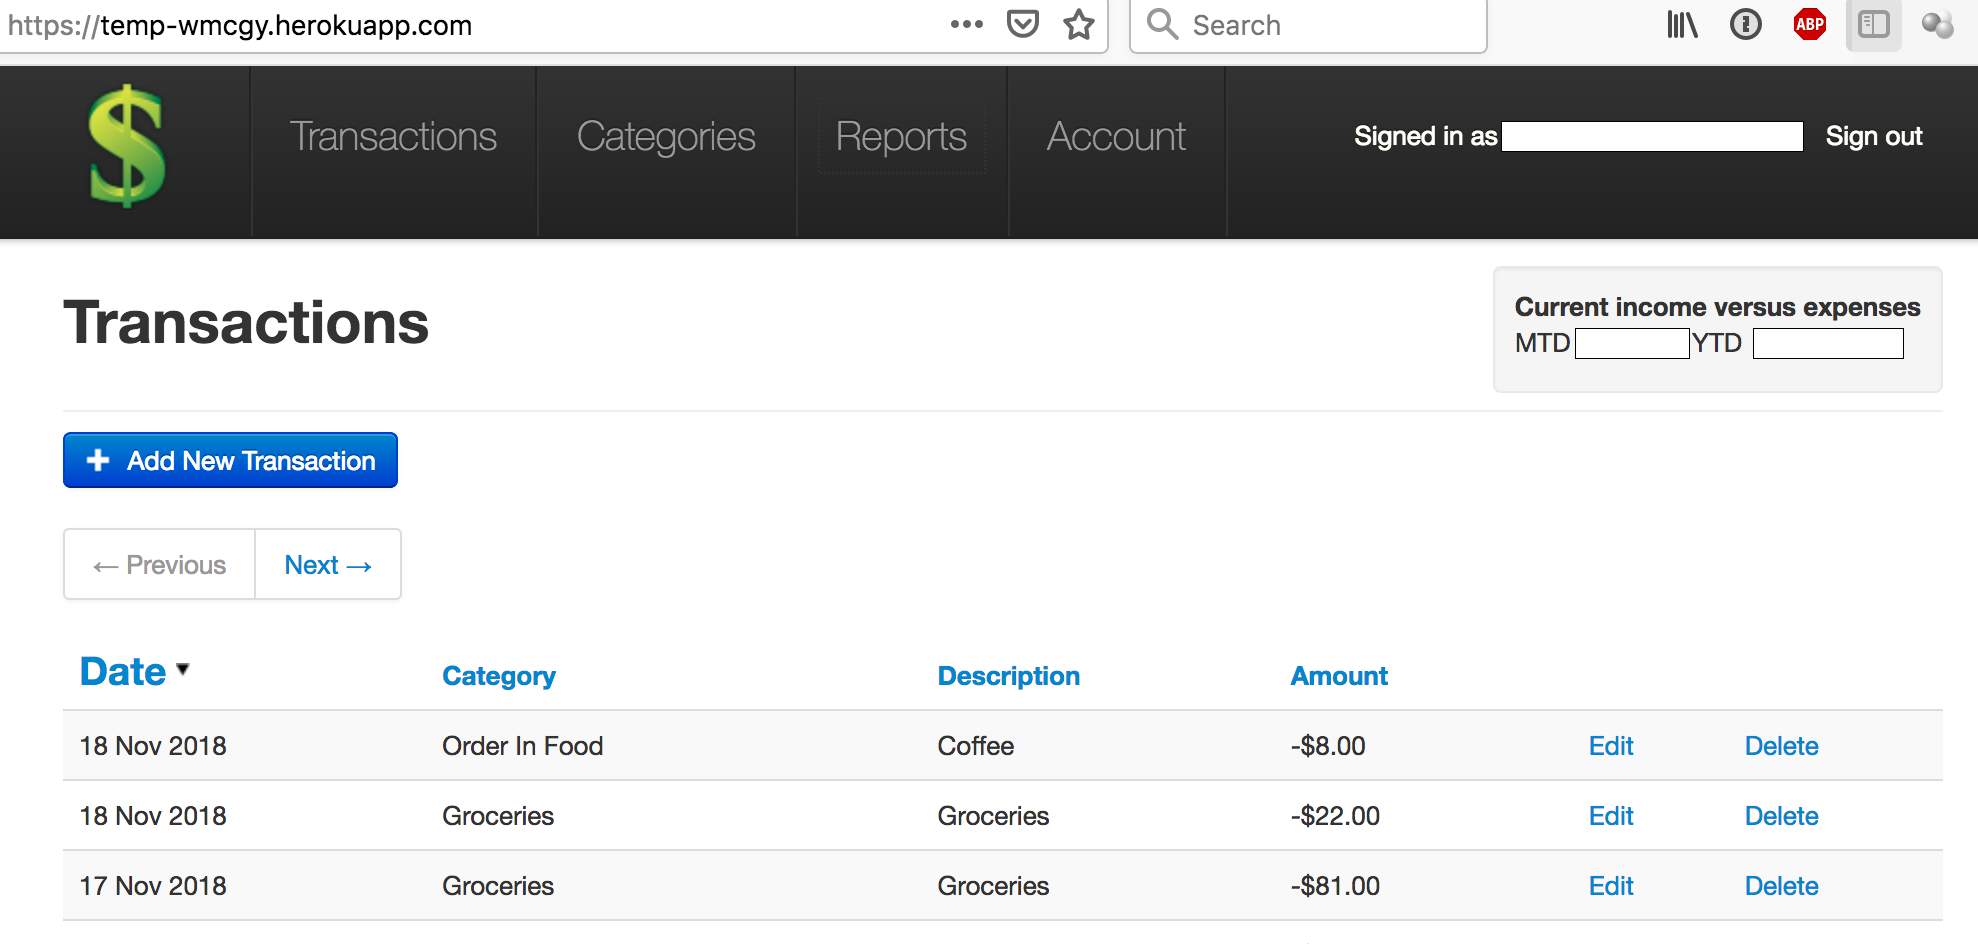
We can do a quick test of the application and see that we are getting our production errors such as the issue with the category page.
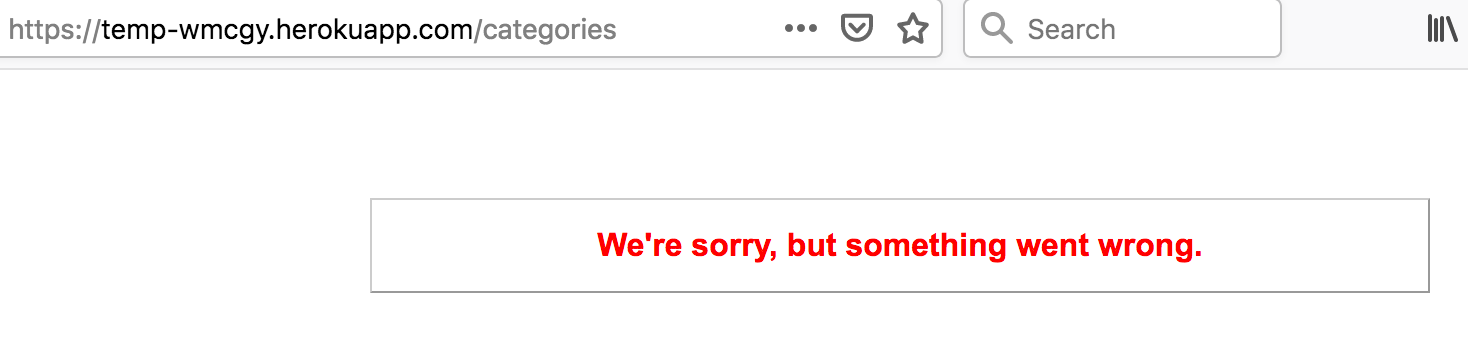
So let’s deploy our fixes!
Deploying our updated code base to our test instance
First we need to checkout the branch with our fixes.
Terminal
git checkout 2018-update-and-refactorNow we need to deploy this branch. We need to use the -f flag to force the unmerged changes up to Heroku.
Terminal
git push -f heroku 2018-update-and-refactor:masterRemember part of our fixes involved a change to our database schema, so we need to run our migrations.
Terminal
heroku run rake db:migrate
Now let’s see where we are at.
Terminal
heroku openIt looks like our changes have been deployed correctly, we can see right from the sign in page, that our Twitter authentication link is gone and our footer is showing the correct date.

At this point we’ll run thru some basic manual testing:
- Log in as our production user and ensure everything looks good.
- Verify that our category and delete bugs are fixed.
Since we made changes to our sign up functionality we should test it out as well. We’ll need to set a few environment variables first.
Terminal
heroku config:set GOOGLE_KEY="10..."Terminal
heroku config:set GOOGLE_SECRET="x..."We’ll also need to add the SendGrid Heroku add-on.
Terminal
heroku addons:create sendgrid:starterWe can now test the following:
- Sign up a new user through our custom authentication.
- Sign up a new user through Google OAuth.
After the above we should test out our registration restriction.
So we’ll set our registration_locked environment variable.
Terminal
heroku config:set registration_locked="true"And ensure registrations are locked down.
All the above testing went off without a hitch… so now we can see if we can get off that deprecated stack!
Updating the stack
So we want to move to the Heroku-16 stack, let’s first verify we are on the Cedar-14 stack.
Terminal
heroku apps:info -a temp-wmcgy
Yup! Upgrading is pretty easy, we just need to set the stack using the Heroku CLI.
Terminal
heroku stack:set heroku-16 -a temp-wmcgy
In order for the change to take effect, we’ll need to make a new push to Heroku.
We can create an empty commit.
Terminal
git commit --allow-empty -m "Upgrading to heroku-16"And then we can push the empty commit to Heroku.
Terminal
git push -f heroku 2018-update-and-refactor:masterWe can verify the stack has been updated by running our info command again.
Terminal
heroku apps:info -a temp-wmcgy
Looks good!
At this point I did another round of testing.
Having completed that, we are done with our test instance and can remove it.
Terminal
heroku apps:destroy temp-wmcgy --confirm temp-wmcgyAll our testing has gone well… we are now ready to deploy to production!
Deploying to production
The first thing we want to do is associate our current local directory with our production instance on Heroku. We do this by adding a remote.
Adding our Heroku remote
We can see we only have a single remote currently.
Terminal
git remote
origin in this case refers to our GitHub repository, let’s add the Heroku remote.
Terminal
heroku git:remote -a nico44-wmcgy2
We can verify that the remote has been set-up correctly by running heroku config and we should see our production configuration.
Terminal
heroku config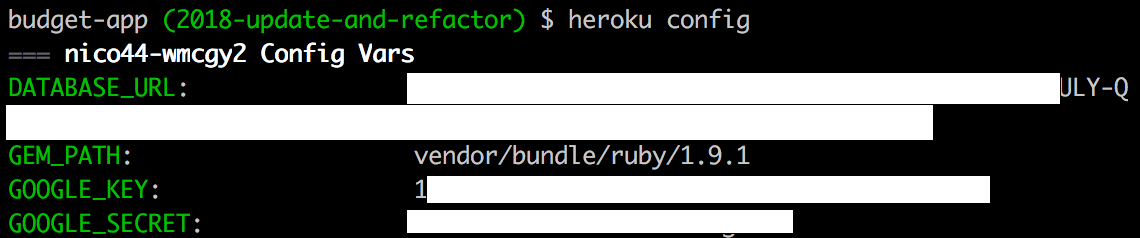
All good! Next let’s take another backup of our database.
Backing up the production database to a file
We’ve pretty thoroughly tested the process we’re going to be following on production so no surprises should pop up. Just in case however it’s probably a good idea to back up our database prior to making any changes on production. We already have a local instance of our production database but let’s create a dump file so we have our production data in a convenient file format.
This is once again easy to do on Heroku.
Terminal
heroku pg:backups:capture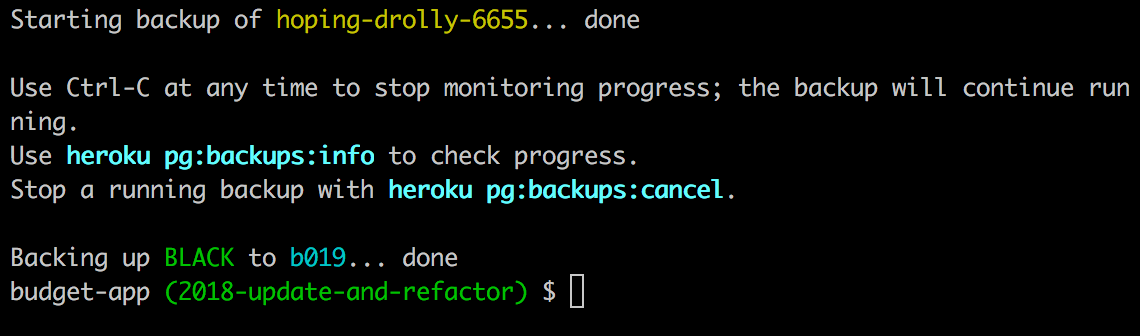
Terminal
heroku pg:backups:download
We don’t want to check the dump file into source control so we’ll move it out of our current directory.
Terminal
mv latest.dump ..Right… now time to deploy? Nope! First we need to merge our changes.
Merging our changes to master
Let’s see what happens when we merge our changes.
Terminal
git checkout master
git merge 2018-update-and-refactor
We get merge conflicts… boo!

If we open our Gemfile and Gemfile.lock files we’ll see the various conflicts.
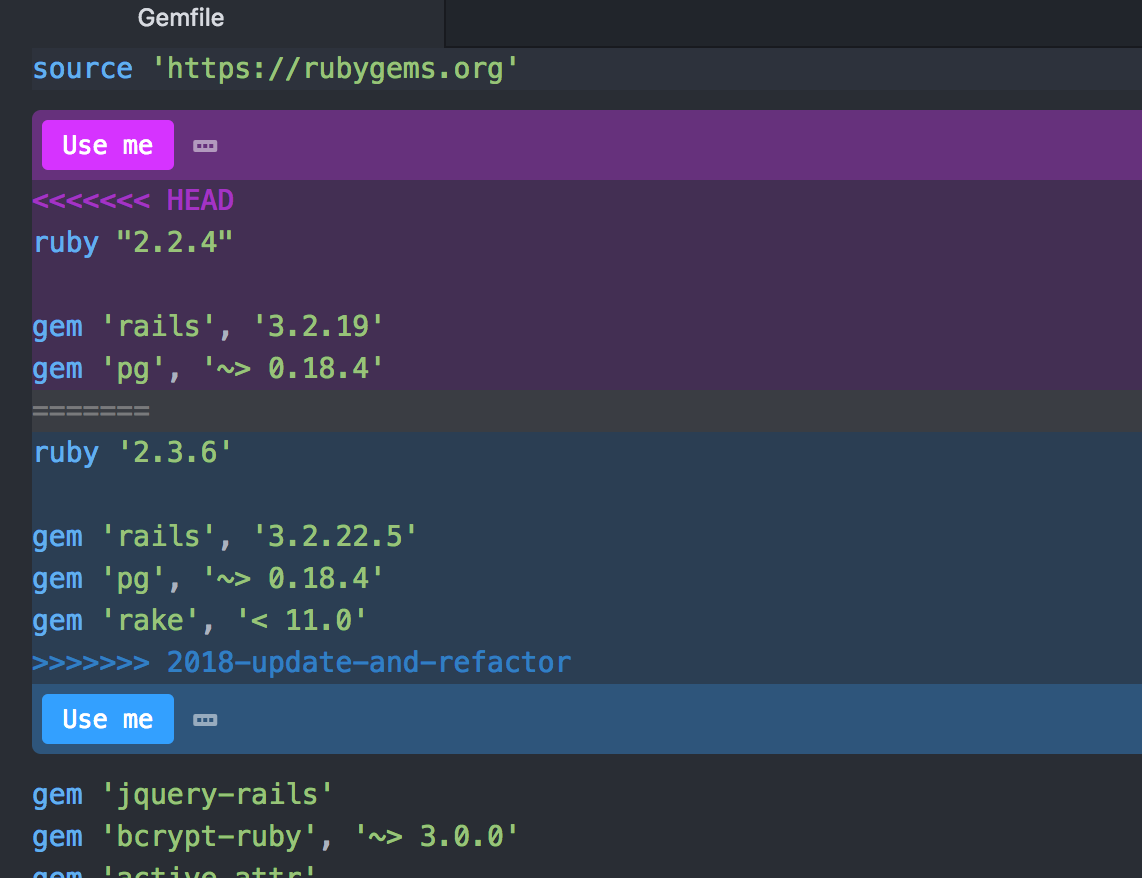
We just need to select which version of the code we want to use. After we’ve done this with both the Gemfile and Gemfile.lock files we need to commit the changes.
Terminal
git add .
git commit
At this point we could deploy to production, but are we 100% sure our merged code is correct? It is probably being overly paranoid, but at this point I am going to do another test deploy with the merged code.
Another round of pre-deploy testing.
So let’s get rid of our heroku remote for now as we want to push to a test instance we’ll be creating.
Terminal
git remote rm herokuNow we can create a new test instance, I’ll omit any explanations for this section as we’ve done this many times by now. The only thing different this time out is that we are using the heroku-16 stack right off the bat.
Terminal
heroku create temp-wmcgy -s=heroku-16Terminal
git push herokuTerminal
heroku pg:push wmcgyCopyOfProd DATABASE_URL --app temp-wmcgyTerminal
heroku openAt this point I did another round of testing, everything looked good… so we can once again destroy our test area.
Terminal
heroku apps:destroy temp-wmcgy --confirm temp-wmcgyRight… now time to deploy… finally, for real this time!
Performing the deploy
We need to set our production remote again.
Terminal
heroku git:remote -a nico44-wmcgy2Now we can push our code to production.
Terminal
git push herokuThe final step is run our migration.
Terminal
heroku run rake db:migrateAnd now we should be all good.
After a bit of minor testing all looks good, so we can update the stack as we did with our test instance.
Terminal
heroku stack:set heroku-16 -a nico44-wmcgy2Terminal
git commit --allow-empty -m "Upgrading to heroku-16"Terminal
git push herokuWe can verify the stack has been updated by running our info command.
Terminal
heroku apps:info -a nico44-wmcgy2And I almost forgot, we also want to set our registration_locked variable.
Terminal
heroku config:set registration_locked="true"Again a bit of testing confirms all is good… we’re done and dusted! This was quite the effort!
We can wrap up by pushing our merged master branch up to GitHub.
Terminal
git pushSummary
This marks the end of our poorly maintained Rails application series! I must say, I found it pretty fun getting back into some Rails programming. Although not at first as my faulty memory remembered the bundle update command and not the bundle install command… and this bit of oversight resulted in me initially going down a bit of a rabbit hole in terms of getting the code up and running.
So what have I learned along the way?
Lessons learned
- Doing a bit of refresh reading prior to diving into a technology you haven’t touched for years is a good idea. This would have avoided the aforementioned
bundle update/installdebacle. - A little bit of regular maintenance goes a long way, not only in terms of keeping your application running smoothly, but keeping yourself familiar with the code.
- Having some automated testing in place is really beneficial and provides a nice security blanket when making changes. Although I also did a fair bit of manual testing, especially prior to deploying to production, having the automated tests added an extra level of confidence.
- Blogging can be a great source of documentation for future changes to a code base. I feel like if I revisit this application even if it’s years from now, I’ll be able to get up and running much quicker next time out as I have some documentation.
In conclusion
Of course, we still have a pretty out of date application, it’s still using a deprecated version of Rails… so we might want to revisit things at one point and upgrade the application to Rails 4 or 5… or even port it to another technology… but for now, we are done!
Thanks for reading and I hope you enjoyed this series of posts!