Last time we set up the “CI” portion of our “CI / CD” pipeline. Today we’ll look at building out a Docker image of our application on GitLab. In a subsequent post we’ll use this image in a Kubernetes deployment. So let’s get at it!
Getting started
If you’ve been following along you can continue with the code from part 1 (thou you’ll want to fix the credo warning that was failing our pipeline at the end of that post) or you can clone the code.
Clone the Repo:
If cloning:
Terminal
git clone -b 2-add-ci git@gitlab.com:riebeekn/phx_gitlab_ci_cd.gitNote: if cloning, you’ll need to run deps.get and npm install after grabbing the code.
Create a branch
Now let’s create a branch for today’s work.
Terminal
cd phx_gitlab_ci_cd
git checkout -b 3-add-docker-build
The first thing we need to do is create a release for our application along with a Dockerfile. Once we have all the pieces in place to build a release and docker image locally, we can move onto doing so on GitLab.
Creating the release and docker file
We will be leaning heavily on this excellent article (https://akoutmos.com/post/multipart-docker-and-elixir-1.9-releases/) by Alex Koutmos to guide us through the creation of a release and a docker image. I’d highly recommend you give it a read. It explains the process much better than I could, and since there is already a great resource explaining releases / docker images, I won’t go into an in depth discussion here.
Note: the Dockerfile we’ll be using differs somewhat from the one in the above linked article, as we need to build Phoenix not just Elixir.
Creating the release
Our first step is to create the release files and configuration.
Terminal
mix release.init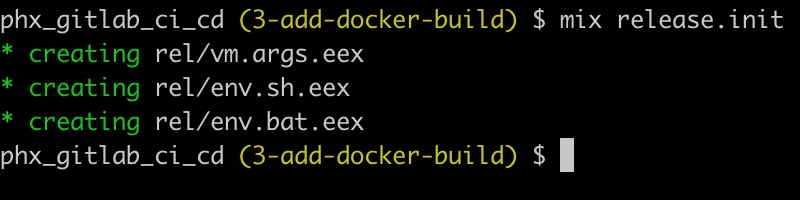
Terminal
touch config/releases.exs/config/release.exs
import Config

secret_key_base = System.fetch_env!("SECRET_KEY_BASE")
port = String.to_integer(System.get_env("PORT") || "4000")
# DB ENV variables
db_host = System.fetch_env!("DB_HOST")
db_instance = System.fetch_env!("DB_INSTANCE")
db_user = System.fetch_env!("DB_USER")
db_password = System.fetch_env!("DB_PASSWORD")
db_port = String.to_integer(System.get_env("DB_PORT") || "5432")
db_ssl_enabled = String.to_existing_atom(System.get_env("DB_SSL_ENABLED") || "true")
db_pool_size = String.to_integer(System.get_env("DB_POOL_SIZE") || "10")
db_show_sens_info_on_error = String.to_existing_atom(System.get_env("DB_SHOW_SENS_INFO") || "false")

config :phx_gitlab_ci_cd, PhxGitlabCiCdWeb.Endpoint,
  url: [host: "example.com", port: 80],
  http: [:inet6, port: port],
  secret_key_base: secret_key_base,
  server: true

# Do not print debug messages in production
config :logger, level: :info

# Database config
config :phx_gitlab_ci_cd, PhxGitlabCiCd.Repo,
  hostname: db_host,
  username: db_user,
  password: db_password,
  database: db_instance,
  port: db_port,
  ssl: db_ssl_enabled,
  pool_size: db_pool_size,
  show_sensitive_data_on_connection_error: db_show_sens_info_on_error
Our release configuration makes use of a number of environment settings. This is so we can use different values for different environments, i.e. locally, staging, production.
With the releases.exs file in place, we can get rid of prod.exs and prod.secret.exs as these items have all been included in releases.exs.
Terminal
rm config/prod.exs
rm config/prod.secret.exs
In order to build the production release we do need an empty prod.exs file however, so we’ll add an empty file to replace the one we just removed.
Terminal
touch config/prod.exsNow let’s test the release by running it on our local machine.
First we’ll take care of our assets.
Terminal
npm run deploy --prefix ./assets
mix phx.digest
Next, we’ll build the release.
Terminal
MIX_ENV=prod mix release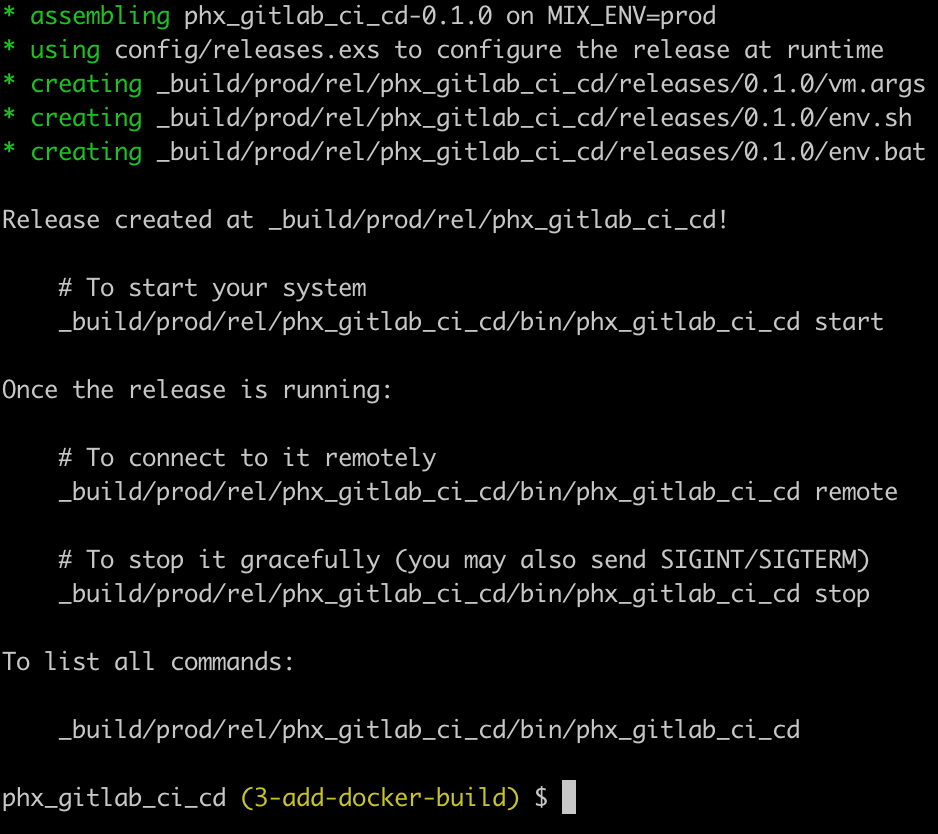
Now we can run the release. We’ll need to pass in the required environment settings (note: adjust the values to your local settings, i.e. your local Postgres user etc).
Terminal
SECRET_KEY_BASE=$(mix phx.gen.secret) \
DB_HOST=localhost \
DB_INSTANCE=phx_gitlab_ci_cd_dev \
DB_USER=postgres \
DB_PASSWORD=postgres \
DB_SSL_ENABLED=false \
DB_SHOW_SENS_INFO=true \
_build/prod/rel/phx_gitlab_ci_cd/bin/phx_gitlab_ci_cd start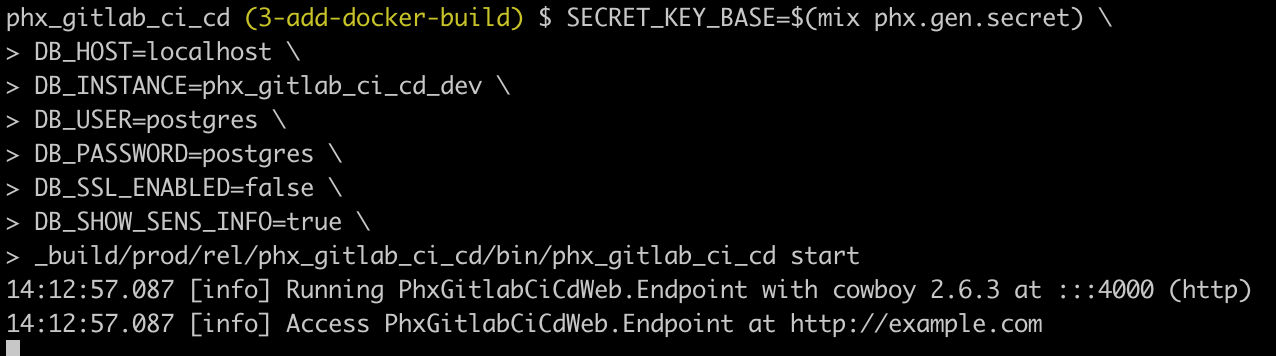
Fantastic, looks like the release is working.
Dockerfile time!
Creating the Dockerfile
The first step is to create the file.
Terminal
touch Dockerfile/Dockerfile
########################################
# 1. Build stage
########################################
FROM elixir:1.9.1-alpine as app_builder

# Set up build environment.
ENV MIX_ENV=prod

# Create the application build directory
RUN mkdir /app
WORKDIR /app

# Install build tools needed in addition to Elixir:
# NodeJS is used for Webpack builds of Phoenix assets.
# Hex and Rebar are needed to get and build dependencies.
RUN apk update \
    && apk --no-cache --update add nodejs nodejs-npm \
    && mix local.rebar --force \
    && mix local.hex --force

# Copy over all the necessary application files and directories
COPY config ./config
COPY lib ./lib
COPY priv ./priv
COPY mix.exs .
COPY mix.lock .
COPY assets ./assets

# Build the application.
RUN mix do deps.get, compile

# Build assets
RUN cd ./assets \
    && npm install \
    && ./node_modules/webpack/bin/webpack.js --mode production \
    && cd .. \
    && mix phx.digest

# Create the release
RUN mix release

########################################
# 2. Build release image
########################################
FROM alpine:3.9.4

# Install dependencies. Bash and OpenSSL are required for ERTS.
RUN apk update \
    && apk --no-cache --update add bash openssl

# Copy over the build artifact from step 1 and create a non root user
RUN adduser -S app
WORKDIR /home/app
COPY --from=app_builder /app/_build .
RUN chown -R app: ./prod

# Add the start commands bash file
ADD start_commands.sh /scripts/start_commands.sh
RUN chmod +x /scripts/start_commands.sh

# Switch to the non root user
USER app

# set the entrypoint to the start commands script
ENTRYPOINT ["/scripts/start_commands.sh"]
We’re utilizing a start_commands.sh script as our entrypoint, so we need to create it.
Terminal
touch start_commands.sh/start_commands.sh
#!/bin/bash
./prod/rel/phx_gitlab_ci_cd/bin/phx_gitlab_ci_cd eval "PhxGitlabCiCd.ReleaseTasks.migrate"
./prod/rel/phx_gitlab_ci_cd/bin/phx_gitlab_ci_cd start
The start_commands script calls out to a release tasks module prior to starting the application. We’ll use the release tasks module to run our migrations. We can’t do so via mix as we don’t have access to mix tasks from within the release.
Let’s create the module now.
Terminal
touch lib/release_tasks.ex/lib/release_tasks.ex
defmodule PhxGitlabCiCd.ReleaseTasks do
  @moduledoc false
  def migrate do
    IO.puts("***** RUNNING MIGRATIONS *****")
    {:ok, _} = Application.ensure_all_started(:phx_gitlab_ci_cd)

    path = Application.app_dir(:phx_gitlab_ci_cd, "priv/repo/migrations")

    Ecto.Migrator.run(PhxGitlabCiCd.Repo, path, :up, all: true)
    IO.puts("***** FINISHED MIGRATIONS *****")
  end
end
Pretty simple, all we are doing is running thru the migrations via Ecto.Migrator.
That should do it for our docker image. Let’s make sure the image builds and works locally before attempting to get it building on GitLab.
We’ve added new code to our application, so we need to rebuild the release.
Terminal
MIX_ENV=prod mix releaseChoose to over-write the existing release:

Now we can build the Docker image (you’ll need to have Docker Desktop installed locally).
Terminal
docker build -t phx-gitlab .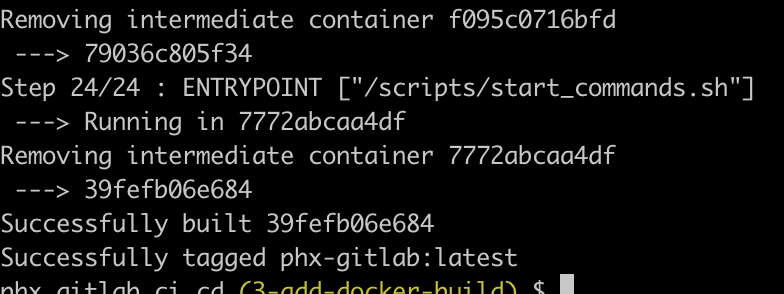
Sweet!
Let’s test that the Docker image runs. In order to also test that the migration in our start up script works, let’s drop and re-create the database.
Terminal
mix ecto.dropTerminal
mix ecto.create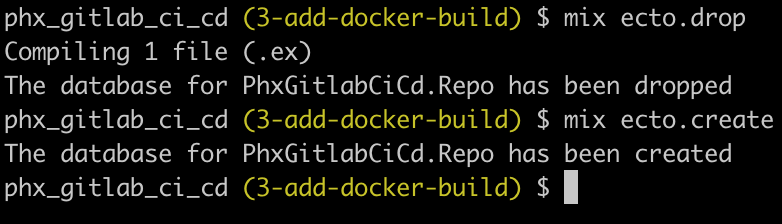
Now we’ll run the image.
Terminal
docker run \
  --publish 4000:4000 \
  --env SECRET_KEY_BASE=$(mix phx.gen.secret) \
  --env DB_HOST="host.docker.internal" \
  --env DB_INSTANCE="phx_gitlab_ci_cd_dev" \
  --env DB_USER="postgres" \
  --env DB_PASSWORD="postgres" \
  --env DB_SSL_ENABLED=false \
  phx-gitlab:latest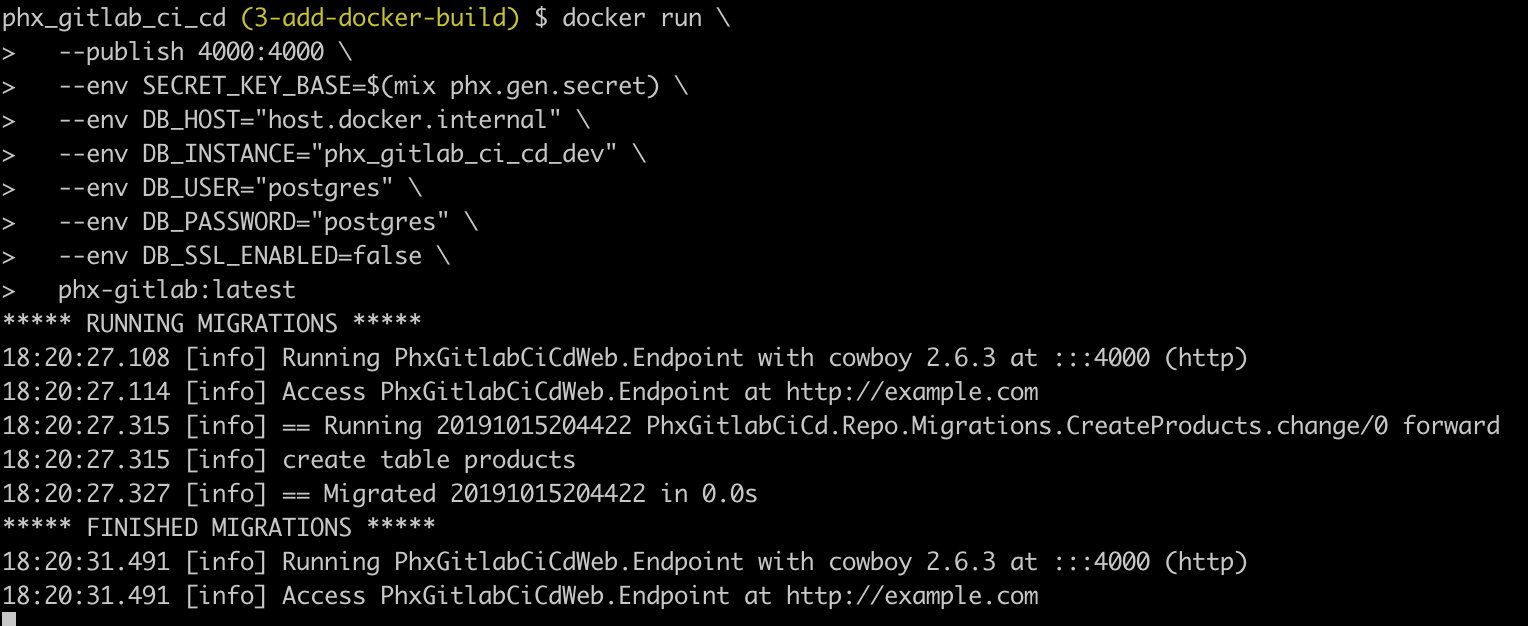
The migrations are run and the application starts up!
That takes care of our Dockerfile… we’re now ready to integrate this into our GitLab pipeline.
Building the Docker image on GitLab
In order to get our image building on GitLab we need to add a new stage and local reference to the main .gitlab-ci.yml file.
/.gitlab-ci.yml
# Main CI yml file for GitLab
stages:
  - build
  - test
  - docker

include:
  - local: "/ci/build.yml"
  - local: "/ci/test.yml"
  - local: "/ci/build-docker.yml"
Now we’ll create the build-docker.yml file.
Terminal
touch ci/build-docker.yml/ci/build-docker.yml
build_docker:
  stage: docker
  image: "registry.gitlab.com/gitlab-org/cluster-integration/auto-build-image/master:stable"
  cache: {}
  variables:
    DOCKER_TLS_CERTDIR: ""
  services:
    - docker:stable-dind
  script:
    - |
      if [[ -z "$CI_COMMIT_TAG" ]]; then
        export CI_APPLICATION_REPOSITORY=${CI_APPLICATION_REPOSITORY:-$CI_REGISTRY_IMAGE/$CI_COMMIT_REF_SLUG}
        export CI_APPLICATION_TAG=${CI_APPLICATION_TAG:-$CI_COMMIT_SHA}
      else
        export CI_APPLICATION_REPOSITORY=${CI_APPLICATION_REPOSITORY:-$CI_REGISTRY_IMAGE}
        export CI_APPLICATION_TAG=${CI_APPLICATION_TAG:-$CI_COMMIT_TAG}
      fi
    - /build/build.sh
  # when the below is un-commented, will require manual triggering
  # when: manual
  only:
    - branches
    - tags
A few key points regarding the above. We’re specifying the stage as docker in the stage section. Then we’re using the GitLab auto-build-image and the docker in docker service as the technique to build our docker image. In the script section we are uploading the result of the build to the GitLab container registry. This is so it will be available down the line when we want to deploy the image. Also note the commented out when: manual section. If you don’t want an image built on every check-in, setting this to manual accomplishes this (when set to manual you need to click the build_docker job in the GitLab UI for it to run).
Before pushing to GitLab, let’s run mix format so that we won’t hit any linting errors when we push.
Terminal
mix formatLet’s also update our coveralls configuration. We don’t have any tests for the release_tasks.ex module we created, so we’ll add it to the list of files we’re ignoring.
/coveralls.json
{
  "skip_files": [
    "test",
    "lib/phx_gitlab_ci_cd.ex",
    "lib/phx_gitlab_ci_cd_web.ex",
    "lib/phx_gitlab_ci_cd/application.ex",
    "lib/phx_gitlab_ci_cd/repo.ex",
    "lib/phx_gitlab_ci_cd_web/endpoint.ex",
    "lib/phx_gitlab_ci_cd_web/gettext.ex",
    "lib/phx_gitlab_ci_cd_web/router.ex",
    "lib/phx_gitlab_ci_cd_web/channels/user_socket.ex",
    "lib/phx_gitlab_ci_cd_web/views/error_helpers.ex",
    "lib/release_tasks.ex"
  ],

  "coverage_options": {
    "minimum_coverage": 90
  }
}
With all that out of the way, let’s give things a go by pushing to GitLab.
Terminal
git add .
git commit -am "Add CI docker stage"
git push origin 3-add-docker-build
If we view our GitLab pipeline, we’ll now see a new stage:
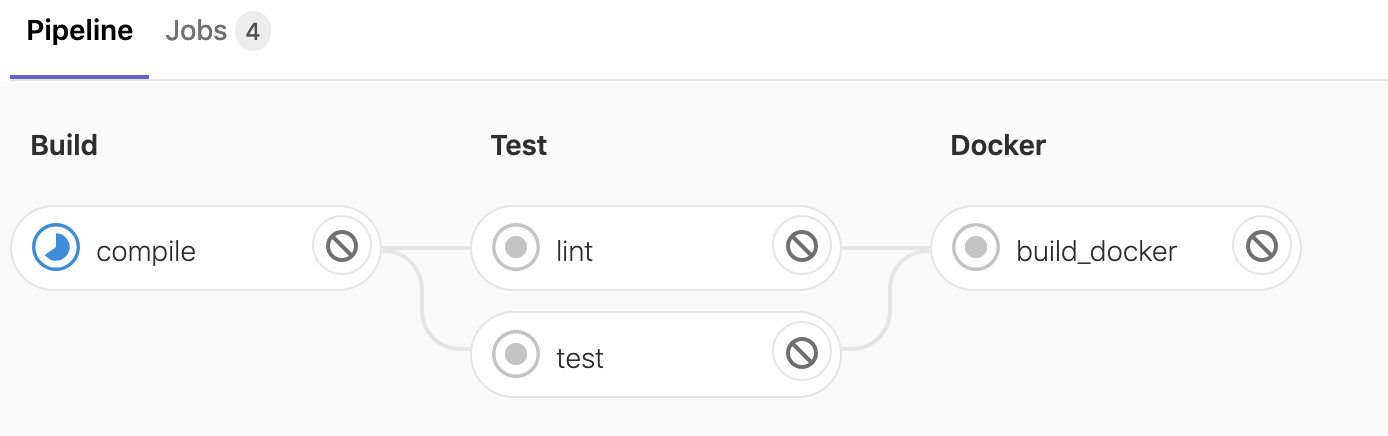
After a few minutes, our four jobs should show as complete:
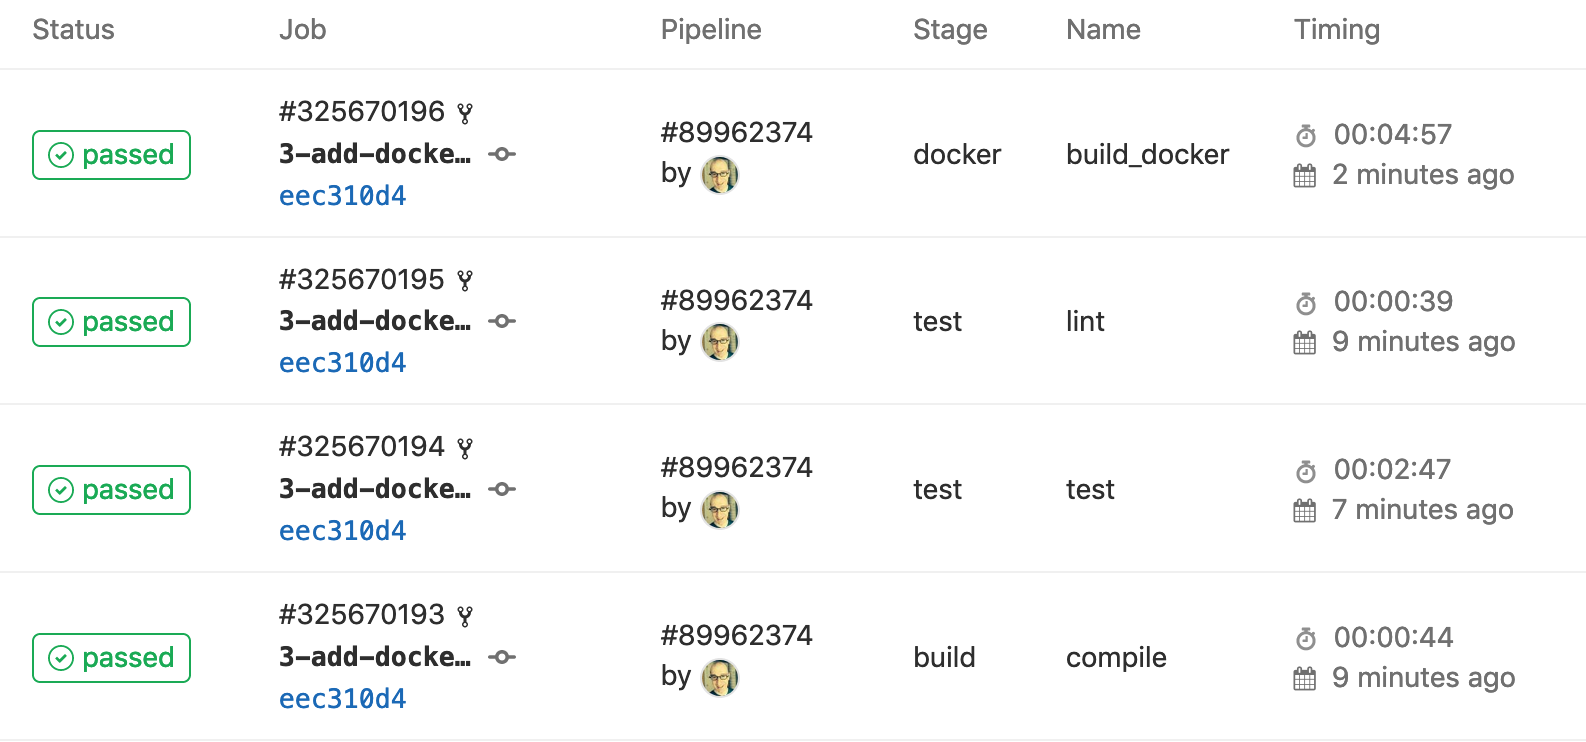
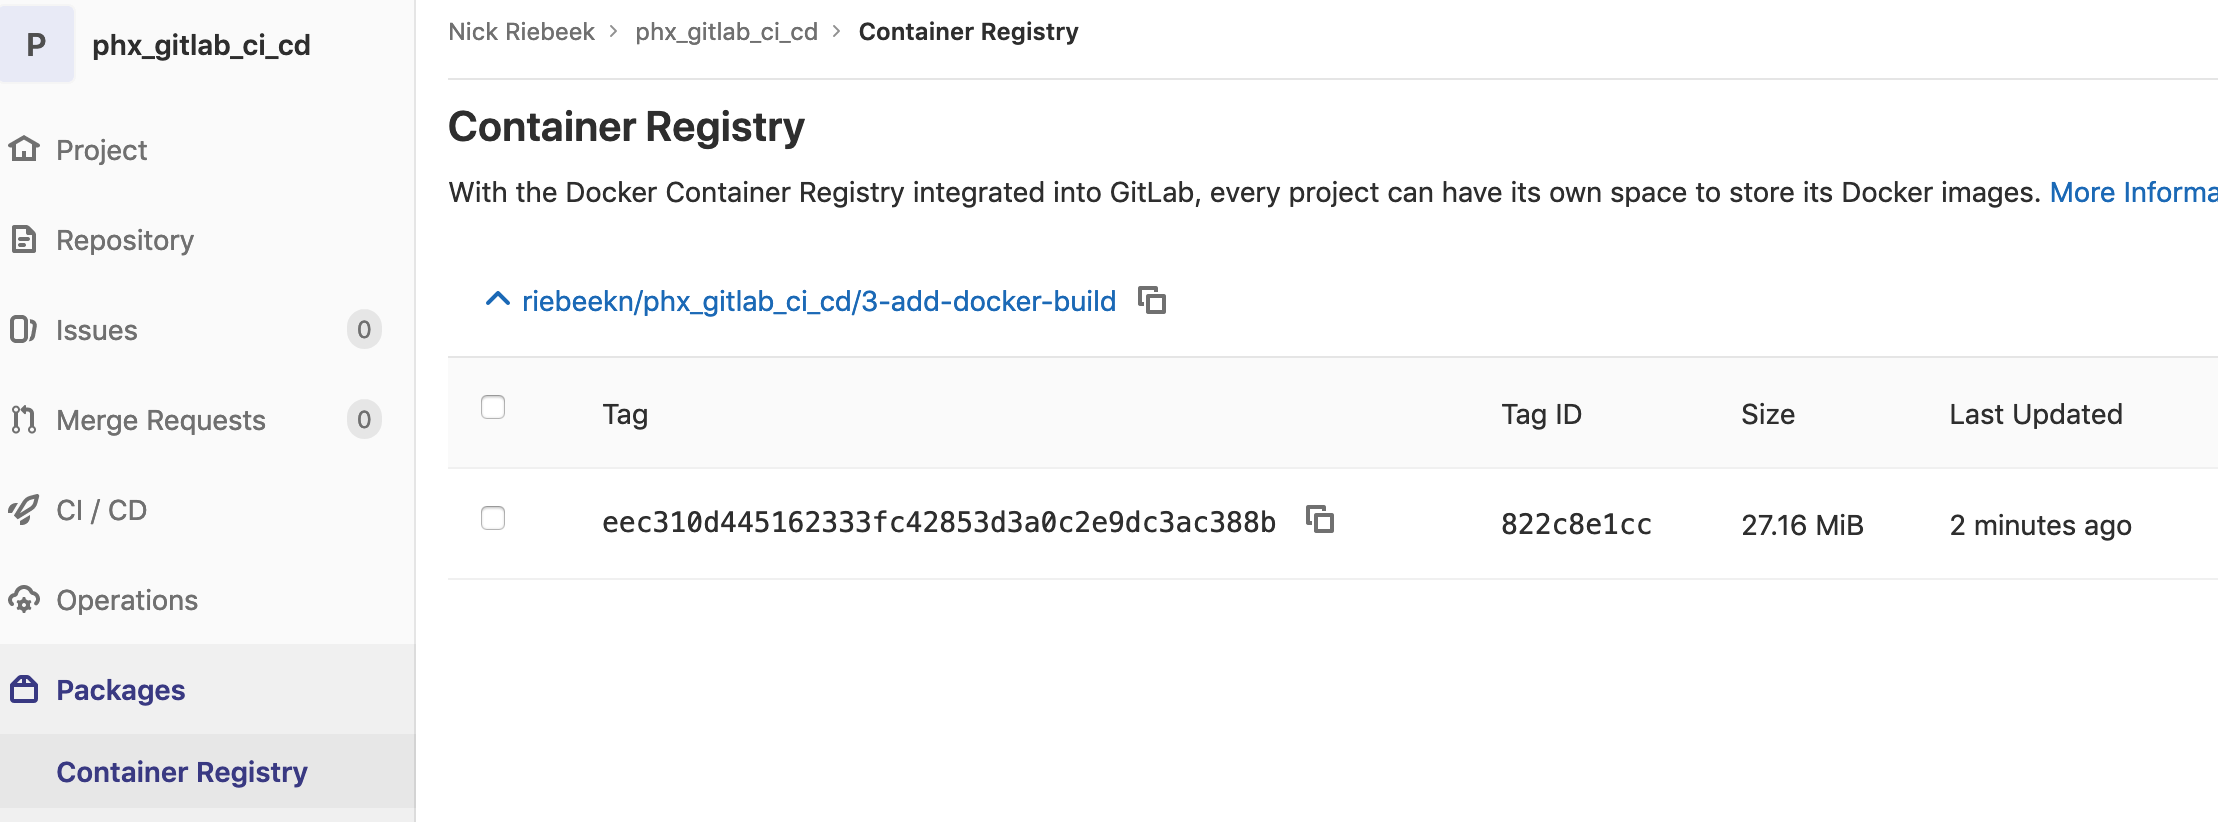
Finally if we navigate to the GitLab container registry, we’ll see the docker image has been uploaded to the registry.
Summary
Pretty awesome! We now have a docker build included as part of our pipeline. Next time out we’ll get around to seeing how to go about doing some deployments!
Thanks for reading, hope you enjoyed the post!